
 Save
Save
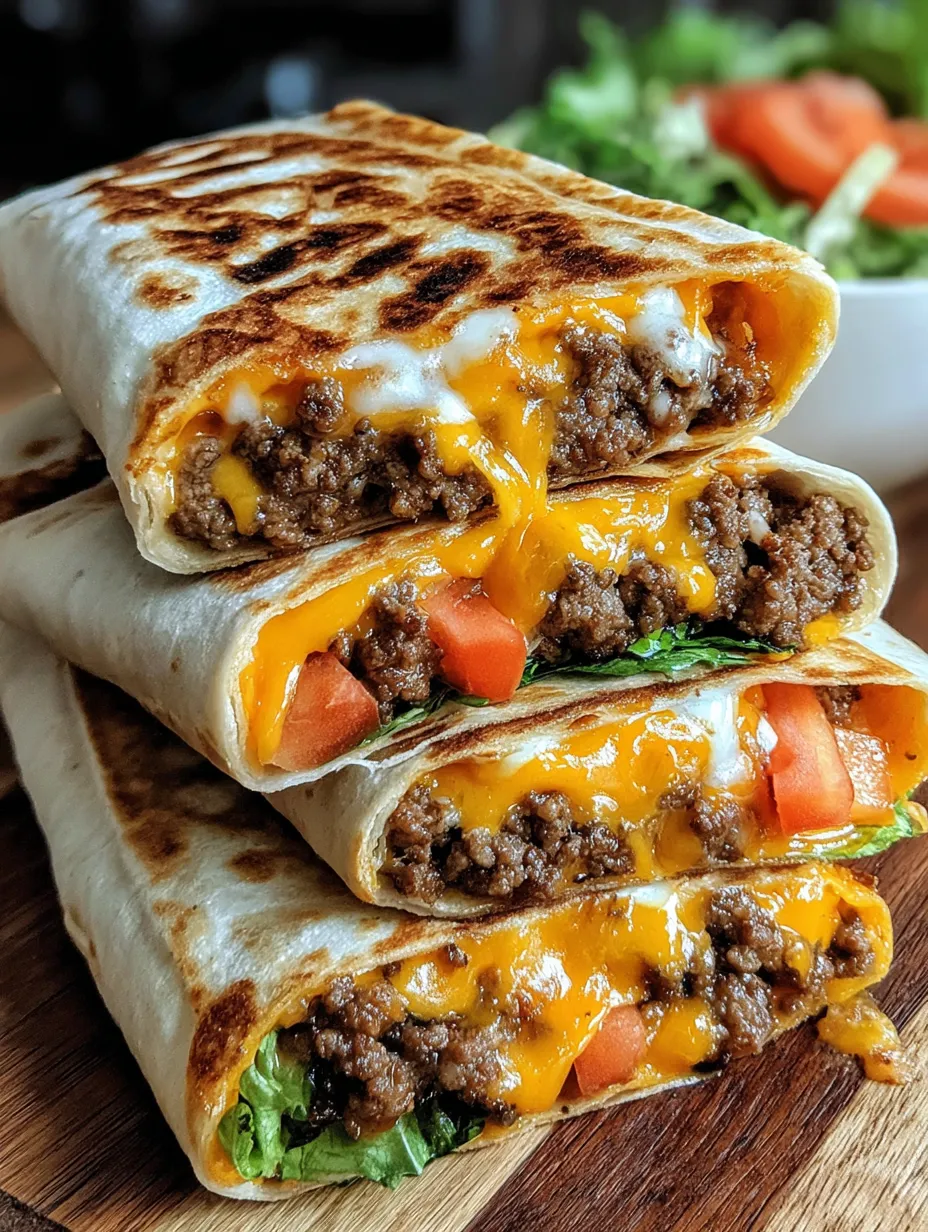
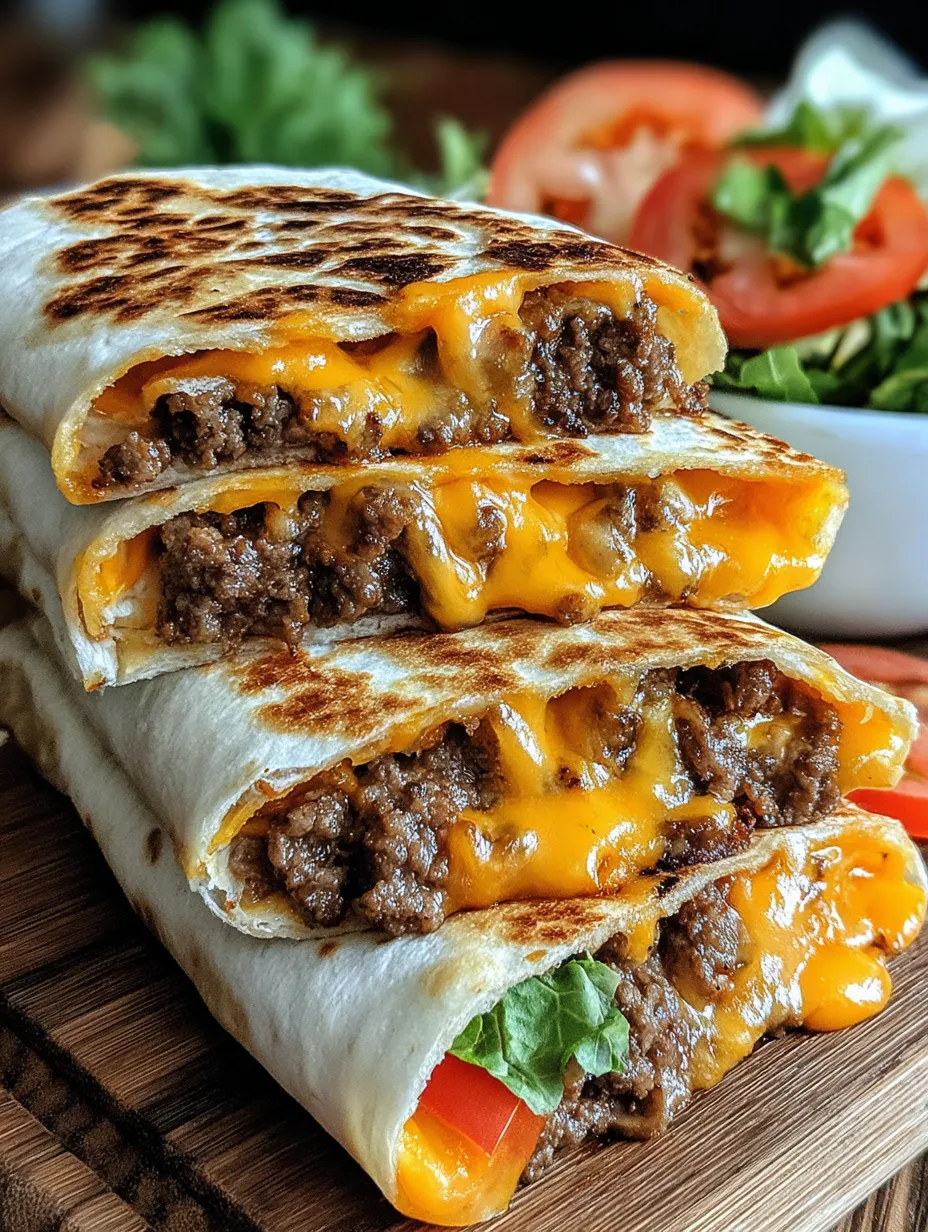
Grilled cheeseburger wraps bring together all the fun and flavor of a classic cheeseburger in a neat, handheld package. Crispy on the outside and juicy inside, they combine seasoned ground beef, melted cheese, fresh vegetables, and tangy sauces wrapped in warm tortillas. These wraps are a go-to when you want something quick, satisfying, and easy to eat without the mess of a regular burger.
I first made these wraps on a lazy weekend afternoon, and my family couldn’t stop raving about how the crispy outer layer and gooey cheese made them feel like a special treat. Now they ask for these wraps whenever we want a quick but delicious meal.
Ingredients
- Four large wheat tortillas: provide a soft but sturdy base for wrapping all the fillings
- Five hundred grams of minced beef: choose fresh and lean for the juiciest result
- One teaspoon paprika powder: adds smoky warmth look for bright red color as a sign of quality
- One teaspoon garlic powder: enhances the savoriness without requiring fresh garlic
- One teaspoon onion powder: adds mild sweetness and depth to the meat
- Salt and pepper to taste: essential seasonings to bring out all the flavors
- Four slices of cheddar cheese: classic meltable cheese that balances the spicy meat, but feel free to try gouda or emmental for a different twist
- Four tablespoons of ketchup and mustard: the combo brings that familiar tangy cheeseburger flavor
- One small onion, thinly sliced into rings: adds a fresh crunch
- One tomato, sliced: juicy and vibrant, look for firm but ripe tomatoes
- Two handfuls of fresh salad leaves like lettuce or arugula: to give the wraps a refreshing bite
- Oil for grilling: a neutral oil like vegetable or canola works best for crisping the wraps
Step-by-Step Instructions
- Brown the Meat:
- Heat a large pan over medium heat and add the minced beef. Cook, stirring occasionally, until the meat is thoroughly browned and no longer pink. Sprinkle in the paprika powder, garlic powder, onion powder, salt, and pepper. Stir well to distribute the seasonings evenly, allowing the spices to infuse the meat. This step builds the savory heart of your wraps.
- Simmer:
- Once the meat is cooked through, turn off the heat and let it rest in the pan briefly. This allows the juices to settle, keeping the beef moist and flavorful.
- Melt the Cheese:
- While the meat is still hot, place a slice of cheddar cheese on top. The heat will gently melt the cheese making it gooey and delicious. If you like extra cheesy wraps, feel free to add more slices.
- Warm the Tortillas:
- To make the tortillas flexible and easy to roll, warm them gently. You can use a dry pan over medium-low heat, heating each side for about 30 seconds, or use a microwave wrapped in a damp paper towel for about 15 seconds.
- Spread Condiments and Fillings:
- Lay out each warmed tortilla and spread one tablespoon each of ketchup and mustard evenly across the surface. Add a generous portion of the cheesy ground beef in the center. Top with onion rings, tomato slices, and fresh salad leaves to add crunch and freshness.
- Roll the Wraps:
- Fold the sides of the tortilla inward, then roll tightly from one end to the other, ensuring the filling stays secure inside while grilling.
- Grill the Wraps:
- Heat a grill pan or regular pan with a little oil over medium heat. Place the wrapped tortillas seam side down first to seal them. Grill for 2 to 3 minutes on each side, pressing lightly with a spatula until the wraps are golden brown and nicely crispy. This step adds wonderful texture and flavor.
 Save
Save
My favorite ingredient in this recipe is definitely the blend of spices in the ground beef. It elevates what could be a basic filling into something rich and full of flavor. One time, I made these wraps for a casual family gathering, and they were gone in minutes with everyone asking for seconds. Seeing the smiles around the table reminded me how simple ingredients combined thoughtfully create memorable meals.
Storage Tips
To keep your wraps fresh, store any leftovers in an airtight container in the refrigerator. They stay good for about two days without losing much texture or flavor. For longer storage, wrap each tightly in cling film and then foil before freezing. Thaw overnight in the fridge and crisp them up in a hot pan to bring back that grilled crunch just like fresh.
Ingredient Substitutions
If you want a lighter version, swap the ground beef for ground chicken or turkey. Vegetarians can use plant-based ground meat alternatives or cooked lentils seasoned similarly. Cheese options like mozzarella or pepper jack can change the flavor profile up a bit. For sauces, try swapping the ketchup and mustard basil mayo or barbecue sauce for a twist.
Serving Suggestions
These wraps go great with simple sides like crispy potato wedges or a fresh green salad. You can also serve them with pickles and extra dipping sauces like ranch or spicy ketchup to let everyone personalize their bites.
Recipe FAQs
- → What type of cheese works best for the wraps?
Cheddar is classic for melting smoothly, but alternatives like Gouda or Emmental also provide great creamy texture and flavor.
- → How do I ensure the wraps stay crispy after grilling?
Grill each side over medium heat just long enough to achieve a golden crust without overcooking. A light coating of oil on the pan helps crispiness.
- → Can I substitute the ground beef with other proteins?
Yes, ground chicken or plant-based meat alternatives are excellent swaps that maintain flavor and texture.
- → What sauces complement the grilled wraps well?
Ketchup and mustard blend perfectly, adding tang and sweetness that balances the savory beef and cheese.
- → How should I store leftover wraps?
Keep them in an airtight container in the refrigerator for up to 2 days or freeze wrapped tightly for up to one month. Reheat gently to restore crispiness.
- → Can these wraps be enjoyed cold?
Absolutely, cold wraps work great as a picnic snack or quick bite, offering fresh textures and flavors without reheating.