
 Save
Save
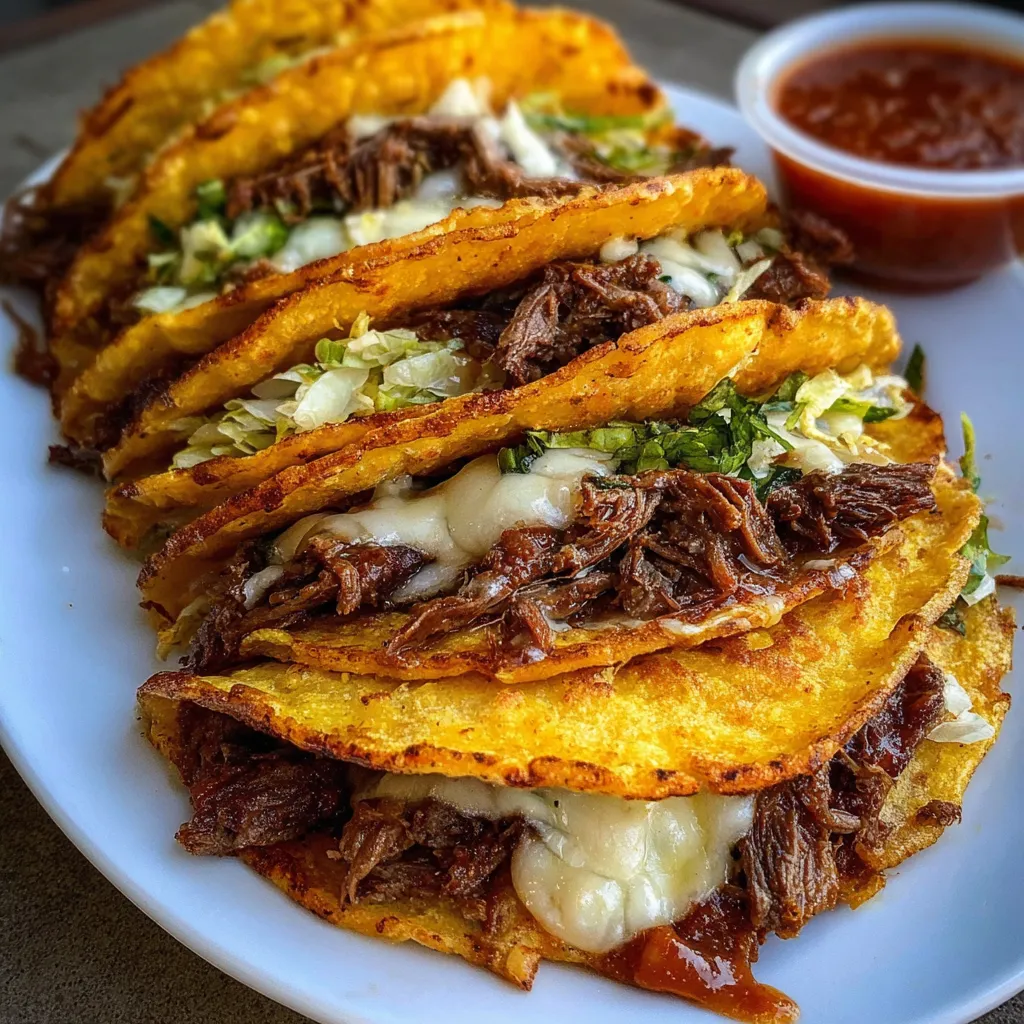
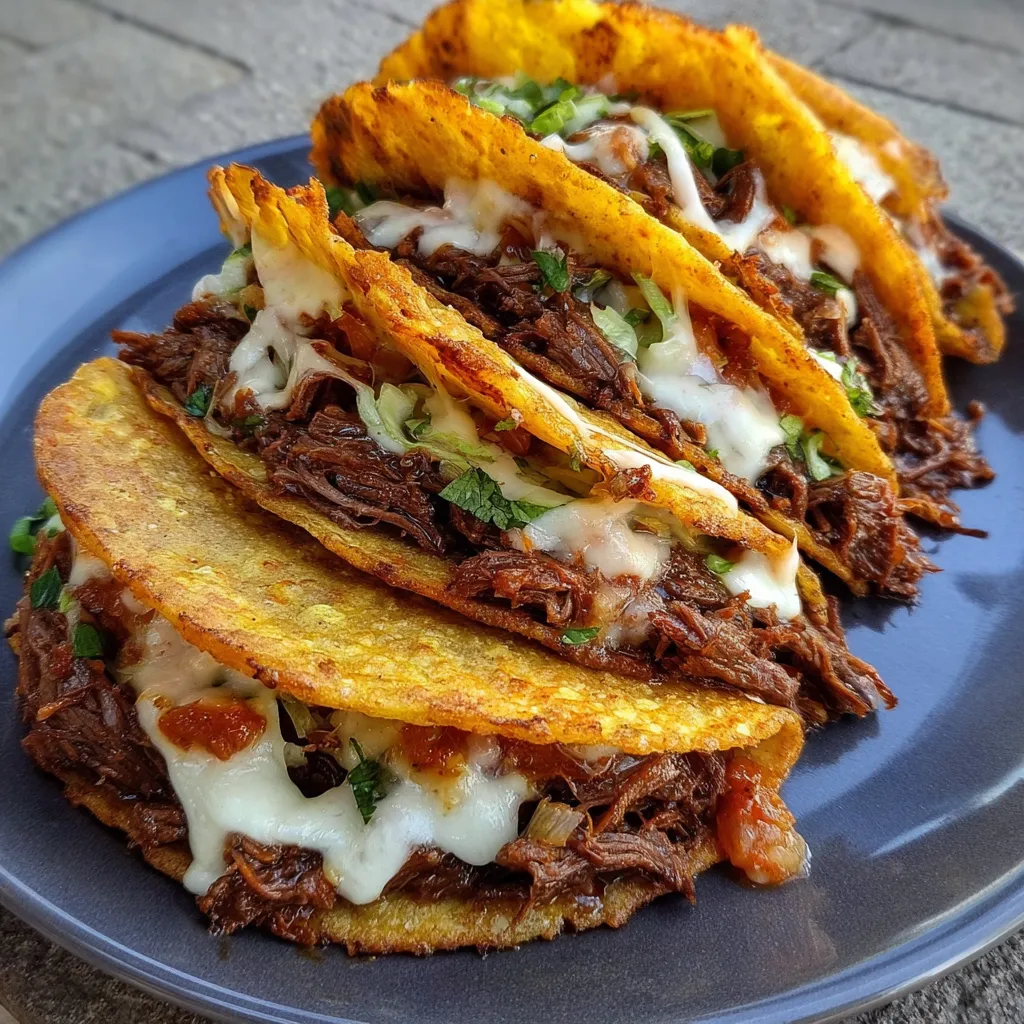
These golden crispy beef tacos bring a satisfying crunch combined with a rich, seasoned beef filling. They come together quickly in the oven and deliver the perfect mix of melted cheese and fresh toppings, making them a go-to for weeknight dinners or casual gatherings.
I first made these tacos for a weekend game day and they vanished so fast that they are now a regular request whenever friends come over.
Ingredients
- One pound ground beef: for meaty and flavorful filling choose lean to reduce grease
- One small onion finely diced: adds sweetness and depth
- Two cloves garlic minced: boosts aroma and flavor complexity
- One packet taco seasoning or homemade mix: provides classic Mexican spices, fresh ground cumin is a great touch
- Two thirds cup tomato sauce or salsa: keeps the beef juicy and adds tang
- Salt and pepper to taste: essential for balancing flavors
- Eight hard taco shells: look for sturdy shells that hold the filling well without cracking
- Two cups shredded cheese such as cheddar Monterey Jack or a Mexican blend: melts nicely and adds creamy richness
- One cup shredded lettuce: fresh texture and contrast
- Half cup diced tomatoes: adds juiciness and brightness
- Quarter cup diced red onion: sharp and crunchy bite
- Two tablespoons chopped cilantro: optional but adds a fresh herbal note
- Sour cream guacamole jalapeño slices and hot sauce: optional for serving to suit your desired flavor and spice level
Step-by-Step Instructions
- Preheat the Oven:
- Heat the oven to four hundred degrees Fahrenheit or two hundred degrees Celsius. Arrange the taco shells upright in a baking dish to keep their shape during baking.
- Cook the Beef Mixture:
- Heat a skillet over medium heat and add the ground beef and diced onion. Cook until the beef is thoroughly browned and onions are soft which usually takes about five to seven minutes. Drain any excess fat to avoid soggy tacos. Add the minced garlic and taco seasoning stirring for one minute until fragrant. Pour in the tomato sauce or salsa and let it simmer gently for five minutes to blend the flavors and reduce some of the liquid.
- Assemble the Tacos:
- Carefully spoon the seasoned beef into each prepared taco shell spreading evenly. Top each with a generous amount of shredded cheese which will melt in the oven.
- Bake to Crisp and Melt:
- Place the baking dish with the filled tacos into the oven. Bake for ten to fifteen minutes until the cheese melts fully and the taco shells turn a golden crisp.
- Add Fresh Toppings and Serve:
- Remove the tacos from the oven. Add shredded lettuce diced tomatoes diced red onion and chopped cilantro on top. Serve warm with optional sour cream guacamole jalapeño slices or hot sauce alongside for extra creaminess heat and flavor.
 Save
Save
I love the way the cheese melts just right over the crispy shells creating a satisfying texture contrast. This recipe recalls a family night when my kids helped assemble their own tacos making it both fun and delicious.
Storage Tips
Store leftover beef mixture in an airtight container in the refrigerator for up to three days. Keep taco shells separate to maintain crispness. Reheat beef gently on the stove or in the microwave before assembling again. For assembled tacos it is best to add fresh toppings after reheating to avoid sogginess.
Ingredient Substitutions
Ground turkey or chicken can replace beef for a leaner option. Use a dairy-free cheese substitute if needed. If you do not have a taco seasoning packet homemade mixes with chili powder cumin paprika and garlic powder work well. Soft tortillas can be used instead of hard shells though the texture will be different.
Serving Suggestions
Serve with Mexican rice and beans for a complete meal. A side of corn salad or pickled jalapeños adds brightness and contrast. These tacos also pair wonderfully with a cold cerveza or a fresh lime margarita.
Cultural Context
Tacos have long been a cherished staple of Mexican cuisine representing a versatile and family-friendly meal. These baked tacos bring a modern oven-friendly twist to the classic street food style often found with more traditional pan-fried tortillas.
Pro Tips
Toast your taco seasoning spices before cooking to enhance the aroma and flavor. Do not skip draining cooked beef fat or it can make the taco shells soggy quickly. For extra crispness place the tacos under a broiler for the last one to two minutes but watch closely to avoid burning.
Recipe FAQs
- → What cut of beef is best for these tacos?
Ground beef with moderate fat content works best, as it provides flavor and moisture without becoming greasy.
- → Can I bake the taco shells ahead of time?
Yes, baking the shells in advance helps them stay crispy. Store in an airtight container until ready to assemble.
- → How can I make the filling spicier?
Adding jalapeño slices or extra chili powder to the beef mixture boosts the heat for a more robust flavor.
- → What cheeses are suitable for melting on tacos?
Cheddar, Monterey Jack, or Mexican cheese blends melt well and complement the beef's savory profile.
- → Are there gluten-free options for the shells?
Yes, many stores offer gluten-free hard taco shells made from corn that maintain crisp texture when baked.
- → Can these tacos be prepared in advance?
The beef filling can be made ahead and reheated. Assembling and baking just before serving keeps the shells crisp.