
 Save
Save
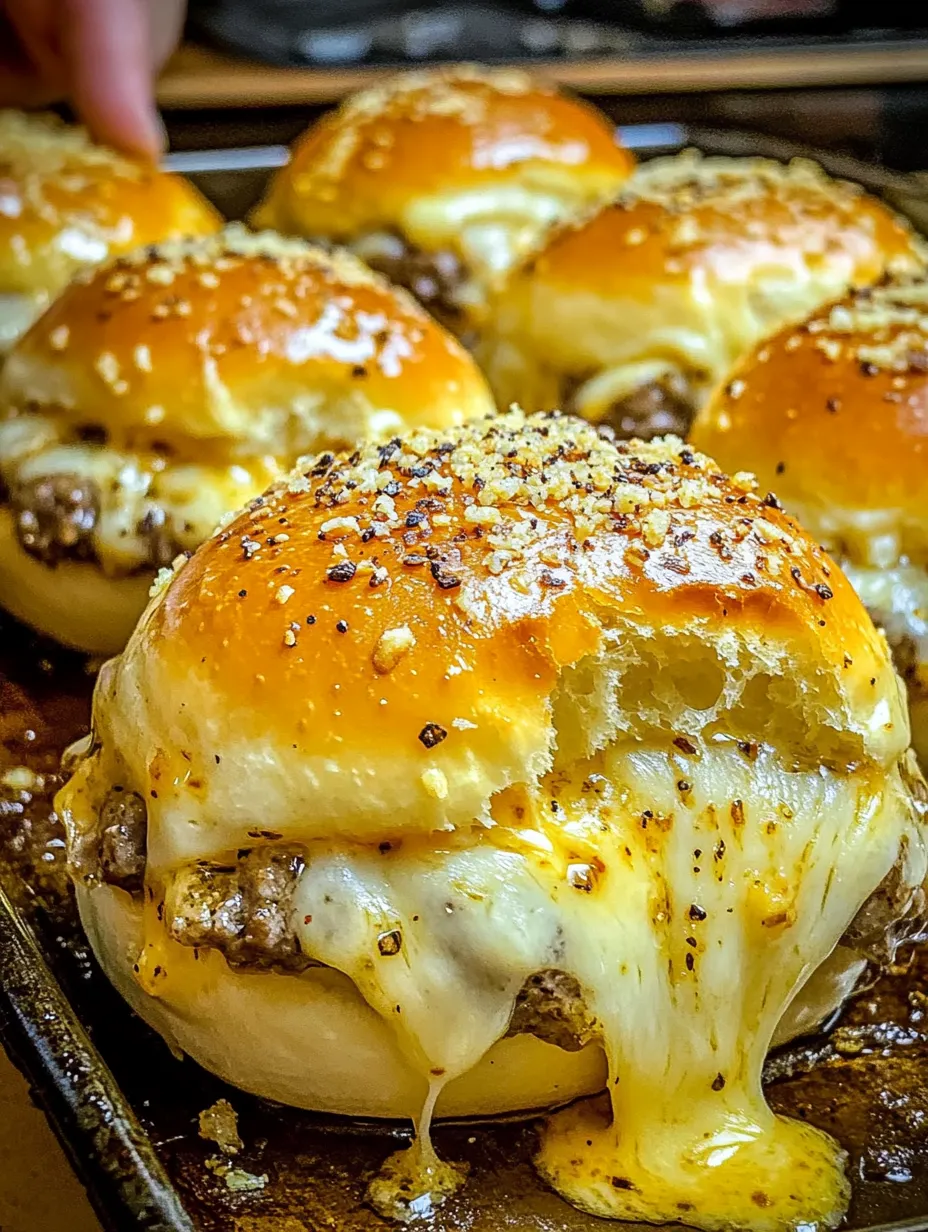
These garlic parmesan cheeseburger bombs turn a regular weeknight or party snack into something everyone raves about. Each golden biscuit wraps juicy beef, sharp parmesan, stretches of cheddar, and that irresistible garlic butter finish. My family went wild for these the first time I made them—no leftovers and nothing but smiles.
I made these for our movie night and they vanished before the opening credits rolled. Now my friends beg me to bring them to every get-together.
Ingredients
- Ground beef: One pound is just right picks up flavor and stays moist
- Garlic: Fresh cloves add deep savory flavor go for firm unblemished bulbs
- Parmesan cheese: A third cup shredded or finely chopped good aged cheese brings nutty sharpness
- Cheddar cheese: A third cup cubed gives gooey melt and classic cheeseburger taste use sharp blocks for best results
- Biscuit dough: Canned tubes make this fast find flaky style for better texture
- Butter: Two tablespoons melted for brushing brings golden shine and helps toppings stick use real butter
- Parsley: Fresh chopped for a pretty finish and a pop of freshness look for vibrant green leaves
Step-by-Step Instructions
- Heat the Oven:
- Get your oven to three seventy five so it is hot and ready when you need it. Line your baking sheet with parchment so nothing sticks and cleanup is a breeze.
- Brown the Beef:
- Cook your ground beef with the minced garlic over medium-high heat. Take six to eight minutes to really brown the meat and let the garlic get fragrant. When no pink remains drain off extra fat so the filling is savory not greasy.
- Cheese It Up:
- Take the skillet off the heat and stir in both cheeses. The hot meat will gently melt the chunks making the mixture creamy and evenly cheesy. Make sure every spoonful gets cheese.
- Shape the Biscuits:
- Pop open the biscuit tube and carefully split into individual pieces. With clean hands flatten each one into a circle about four inches across. They should be thin but not tearing.
- Fill and Seal:
- Spoon a generous pile of beef cheese mix into the center of each dough circle. Bring the edges up and pinch them closed using your fingers to really seal tight. No cracks means no leaks.
- Brush and Bake:
- Set the bombs seam side down on your lined tray. Brush each with melted butter making sure every spot is covered. This gets them that signature golden hue. Slide tray into the oven.
- Bake to Perfection:
- Check after twelve minutes but go up to fifteen. The tops should be puffed and deeply golden. You might smell the garlic and cheese wafting out.
- Garnish and Serve:
- Let bombs cool a couple of minutes so no one gets burned. Finish with chopped parsley sprinkled over the top. Serve warm and watch them fly off the plate.
 Save
Save
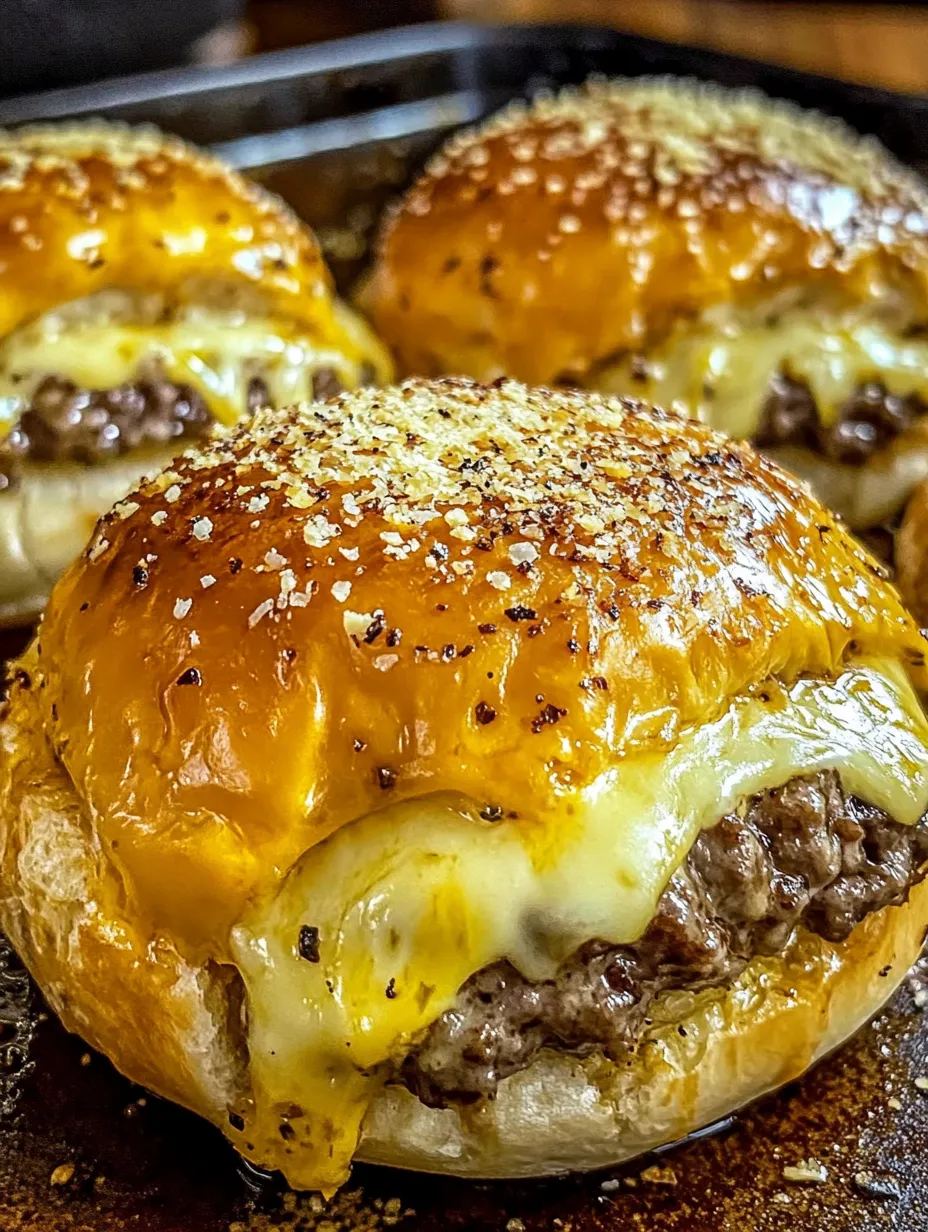
Parmesan is my hands-down favorite here it adds a salty tang that balances the richness—and picking those golden crusty bits off the tray is my secret pleasure. The first time my grandmother tried one she laughed out loud and said it tasted like everything good about a burger but easier to eat.
Storage Tips
Keep extra cheeseburger bombs wrapped tightly in foil or in an airtight container for up to three days in the fridge. When ready to reheat pop them in a hot oven for five to eight minutes until crisp and warm all the way through. Microwaving works but the crust gets softer.
Ingredient Substitutions
You can swap cheddar for mozzarella or pepper jack if you want creamier or spicier bombs. If using frozen meat instead of fresh be sure it is fully thawed and patted dry to avoid soggy fillings. For the dough try pizza dough or even homemade biscuit dough for a different texture and a more hands-on experience.
Serving Suggestions
Pairs perfectly with tangy ranch dip zesty marinara or classic burger sauce for dunking. Add a fresh green salad or crunchy veggie slaw on the side and you have an easy meal. For parties set these out on a platter with a variety of dips to suit every guest.
 Save
Save
Cultural and Historical Bite
This dish takes classic American cheeseburger flavors and wraps them in the tradition of stuffed hand pies. It blends nostalgia for fast food with the cozy fun of home baking. Every bite feels like a little taste of diner comfort made easy for families and gatherings.
Recipe FAQs
- → Can these be prepared in advance?
Yes, you can prepare the filling ahead of time, but it’s best to assemble and bake the biscuits just before serving to keep the dough tender and fluffy.
- → How do I prevent the cheese from leaking out?
Make sure to seal the biscuit edges firmly and double-check for any gaps or thin spots before baking to keep the filling inside.
- → What biscuit dough works best for these bombs?
Large, flaky buttermilk biscuit dough is ideal as it’s easy to flatten and fold around the filling, yielding a tender crust.
- → Can I freeze these for later?
After baking and cooling completely, freeze the bombs wrapped tightly. Reheat in the oven until warmed through for a quick snack.
- → What variations can I try with the filling?
Adding diced onions, mushrooms, or cooked bacon enhances flavor. Avoid wet ingredients that could make the dough soggy.
- → How can I add a spicy twist?
Incorporate pepper flakes or chopped jalapeños into the beef mixture, or serve with a spicy mayo dip for extra heat.