
 Save
Save
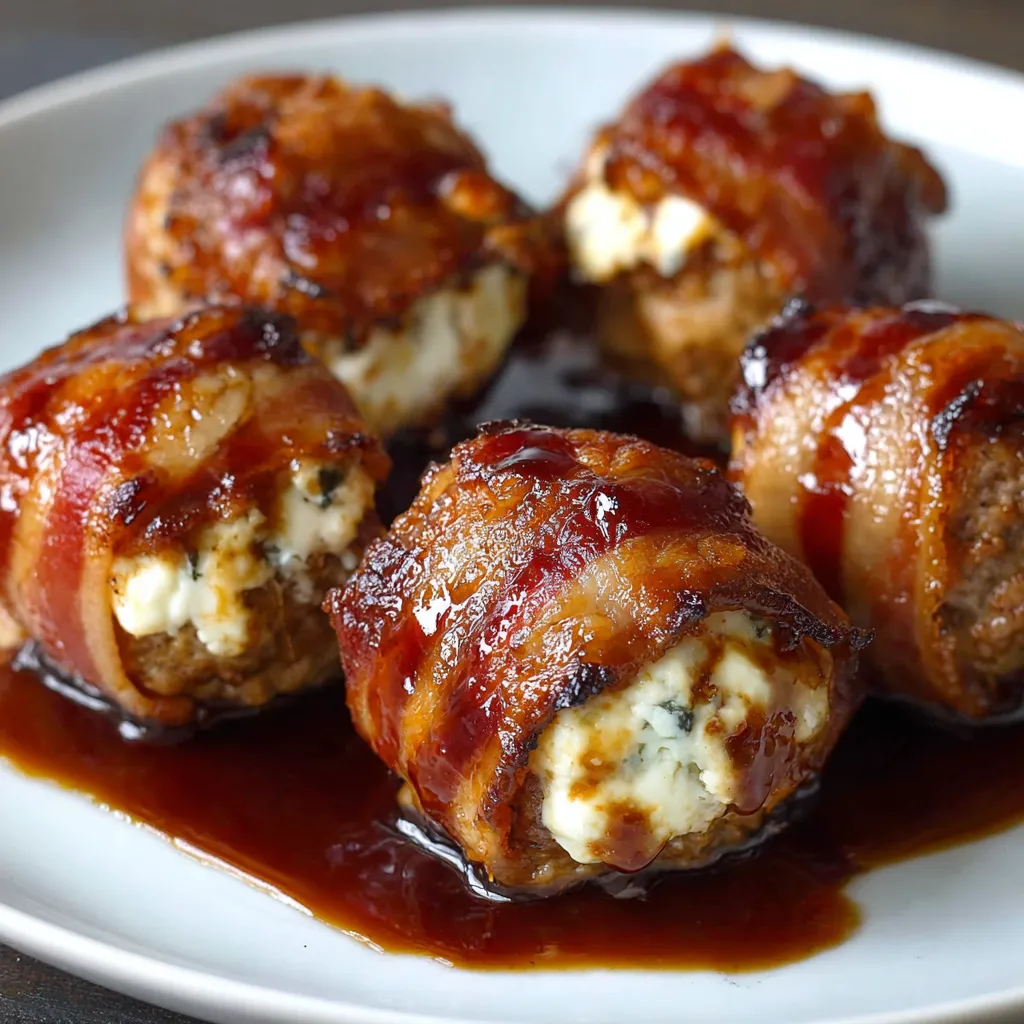
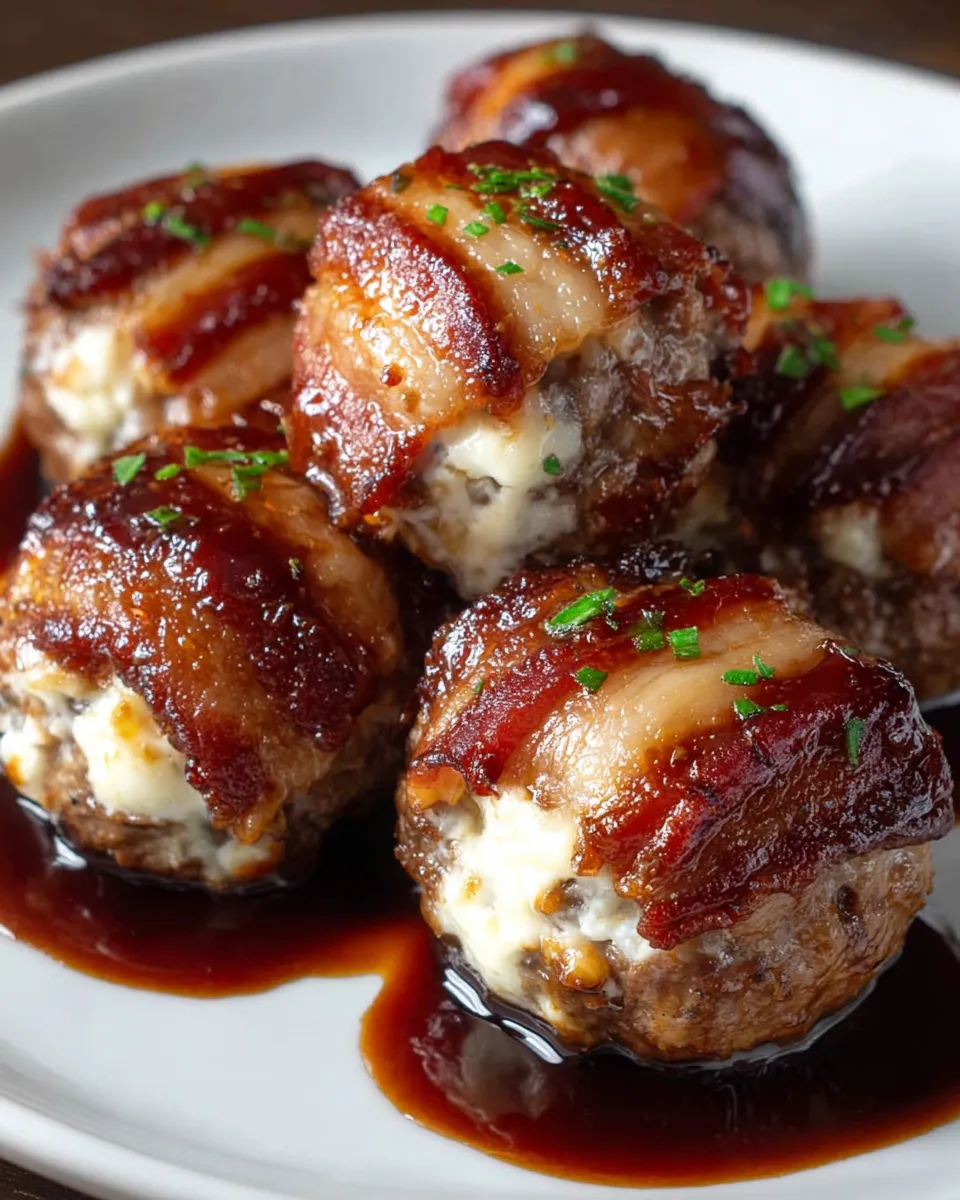
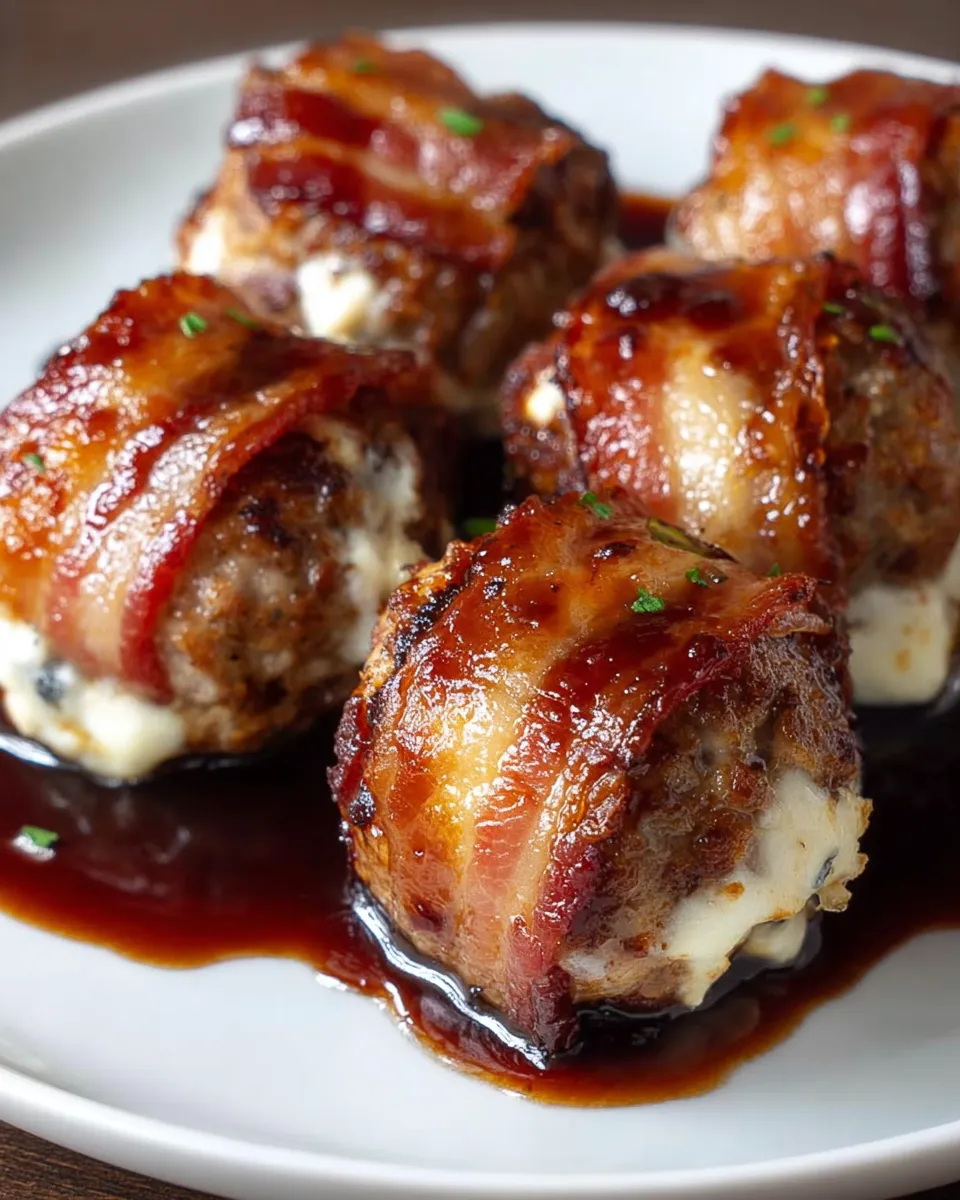
Cheddar-Stuffed BBQ Bacon Bombs are the ultimate crowd-pleaser for any gathering. Combining juicy ground beef, melted cheddar cheese, smoky bacon, and a tangy BBQ glaze, these bites deliver savory satisfaction with every mouthful. They are perfect for game day, potlucks, or casual get-togethers where flavor and ease matter most.
I first made these for a summer BBQ and they disappeared faster than I expected. Now they’re my go-to when friends come over because everyone loves that cheesy bacon combo.
Ingredients
- Ground beef: the base for juicy flavor, choose 80/20 for the best fat balance
- Breadcrumbs: help keep the bombs tender by absorbing moisture
- Egg: binds all the ingredients together so they hold shape well
- Salt: enhances the natural meat and cheese flavors
- Black pepper: adds just enough heat
- Garlic powder: brings subtle aromatic depth
- Onion powder: complements the garlic with gentle sweetness
- Shredded cheddar cheese: the melty heart of the bomb, sharper cheddar works fantastic
- Bacon slices: thick-cut preferred to get that perfect crisp without burning
- BBQ sauce: glaze that delivers tangy sweetness on top, pick your favorite style
Step-by-Step Instructions
- Preheat the Oven:
- Set your oven to 375 degrees Fahrenheit or 190 degrees Celsius so it’s hot and ready to crisp the bacon perfectly.
- Mix the Meat Mixture:
- In a large bowl, combine ground beef, breadcrumbs, egg, salt, pepper, garlic powder, and onion powder. Mix thoroughly but gently to avoid overworking the meat.
- Form the Cheddar-Stuffed Meatballs:
- Take a handful of the meat mixture, press cheddar cheese in the center, and mold the meat around the cheese to form a sealed ball.
- Wrap with Bacon:
- Wrap each meatball tightly with one slice of bacon, ensuring the bacon overlaps slightly to stay secure during cooking.
- Place and Glaze:
- Arrange the bacon-wrapped meatballs on a baking sheet. Brush each generously with your chosen BBQ sauce to add sticky, smoky flavor.
- Bake Until Crispy:
- Place the tray in the oven and bake for 25 to 30 minutes or until the bacon is crispy and beef is cooked through. Use a meat thermometer to confirm the internal temperature hits 160 degrees Fahrenheit.
- Serve Hot:
- These are best enjoyed right from the oven to savor the melty cheddar and crispy bacon combo at its peak.
 Save
Save
One of my favorite parts is biting into the molten cheddar center wrapped in smoky bacon, it’s a nostalgic crowd-pleaser that reminds me of cookouts with family and friends lounging in the backyard sharing laughs.
Storage Tips
Store any leftovers in an airtight container in the refrigerator for up to 3 days. Reheat in a hot oven to bring back the crispiness of the bacon. These also freeze great before baking; just thaw overnight in the fridge and bake as usual.
Ingredient Substitutions
- Ground turkey or chicken: can be used for a lighter version though watch cooking times
- Pepper jack cheese: instead of cheddar for a little spicy kick
- Maple or honey BBQ sauce: can add sweetness variation if you want something different
Serving Suggestions
- Pair these bombs with a simple coleslaw or corn on the cob for a full summer meal
- Offer ranch or blue cheese dipping sauces on the side for guests who love extra creaminess
- Serve on slider buns for easy handheld sandwiches that everyone will fight over
 Save
Save
Recipe FAQs
- → How do I ensure the bacon crisps nicely during baking?
Using thick-cut bacon and baking at 375°F helps the bacon render fat and crisp up without burning. Brushing with BBQ sauce towards the end keeps it moist yet caramelized.
- → Can I substitute cheddar with other cheeses?
Yes, semi-hard cheeses like Monterey Jack or gouda work well, offering a similar melt and mild flavor that complements the beef and bacon.
- → What is the best way to check the meat is fully cooked?
Use a meat thermometer to ensure the internal temperature reaches 160°F, which guarantees the beef is safely cooked while retaining juiciness.
- → How can I adjust the BBQ glaze flavor?
Add honey or brown sugar for extra sweetness, or a dash of hot sauce for a spicy kick. Brush the glaze on during last 10 minutes of baking to prevent burning.
- → Any tips for shaping the meat bites evenly?
Using your hands or a scoop, form uniform balls around the cheese chunk, ensuring the filling is fully encased to prevent leaking during baking.