 Save
Save
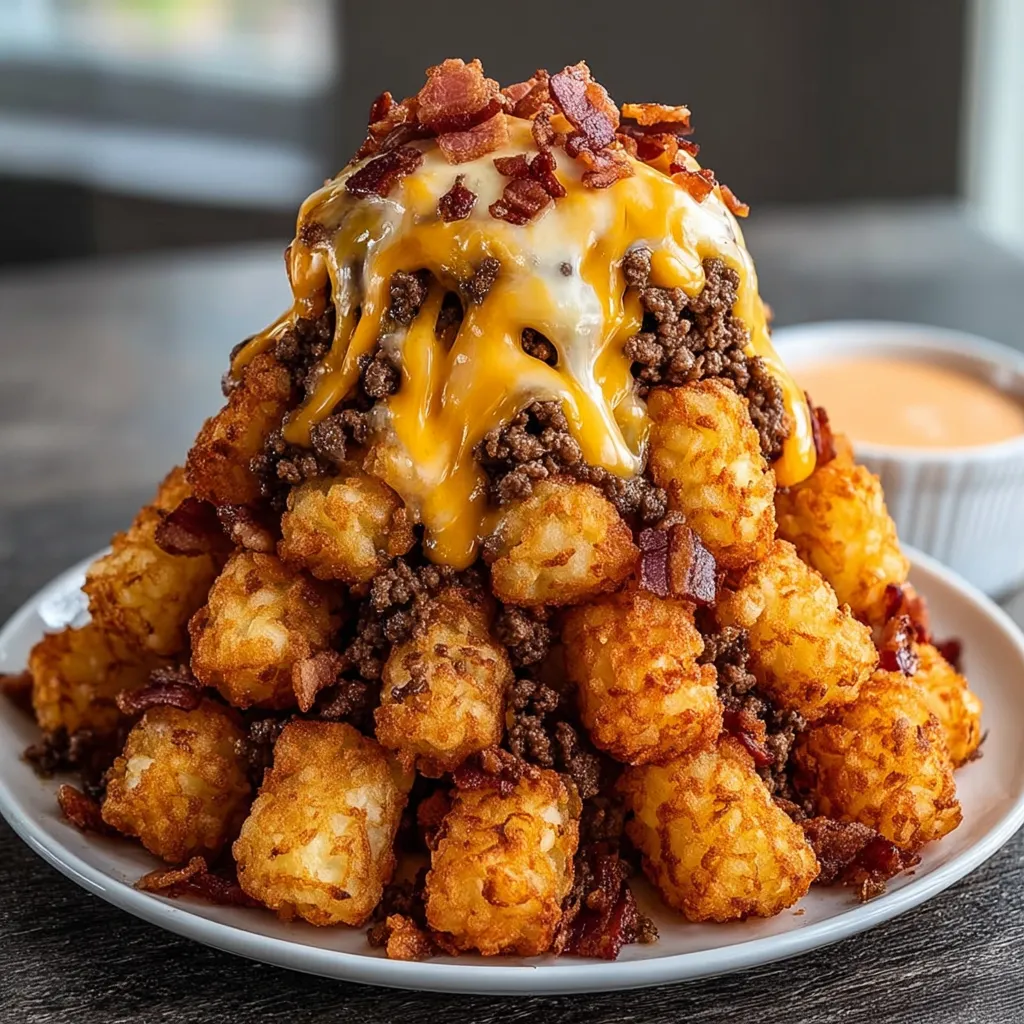
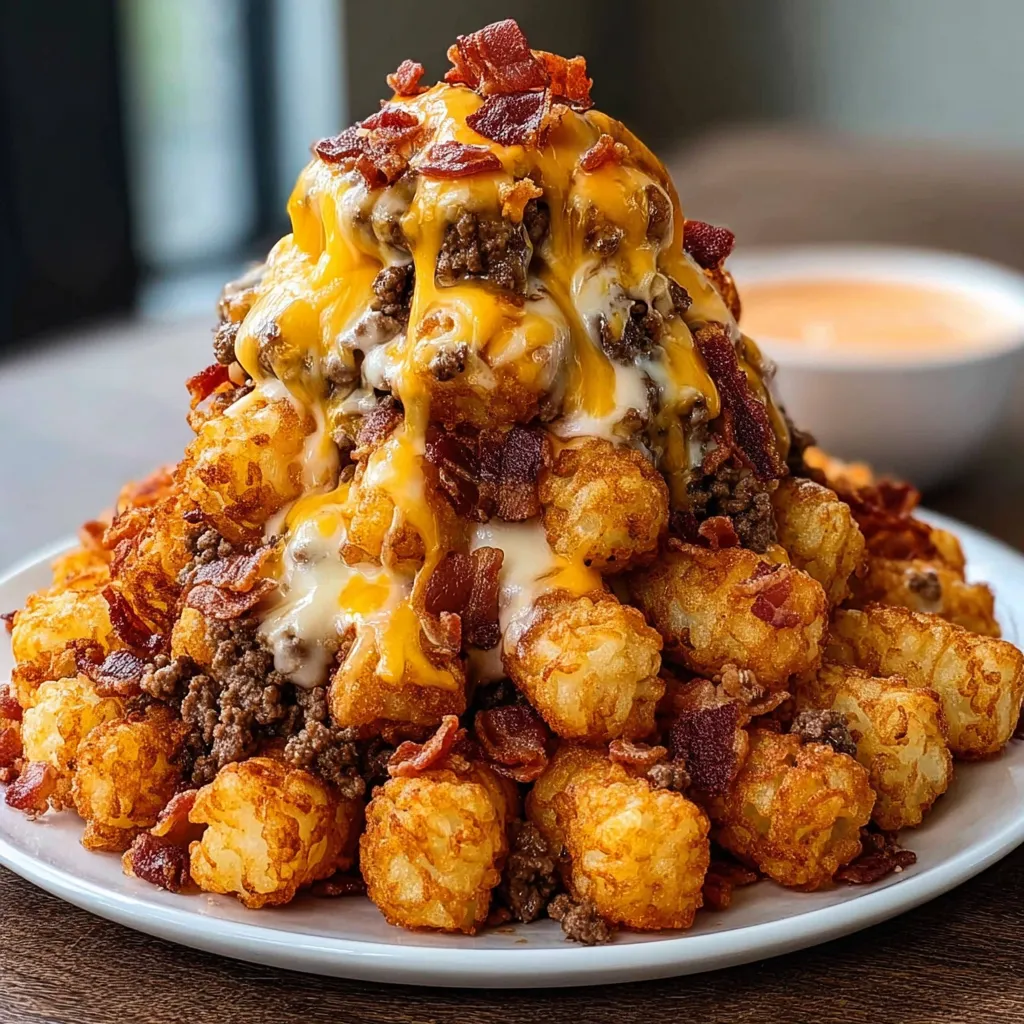
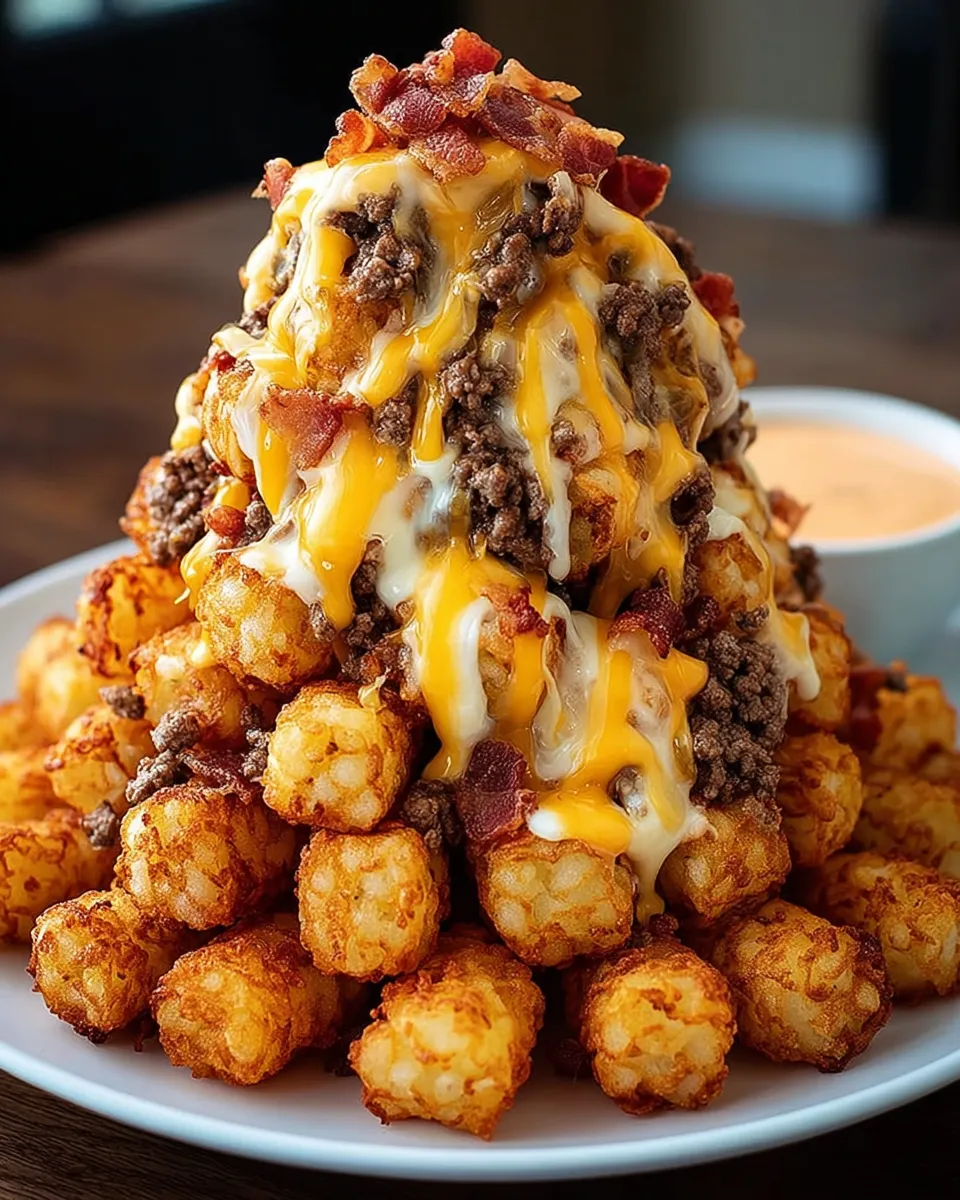
These bacon cheeseburger tater tot cones bring together everything you love about a classic burger and crispy tater tots in one ingenious handheld package. The golden potato exterior holds a savory filling of seasoned ground beef, crispy bacon, and melted cheese, creating the ultimate comfort food fusion. I stumbled upon this idea during a football party when I wanted something more exciting than regular appetizers, and these became the star of the spread that had everyone asking for the recipe.
The first time I served these at a family gathering, my teenage nephew declared them "genius food" and my sister immediately demanded I teach her how to make them. There's something magical about the way the crispy potato shell gives way to the warm, cheesy filling that makes these irresistible.
Ingredients
- Ground beef: choose 80/20 blend for the best flavor and moisture balance
- Beef bacon: cooked until crispy and crumbled for smoky richness throughout
- Frozen tater tots: look for the larger oval shaped ones that hollow out easily
- Shredded cheddar cheese: sharp variety melts beautifully and adds tangy depth
- Shredded mozzarella cheese: provides the stretchy melted cheese effect
- Diced onions: use yellow onions for sweetness that balances the meat
- Ketchup: adds tomato flavor and helps bind the filling
- Mayonnaise: creates creaminess and prevents the mixture from being too dry
- Mustard: yellow mustard works best for that classic burger taste
- Salt and black pepper: to taste for proper seasoning of the meat mixture
Step by Step Instructions
- Prepare the Oven and Beef Mixture:
- Preheat your oven to 425°F which provides the high heat needed to crisp the potato exteriors while melting the cheese. In a large skillet over medium heat, cook the ground beef, breaking it apart with a wooden spoon until no pink remains and the meat is nicely browned, about 8 to 10 minutes.
- Build the Flavor Base:
- Drain excess fat from the cooked beef, leaving just enough to keep the mixture moist. Add the crumbled bacon, diced onions, ketchup, mayonnaise, and mustard to the beef. Season generously with salt and pepper, then mix everything thoroughly until well combined. The mixture should hold together but not be soggy.
- Create the Tater Tot Shells:
- Using a small sharp knife or narrow spoon, carefully hollow out each frozen tater tot to create a cone shaped cavity. Work slowly to avoid cracking the potato shell. You want to remove enough filling to create space for the beef mixture while keeping the walls thick enough to hold their shape during baking.
- Fill and Top the Cones:
- Spoon the prepared beef mixture into each hollowed tater tot, packing it gently but firmly. Top each filled cone with a generous sprinkle of shredded cheddar cheese, pressing it lightly to help it adhere to the filling.
- First Bake for Structure:
- Arrange the stuffed cones on a parchment lined baking sheet, spacing them evenly for proper air circulation. Bake for 15 to 20 minutes until the tater tots turn golden brown and the cheddar cheese melts completely.
- Add the Final Cheese Layer:
- While the cones bake, mix the mozzarella cheese with any remaining beef mixture in a bowl. Remove the cones from the oven and top each with a generous amount of this mozzarella mixture, creating a nice mound on top.
- Final Bake for Golden Perfection:
- Return the topped cones to the oven for an additional 5 to 10 minutes until the mozzarella becomes bubbly and develops golden brown spots. Let cool for 2 to 3 minutes before serving to prevent burns from the molten cheese.
 Save
Save
You Must Know
Each cone provides about 200 calories making them substantial enough for a main appetizer. The double cheese layer creates an irresistible stretchy pull when you bite into them. These freeze beautifully unbaked for up to 2 months for future entertaining. The combination of textures from crispy potato, tender meat, and melted cheese satisfies multiple cravings.
Make Ahead and Storage Tips
These cones are perfect for entertaining because you can assemble them up to 4 hours before your guests arrive. Simply cover with plastic wrap and refrigerate, then bake directly from cold, adding 2 to 3 extra minutes to the cooking time. Leftover cones keep in the refrigerator for up to 3 days and reheat beautifully at 375°F for 8 to 10 minutes, which restores their crispy texture better than microwaving.
Creative Variations
Transform these cones by swapping the ground beef for ground turkey seasoned with burger spices, or try a breakfast version using breakfast sausage, scrambled eggs, and breakfast cheese. For a spicier kick, add diced jalapeños to the beef mixture or use pepper jack cheese instead of cheddar. Vegetarians can substitute the meat with seasoned black beans or plant based ground meat alternatives.
 Save
Save
Serving and Presentation Ideas
Arrange these cones on a large platter with small bowls of extra ketchup, mustard, and ranch dressing for dipping. They pair wonderfully with crispy french fries, onion rings, or a simple green salad to balance the richness. For parties, consider making a variety of dipping sauces like garlic aioli, sriracha mayo, or barbecue sauce to let guests customize their experience.
Recipe FAQs
- → Can I prepare the tater tot cones in advance?
Yes, assemble them up to 4 hours ahead and bake from cold. Just add 2–3 extra minutes to the baking time.
- → Can I freeze unbaked tater tot cones?
Absolutely. Freeze them for up to 2 months and bake directly from frozen, increasing bake time by 5–8 minutes.
- → What cheese melts best in this dish?
Freshly shredded mozzarella gives the best melt on top. Cheddar adds sharpness inside the filling.
- → How should I reheat leftovers?
Reheat at 375°F for 8–10 minutes to restore crispiness and ensure the center is warm and gooey.
- → Can I substitute the beef bacon?
Yes, turkey bacon or regular pork bacon can be used depending on dietary preferences.
