 Save
Save
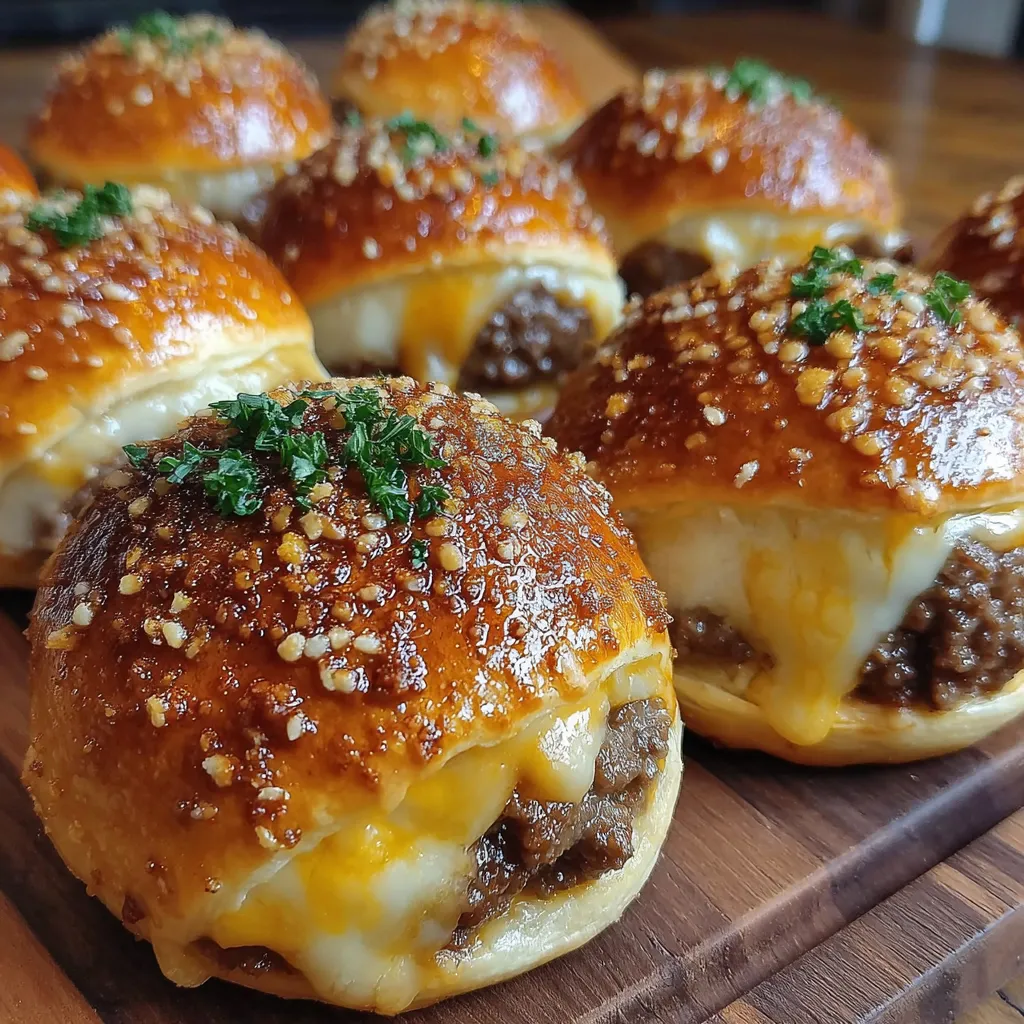
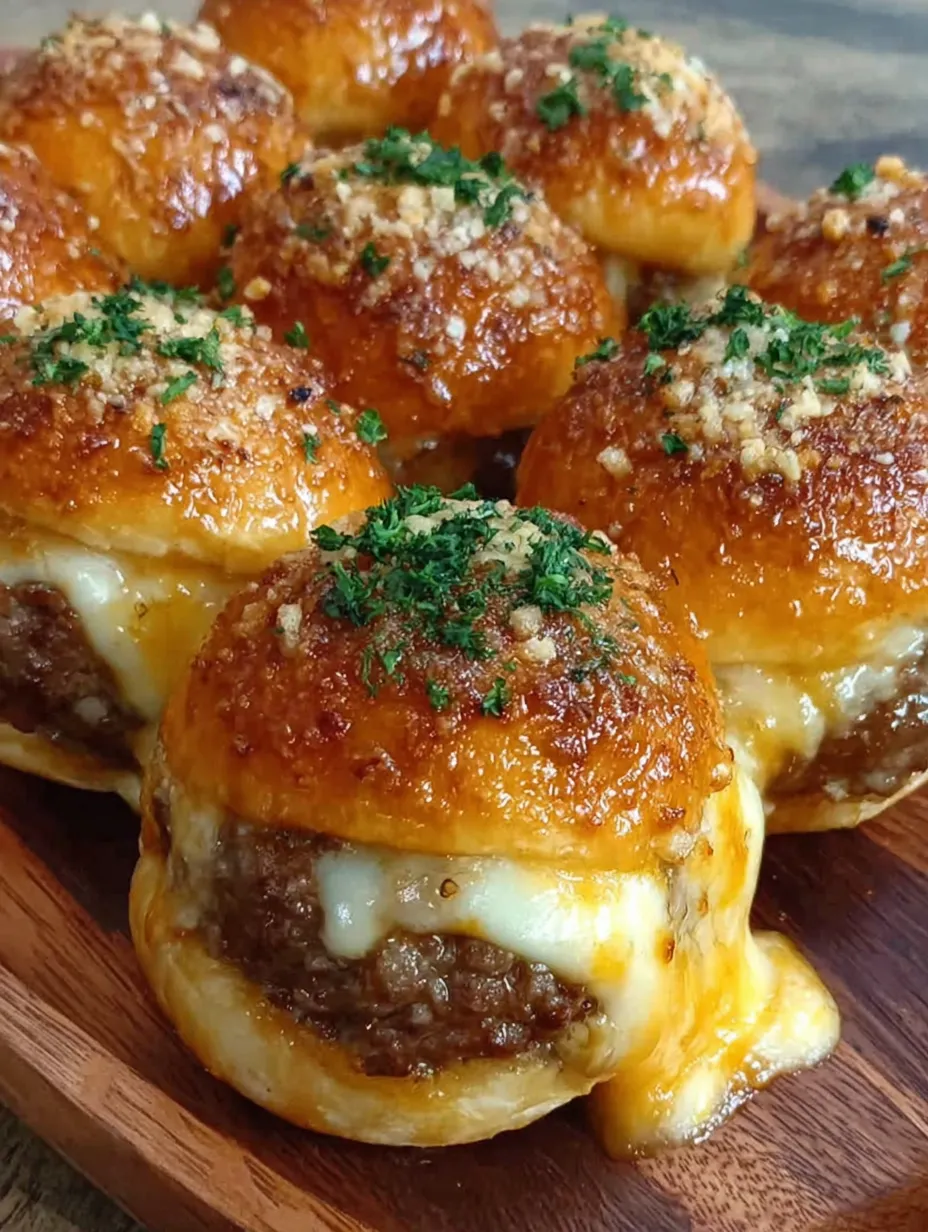
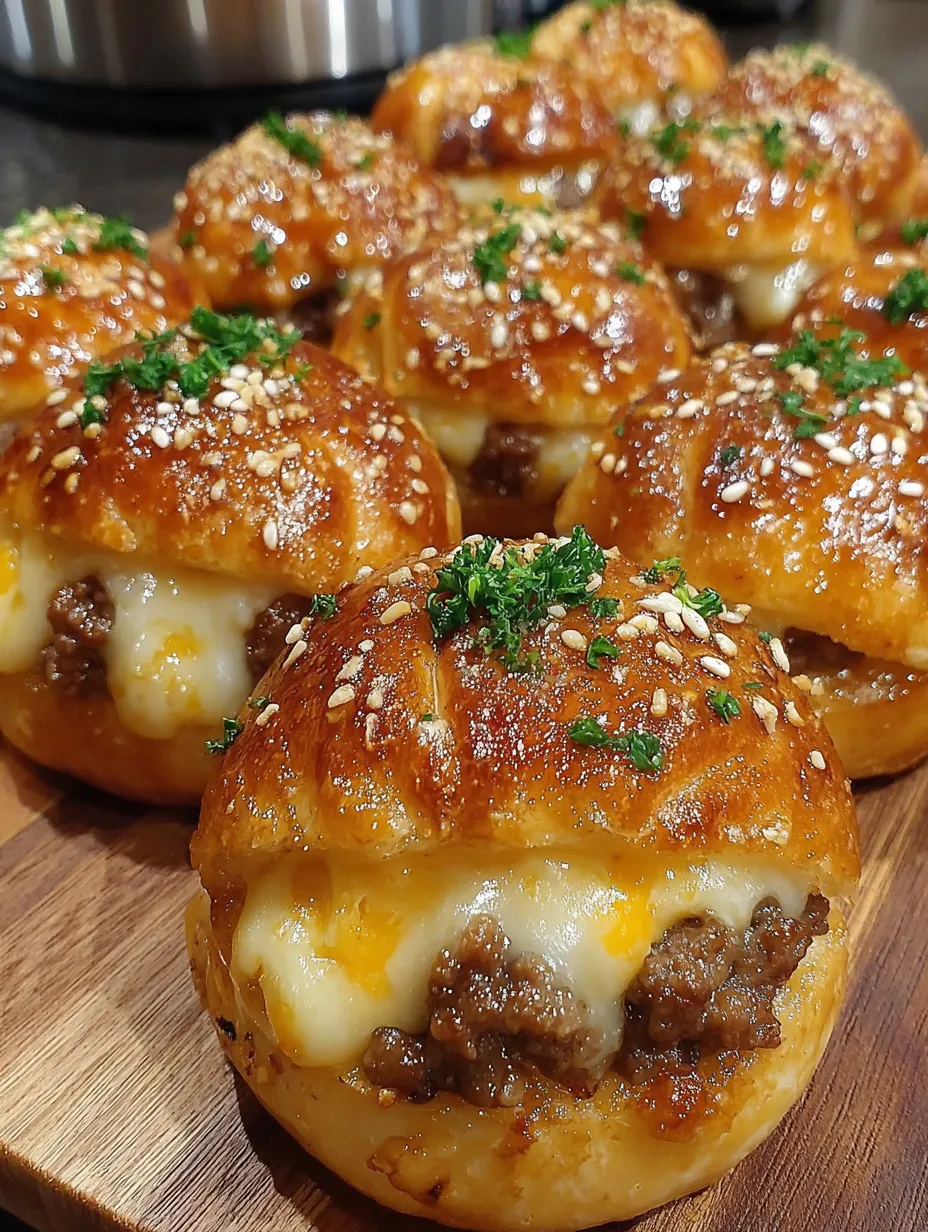
Garlic parmesan cheeseburger bombs are the ultimate party snack that transforms basic burger flavors into fun, golden bites you pull apart and devour hot from the oven. The simple process pairs seasoned beef and gooey cheese inside pillowy dough, with rich garlic butter and a sprinkle of parmesan for a bakery-style finish. It is guaranteed to impress friends or family and people always ask for the recipe as soon as the tray hits the table. Once you experience the crunchy top and melty center, there is no going back to ordinary sliders or takeout.
I first came up with these when I was bored of plain cheeseburgers and wanted something grab and go for people hanging out in my kitchen. Watching guests light up as they break open a hot, cheesy bomb is still one of my favorite cooking memories.
Ingredients
- Ground beef: for classic burger satisfaction and hearty bite using an eighty twenty blend keeps it juicy but not oily
- Worcestershire sauce: for deep savory flavor and that true burger shop taste check for a version without unnecessary fillers
- Shredded sharp cheddar cheese: for iconic cheesy goodness pick a block and shred it yourself for best melt
- Refrigerated biscuit dough: for puffy tender crust and a shortcut that means less fuss in the kitchen check that the biscuits are cold for easy shaping
- Butter: for golden color and mouthwatering richness always use real unsalted butter for pure flavor
- Fresh garlic minced: for true garlic aroma and zing use plump bulbs without green sprouting inside
- Grated parmesan cheese: for the salty nutty top crust go for a wedge and grate fresh for vibrant flavor
- Salt pepper garlic powder onion powder: to round out and deepen the burger profile use high quality pantry seasonings for clean taste
- Fresh parsley (optional): for a burst of color and bright finish always choose leafy vibrant bunches
Step-by-Step Instructions
- Cooking Beef Mixture
- Brown ground beef in a large skillet on medium high stirring constantly with a spoon to break up all the lumps until the meat is browned and there are no pink spots about five to seven minutes. Drain the fat well so the filling stays light and does not make the bombs soggy.
- Seasoning the Filling
- Add salt pepper garlic powder onion powder and Worcestershire sauce to the beef in the skillet stir very thoroughly until every crumble is evenly coated. Turn off the heat and cool the mixture for five minutes to avoid melting the cheese too early.
- Combining With Cheese
- Stir in the shredded cheddar gently so the cheese mixes in but stays in distinct pockets. For add ins like bacon or pickles fold them in now just enough to combine without overmixing.
- Filling and Sealing Dough
- Flatten each biscuit or dough section gently into a three inch circle with your fingers work slowly so you do not rip the dough. Spoon about one heaping tablespoon of filling into the center and carefully pull the edges up over the beef pinching to seal tightly and then roll between your hands for a smooth round shape.
- Preparing for Baking
- Set the dough balls seam side down on a parchment lined baking sheet with about two inches space between each to allow for rise in the oven. This keeps the melted cheese locked in and avoids mess.
- Brushing and Topping
- Mix together melted butter and fresh garlic in a small bowl. Brush each dough ball all over with this mixture for good garlic coverage then sprinkle parmesan evenly on top for a crisp cheesy finish.
- Baking
- Bake in a preheated three hundred seventy five degree oven for fifteen to eighteen minutes until tops are golden and the biscuit dough is fully baked. They should sound slightly hollow if tapped.
- Adding Finishing Touches
- For extra flavor brush hot bombs with a little more garlic butter after baking. Scatter chopped parsley on top for a bright bakery look and let cool three to five minutes before serving so the insides are perfectly gooey and safe to eat.
 Save
Save
I am obsessed with the garlicky butter brushed on top which soaks into the dough and gets perfectly crispy under the parmesan. The first time I served these at a family birthday the batch barely made it ten minutes and everyone demanded the recipe before dessert.
Smart Make Ahead Strategy
Shaping and filling the bombs ahead of time then refrigerating until oven time is a lifesaver if you want to enjoy company instead of being stuck in the kitchen. Always remember to add two or three minutes extra in the oven if you are starting them cold for even cooking. Leftovers can go in a freezer bag for up to three months and come out tasting just as good as the day they were made after a quick trip through the oven.
Creative Flavor Variations
You can fill the base with crumbled bacon for a smokier version or chopped pickles and relish for that classic burger shop zip. Kids absolutely go for pizza bombs with pepperoni and mozzarella. For a morning meal fill with cooked sausage scrambled eggs and cheese to make a breakfast bomb to go. If you have vegetarians swap in seasoned mushrooms or crumbled meatless products plus sharp cheese.
 Save
Save
Perfect Serving Ideas
Put out a tray with homemade ranch spicy mayo or a burger dipping sauce made from ketchup mayo and relish. These sauces really bring out the burger elements and make each bite more fun. Served hot from the oven with a big fresh salad or crispy hash browns they turn into a full meal that feels special but took hardly any work.
Recipe FAQs
- → Can I use a different dough type?
Absolutely. Crescent roll dough, puff pastry, or homemade bread dough all produce great results. Adjust baking time as needed for your chosen dough.
- → How do I keep the filling from leaking?
Pinch and seal the dough edges firmly, then place each bomb seam-side down before baking. Don’t overfill to ensure even seals.
- → Can I prepare these in advance?
Yes—assemble fully and refrigerate, unbaked, for up to 24 hours or freeze for longer storage. Bake from cold, increasing time slightly if needed.
- → What are the best dipping sauces?
Ranch, spicy mayo, classic burger sauce, or marinara all pair deliciously, adding variety to each bite.
- → How do I reheat leftovers?
Warm in a 350°F oven for five to eight minutes, or use an air fryer for a crisper exterior in just a few minutes.
- → Are vegetarian versions possible?
Definitely—swap in plant-based grounds, sautéed mushrooms, beans, or a mix of vegetables with cheese for tasty alternatives.
