
 Save
Save
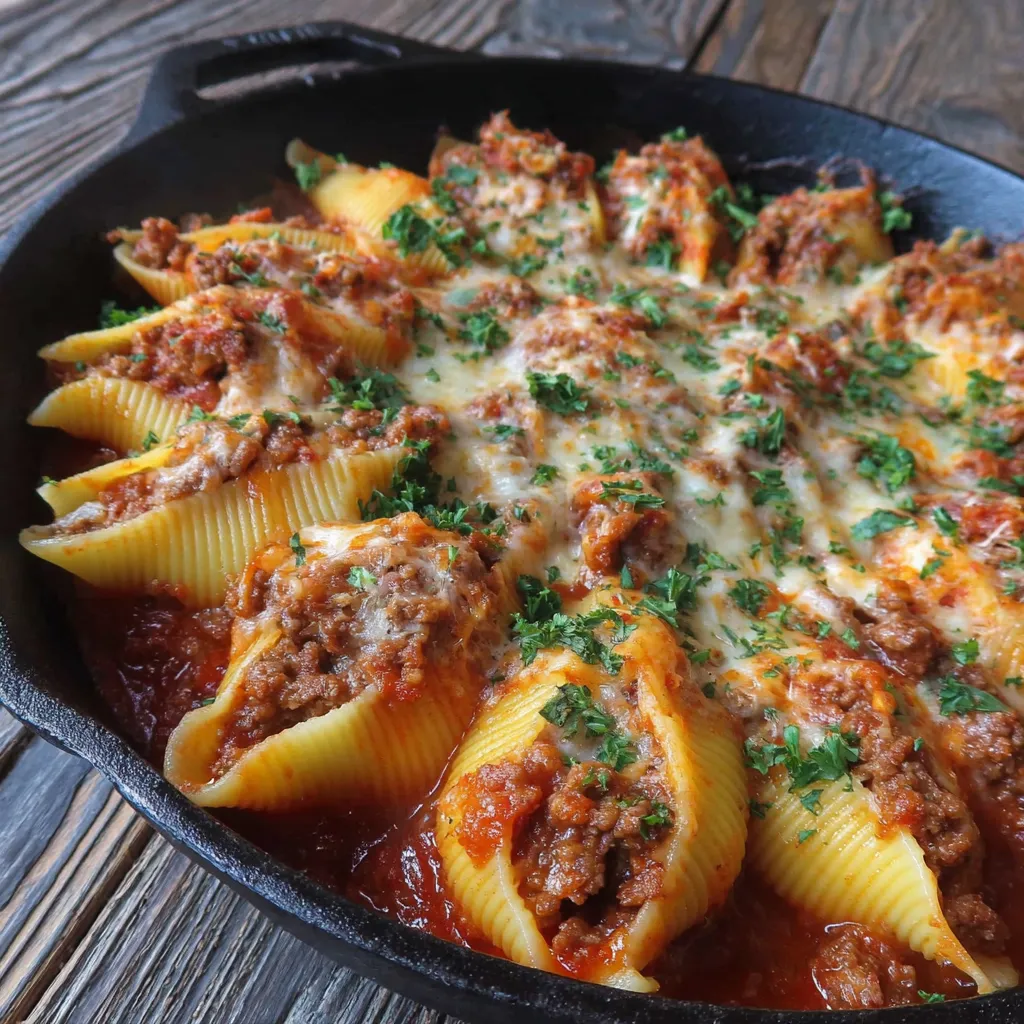
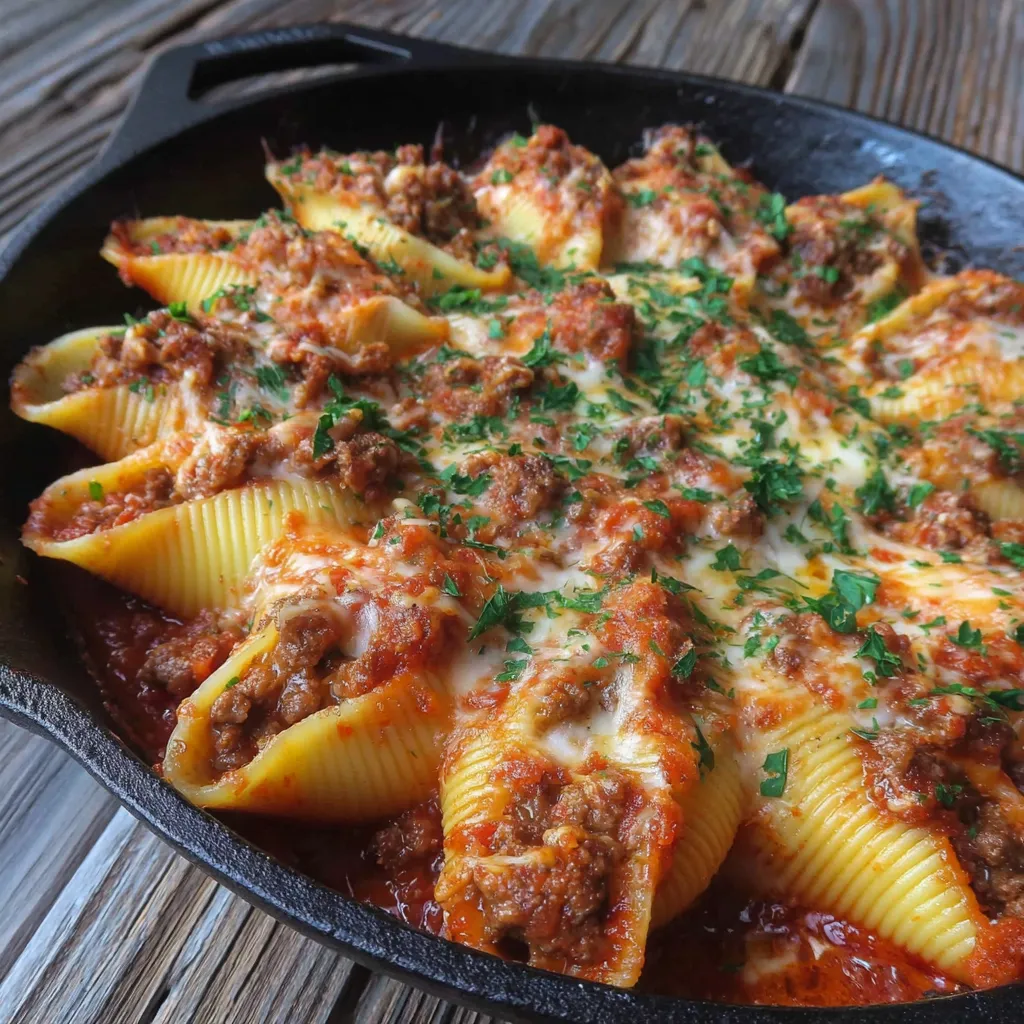
Jumbo pasta shells filled with a creamy ricotta mixture on a rich bed of seasoned meat sauce, all topped with melted mozzarella cheese. This classic Italian comfort dish hits the spot when you want something hearty yet satisfying with a beautiful cheesy finish.
I first made these cheesy stuffed shells on a chilly fall evening, and ever since my family asks for them whenever they need a warm, feel-good meal. The combination of gooey cheese and savory meat sauce has become a real crowd-pleaser at our table.
Ingredients
- Jumbo pasta shells: to hold the filling and provide a satisfying bite choose sturdy shells that won’t break easily
- Ground beef: for rich meat sauce pick fresh lean beef for best flavor and fewer grease issues
- Onion: for sweetness and depth select firm, fresh onions with no soft spots
- Paprika and Italian seasoning: to enhance the sauce’s aroma and give it that classic Italian taste
- Minced garlic: for robust aromatic flavor fresh or good quality jarred works fine
- Marinara sauce: provides the tomato base opt for a jar that balances herbs and acidity well
- Ricotta cheese: forms the creamy filling go for whole milk ricotta for the best texture and flavor
- Large egg: binds the filling together use a fresh egg for optimal mix
- Parmesan cheese: adds nutty sharpness to the filling freshly grated parmesan will elevate the taste
- Dried parsley and garlic powder: add subtle herbal and savory notes to the ricotta mix
- Shredded mozzarella cheese: covers the shells with melty goodness choose whole milk mozzarella for rich melting quality
- Dried parsley: for garnish brightens the presentation
Step-by-Step Instructions
- Sauté the Aromatics and Brown the Meat:
- Heat a large oven-safe skillet over medium-high heat. Add the ground beef and chopped onion. Season with salt, pepper, paprika, and Italian seasoning. Cook the mixture thoroughly, breaking up the meat until browned and the onions soften. This step builds the flavor base essential for the sauce.
- Simmer the Meat Sauce:
- After draining excess grease, add minced garlic to the skillet and stir for about 30 seconds to release the aroma. Pour in the marinara sauce and stir everything together. Lower the heat and let it simmer gently while preparing the filling to deepen the sauce’s flavors.
- Cook and Cool the Shells:
- Bring a large pot of salted water to a boil. Add jumbo shells and cook until al dente according to package instructions. Drain and spread out on a tray or plate to cool slightly so they are easy to handle without breaking.
- Prepare the Ricotta Filling:
- In a mixing bowl, combine ricotta cheese, egg, grated Parmesan, garlic powder, and dried parsley. Mix thoroughly until smooth and well incorporated. This filling is creamy and flavorful, perfect for stuffing the shells.
- Stuff the Shells:
- Carefully spoon the ricotta mixture into each cooled shell using about one and a half to two spoonfuls per shell. It’s okay if some shells tear, so cook a few extra to have backups. Stuffing the shells carefully avoids breakage and ensures a perfect portion of filling.
- Arrange and Bake:
- Nestle each stuffed shell into the meat sauce in your oven-safe skillet, opening side up. If you don’t have an oven-safe skillet, transfer the sauce to a baking dish and then arrange shells on top. Press gently to ensure they are partially submerged in the sauce.
- Top with Cheese and Bake:
- Sprinkle shredded mozzarella evenly over the filled shells and sauce. Bake uncovered at 400 degrees Fahrenheit for 25 minutes if you like crispy edges or cover with foil for softer pasta and cheese.
- Garnish and Serve:
- Once bubbly and golden, remove from the oven. Sprinkle dried parsley on top for a pop of color. Let the dish cool for a few minutes before serving to allow the cheese to set slightly.
 Save
Save
Ricotta is my favorite ingredient here because of its mild creamy texture that balances the bold meat sauce. One time I made this for a big family gathering, and it disappeared faster than I could serve it. The mix of flavors really brings people together around the table.
Storage Tips
Store any leftovers covered tightly in the refrigerator and consume within four days for best taste and freshness. To reheat, cover with foil and warm in the oven or microwave until heated through. If freezing, wrap the dish securely and thaw overnight in the fridge before reheating to preserve texture and flavor.
Ingredient Substitutions
Swap ground beef for ground turkey or Italian sausage to vary the protein base without sacrificing flavor. Use cottage cheese in place of ricotta for a lighter filling though the texture will change slightly. For a vegetarian option, omit meat and use sautéed mushrooms or spinach in the sauce to add depth.
Serving Suggestions
Pair these cheesy stuffed shells with a crisp green salad dressed simply with olive oil and lemon to balance the richness. Garlic bread or a crusty Italian loaf is perfect for soaking up any extra sauce. A glass of medium-bodied red wine complements the savory flavors beautifully.
Cultural Context
Stuffed pasta shells are a classic comfort food in Italian-American cuisine, blending rustic ingredients into a dish that combines simplicity and indulgence. Variations exist throughout Italy, often reflecting regional ingredients like spinach or different cured meats. This dish embodies the spirit of home cooking and family gatherings.
Recipe FAQs
- → How do I prevent shells from breaking when filling?
Allow shells to cool after boiling so they’re easier to handle. Cook a few extra shells as backups for any that tear during filling.
- → Can I prepare the dish ahead of time?
Yes, you can assemble the filled shells and sauce, then refrigerate for up to 24 hours before baking.
- → What type of pan works best for cooking and baking?
A 12-inch oven-safe cast iron skillet is ideal since you can cook the sauce and bake the shells in the same pan.
- → How can I achieve crispy edges on the shells?
Bake the dish uncovered so the cheese and pasta edges can brown and crisp during baking.
- → How long does this dish keep after cooking?
Store leftovers in the fridge for up to 4 days; they reheat well without losing flavor or texture.
- → Is freezing an option for this dish?
Yes, you can freeze before or after baking. Thaw in the fridge overnight before reheating or baking.