
 Save
Save
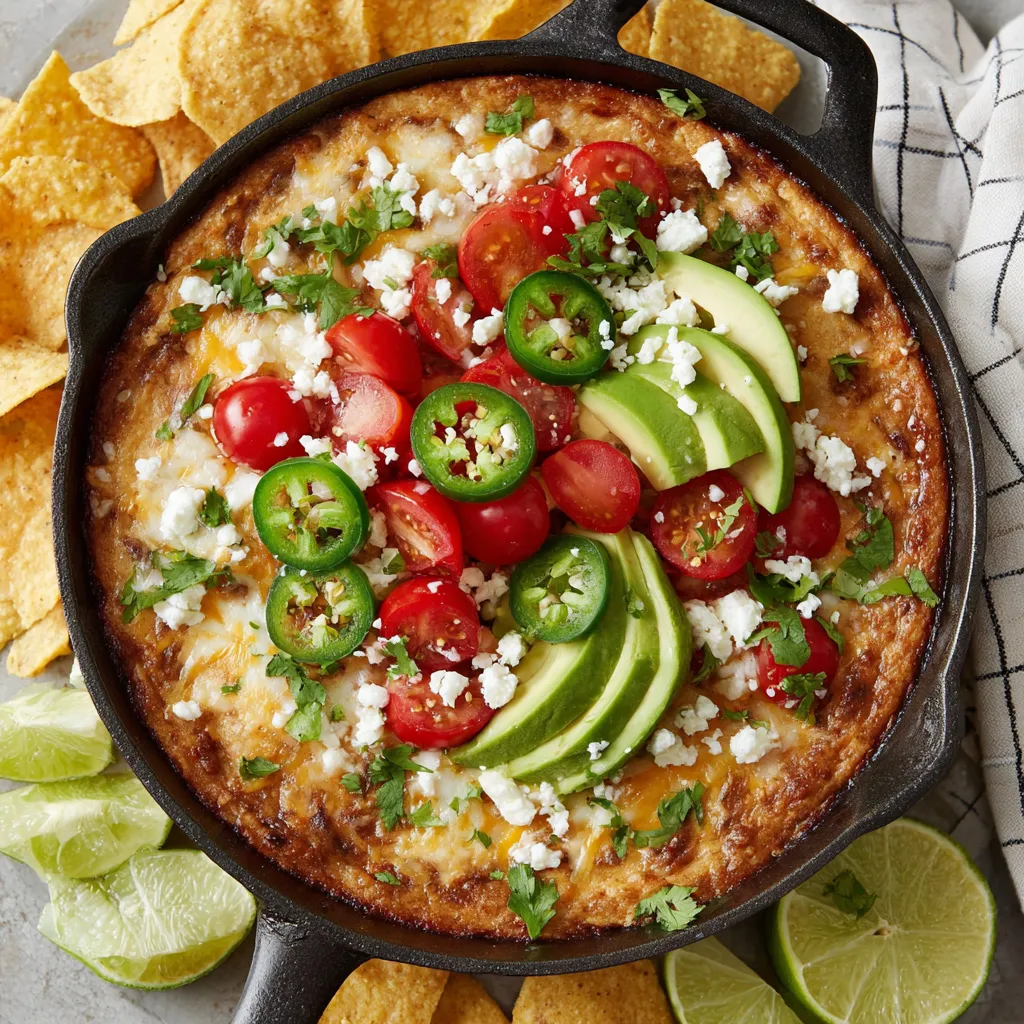
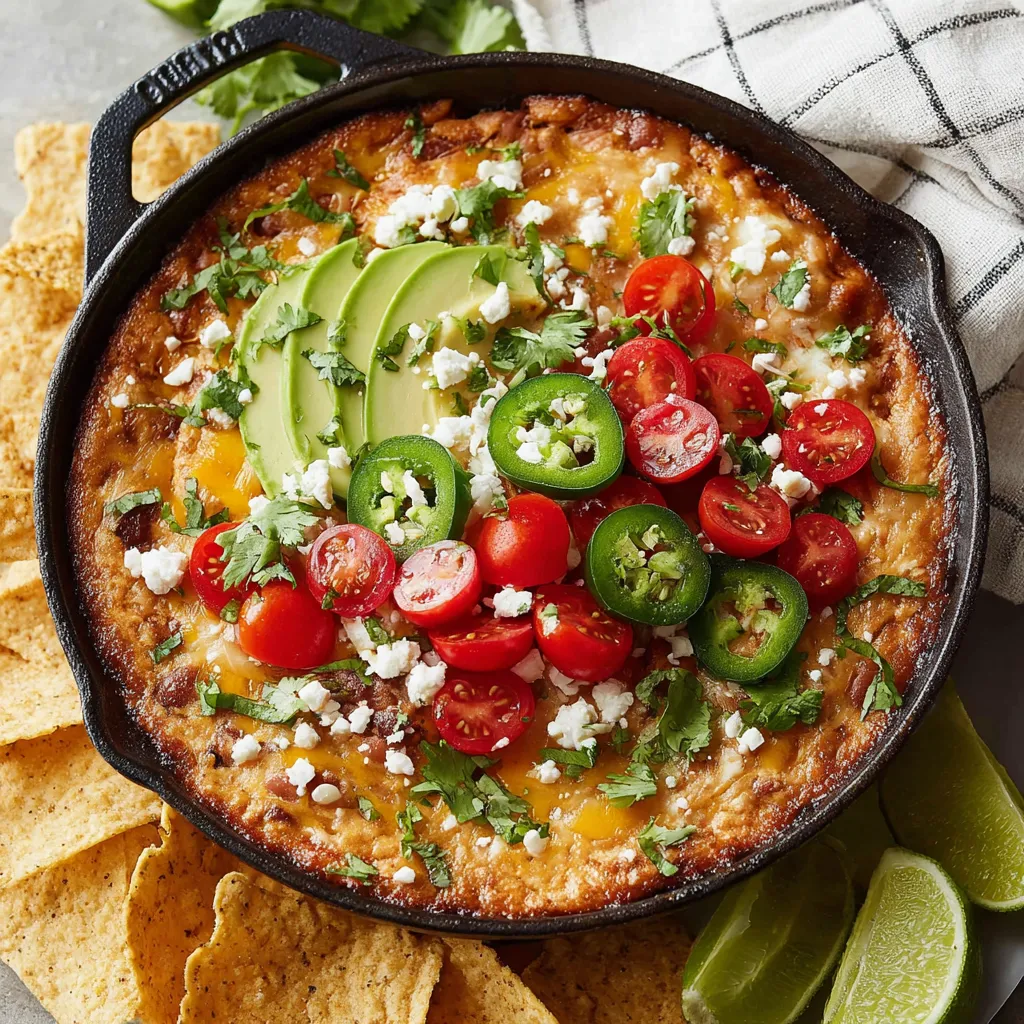
This cheesy bean dip is a perfect game day snack that brings warmth and comforting flavors to your Super Bowl gathering or any party. It combines creamy refried beans with tangy green chiles, melted cheese, and a hint of spice for a crowd-pleasing appetizer that’s easy to prepare and delicious served warm with tortilla chips.
I first served this dip at a small get-together and everyone went back for seconds. Now it’s my go-to snack whenever friends come over for a game night.
Ingredients
- Avocado oil: for the pan to prevent sticking and add a subtle richness
- Refried beans: which give the dip its creamy base choose a good-quality canned brand or homemade for the best texture and flavor
- Sour cream or whole milk Greek yogurt: to add tanginess and creaminess Greek yogurt is a lighter option with a touch of protein
- Diced green chiles: drained for a little fire and brightness
- Taco seasoning: to layer in southwest flavors but choose a variety without added salt if possible to control seasoning
- Sea salt: to taste, balancing the dip’s flavors especially if beans or seasoning are unsalted
- Grated cheddar cheese or a Mexican cheese blend: to melt on top, adding gooey, flavorful richness
- Lime wedge: to squeeze over at the end giving a pop of fresh acidity
- Tortilla chips: for serving, best when sturdy enough to scoop the dip without breaking
Step-by-Step Instructions
- Preheat and prepare the baking dish:
- Preheat your oven to 375 degrees Fahrenheit and lightly oil either an 8x8-inch baking dish or a cast iron skillet. This prevents the dip from sticking and ensures even cooking.
- Mix together the base ingredients:
- In a medium bowl, combine the refried beans, sour cream or Greek yogurt, drained diced green chiles, and 1 teaspoon taco seasoning. Stir well until the mixture is smooth and uniform. Taste then add more taco seasoning and sea salt as needed depending on the saltiness of your ingredients.
- Transfer and top with cheese:
- Spoon the bean mixture into your prepared pan and spread it evenly to cover the entire surface. Sprinkle the grated cheese layer on top but leave a little bit of the dip visible around the edges so it can crisp slightly in the oven.
- Bake until bubbly and golden:
- Place the pan in your preheated oven and bake for about 20 to 25 minutes. You want the cheese to be melted fully and starting to bubble and brown around the edges, signaling the perfect cheesy finish.
- Cool, add toppings, and serve:
- Remove from the oven and let it cool slightly for 5 minutes—this helps the dip set so it’s easier to scoop. Add your choice of toppings such as sliced green onions, diced tomatoes, jalapeños, avocado, cotija cheese, or chopped cilantro. Squeeze fresh lime juice over before serving warm with plenty of tortilla chips.
 Save
Save
One of my favorite things about this dip is how the hot melted cheese mingles with the creamy beans and spicy green chiles. It always reminds me of gathering around with family during football season sharing stories and snacks while rooting for our teams.
Storage Tips
Store any leftover dip covered tightly in the refrigerator for up to 3 days. To reheat rewarm it gently in the microwave or oven until warmed through, since cheese can firm up when cold. If you plan to freeze it let it cool completely then transfer into a freezer-safe container for up to 2 months. Thaw overnight before reheating.
Ingredient Substitutions
- Swap the avocado oil with any neutral oil like canola or vegetable oil if needed
- Use plain yogurt if Greek yogurt is unavailable though the texture will be thinner
- Choose different canned beans such as black beans mashed as a variation but expect a slightly different flavor profile
- Shredded mozzarella or pepper jack cheeses can replace cheddar or Mexican blend for a milder or spicier finish
Serving Suggestions
- Serve this dip alongside crisp tortilla chips or sturdy pita chips for dipping
- Pair with fresh salsa or guacamole on the side to add more vibrant flavors and textures to your snack spread
- For a heartier option, serve with warm flour tortillas sliced into wedges and a side of grilled chicken or steak for a complete game day bite
Pro Tips
- Toast the taco seasoning briefly in the pan before mixing to deepen its aroma and flavor
- Don’t skip letting the dip cool a few minutes after baking to make scooping much easier without the cheese sliding everywhere
- Use a cast iron skillet for baking if you have one; it heats evenly and keeps the dip warm longer when serving
Recipe FAQs
- → What type of cheese works best for the dip?
Cheddar or a Mexican cheese blend melts smoothly and adds a rich, tangy flavor that complements the beans and spices.
- → Can I use fresh chiles instead of canned diced green chiles?
Yes, finely diced fresh green chiles can be used to control the heat and freshness, adjusting quantity to taste.
- → How do I prevent the dip from drying out while baking?
Keep the dip spread evenly in an oiled skillet and cover lightly with cheese to retain moisture during baking.
- → What toppings enhance the flavor of this cheesy bean dip?
Fresh lime juice, chopped cilantro, diced tomatoes, sliced jalapeños, and avocado add bright and spicy contrasts to the creamy base.
- → Is it possible to make the dip ahead of time?
Yes, prepare the bean mixture in advance and refrigerate; bake and add cheese just before serving for best texture.