
 Save
Save
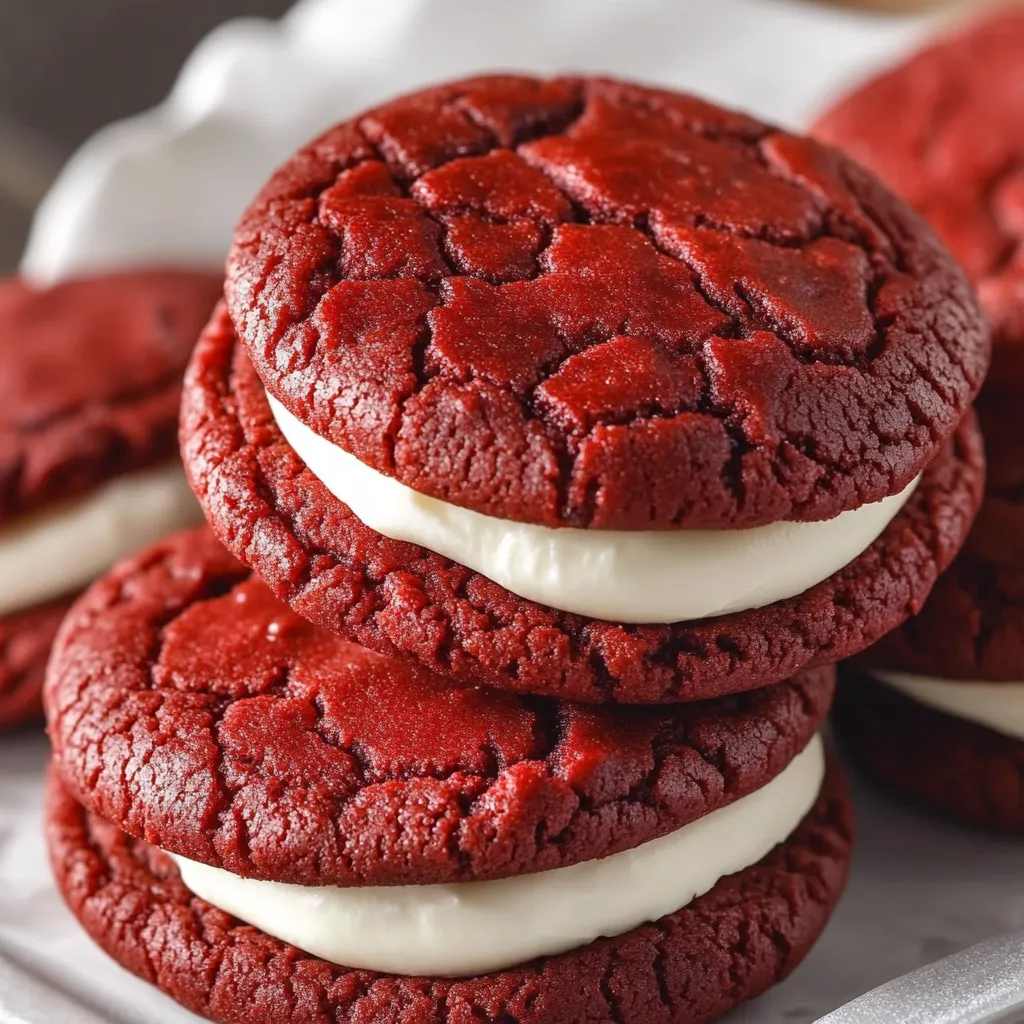
These red velvet sandwich cookies are my answer whenever someone asks for a joyful, homemade treat that feels both nostalgic and novel. They are everything I love about classic red velvet but in handheld form with plush cookies and a tangy cream cheese swirl at the center. This recipe delivers gorgeous, bakery-worthy cookies that are simple for bakers of any skill level and absolutely delightful for anyone who takes a bite.
The first time I made these was on a rainy Sunday for friends who dropped by unexpectedly. Not only did the warm cookies make everyone smile but I loved how easily the recipe came together. Now they are my secret for any celebration or just because days.
Ingredients
- All-purpose flour: gives the cookies their structure For best results spoon and level it instead of scooping straight from the bag
- Cocoa powder: provides a hint of chocolate flavor Choose Dutch process for a deeper taste and color
- Cornstarch: ensures a tender chewy bite This ingredient is the cookie texture key
- Baking soda: acts as the leavening agent For maximum lift make sure it’s fresh and clump-free
- Salt: amplifies the flavors Use a fine-grain variety for even distribution
- Unsalted butter softened: blends smoothly into the dough Room temperature butter ensures a creamy base
- White sugar: brings classic sweetness Look for fine granules so it creams well with butter
- Brown sugar: adds moisture and a subtle caramel note Use fresh brown sugar to avoid clumping
- Large egg: binds everything together Choose a fresh egg for best lift
- Vanilla extract: infuses warmth and depth Go for pure extract for best results
- Vinegar: brightens the flavor and reacts with baking soda White vinegar is classic but apple cider vinegar works too
- Red food coloring: gives the signature hue Gel types offer vibrant color without thinning the dough
- For the frosting cream cheese: brings the signature tang Use full-fat and let it come to room temperature
- Vegetable shortening: stabilizes the frosting and keeps it fluffy For a softer result swap in more butter or cream cheese
- Powdered sugar: sweetens the filling Sift first for the smoothest texture
- Heavy cream optional for consistency: makes the frosting spreadable without thinning flavor
- A touch of salt: balances the sweetness just right
Step-by-Step Instructions
- Make the Dough:
- Begin by preheating your oven to 350 degrees F and preparing two cookie sheets with parchment paper for easy removal and even baking. In a medium bowl whisk together the flour cocoa powder cornstarch baking soda and salt until every speck is evenly combined. In a large mixing bowl beat the softened butter with both sugars for three full minutes until the mix is light and creamy which ensures soft cookies. Add in the egg vanilla extract vinegar and food coloring and beat until the color is evenly distributed and the batter is smooth. Gradually add in the dry ingredients just mixing until you see no more streaks of flour to keep the cookies tender.
- Shape the Cookies:
- Scoop out level tablespoons of dough and roll them gently into balls aiming for uniform size so the sandwiches pair up perfectly. Place each dough ball two inches apart on the prepared baking sheets so they have space to spread naturally into thick chewy cookies.
- Bake to Perfection:
- Slide the trays into the oven and bake for eight minutes or until the tops are just set and appear slightly puffy. Pull them from the oven while they look just a touch underdone so they finish cooking gently as they cool. Let the cookies rest completely right on the tray before moving to a rack which keeps them from breaking apart.
- Mix the Cream Cheese Frosting:
- In a medium bowl beat together the room-temperature butter shortening and cream cheese using a hand or stand mixer until the mixture is extra smooth and fluffy. Slowly add in powdered sugar and salt then increase the mixer speed beating until the frosting is thick but spreadable. If you want it looser add heavy cream a teaspoon at a time until you get the perfect consistency.
- Assemble the Sandwiches:
- Match up cookies in pairs for similar size and shape. Pipe or spread a generous dollop of frosting onto the bottom of one cookie then gently press a second cookie on top until the filling reaches the edges. Repeat until you have a tray full of happy cookie sandwiches waiting to be devoured.
 Save
Save
You Must Know
- Naturally soft and chewy with no need for chilling
- The filling sets up nicely for make-ahead gifting or parties
- Easy to double or halve the recipe to suit your needs
I am especially fond of the bright red color in these cookies Every time I make them the kitchen feels celebratory and little hands always reach in for a sneak taste of that creamy frosting. My grandmother used to say red velvet cookies can brighten even the cloudiest afternoon and I have found it true every batch since.
Storage Tips
Store assembled cookies in an airtight container in the fridge for up to four days The cookies stay soft and the filling keeps its fluffiness If stacking place a piece of parchment between layers to prevent sticking They also freeze well Pop them on a tray to freeze then store in a bag and thaw at room temperature
Ingredient Substitutions
If you want to skip the food coloring try beet powder for a more natural approach though the color will be softer You can leave out the shortening in the frosting and use only butter or cream cheese but expect a softer less sturdy filling Dutch or natural cocoa both work though Dutch process makes the hue richer
 Save
Save
Serving Suggestions
These sandwich cookies are lovely on their own but also make a pretty addition to a cookie tray for holidays I love serving them with coffee or hot chocolate or packaging them up with a ribbon for a homemade gift swap Kids love them as a special after-school treat and they look beautiful as a dessert on Valentine’s Day
Cultural and Historical Context
Red velvet desserts have roots in American baking going back to the early twentieth century Their unique blend of cocoa and tang became popular in southern cakes but the color comes alive in cookies like these The vinegar and buttermilk combination in old recipes creates that classic flavor and marrying these with cream cheese frosting makes them unmistakable
Recipe FAQs
- → Can I use different frosting types for the filling?
Yes, buttercream, marshmallow fluff, or whipped ganache can be used as alternatives. Ensure the frosting is thick enough to hold the cookies together without slipping.
- → Is gel food coloring necessary for the red color?
Gel food coloring provides a vivid red hue without affecting dough consistency. Natural alternatives like beetroot powder can be used, but color intensity may vary.
- → What role does vinegar play in the cookies?
Vinegar reacts with baking soda to create a tender texture and adds a subtle tang that enhances the cocoa flavor, contributing to the classic red velvet character.
- → How can I prevent cookies from spreading too much during baking?
Use softened, not melted, butter and measure flour accurately. If dough feels too soft, chilling for 20–30 minutes before baking helps maintain shape.
- → Can these cookies be frozen?
Yes, freeze cookies before or after assembling. For best quality, freeze individually and assemble sandwiches after thawing. Store in airtight containers for up to two months.