
 Save
Save
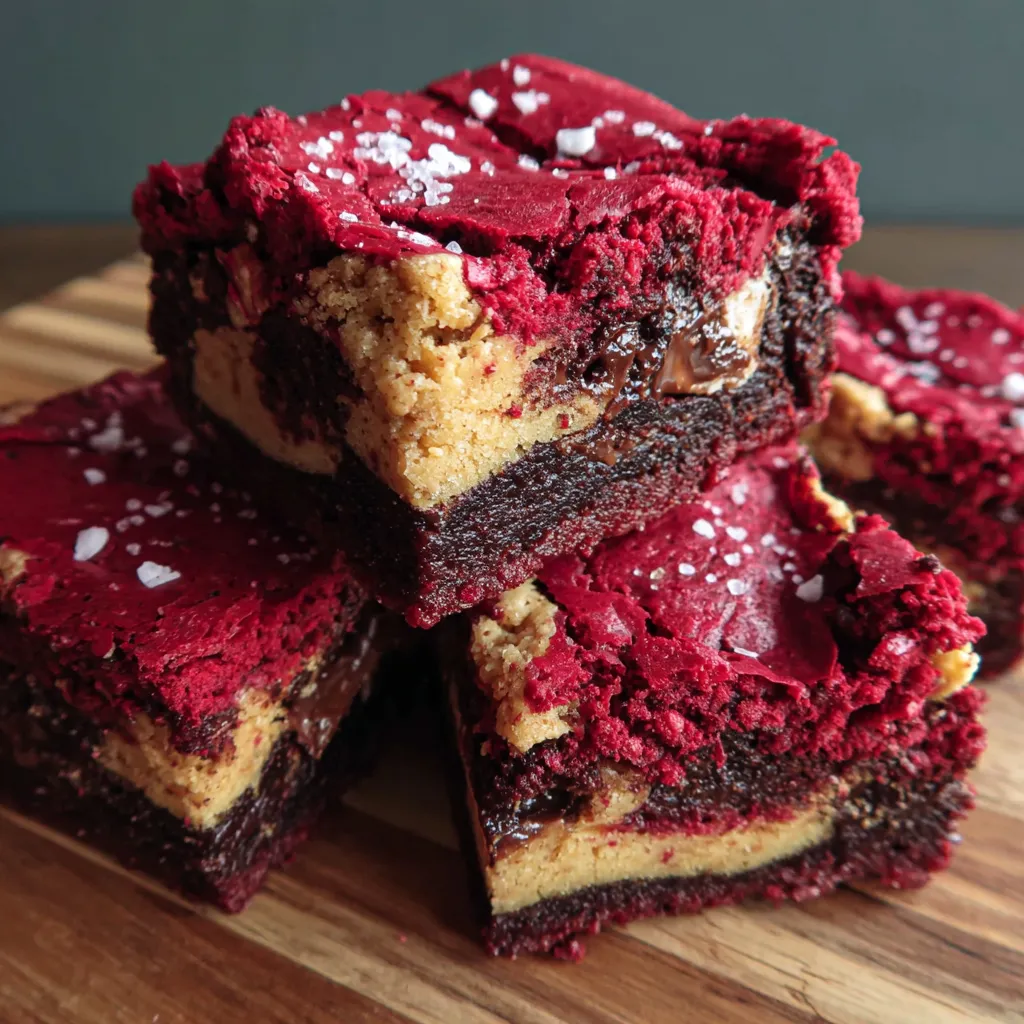
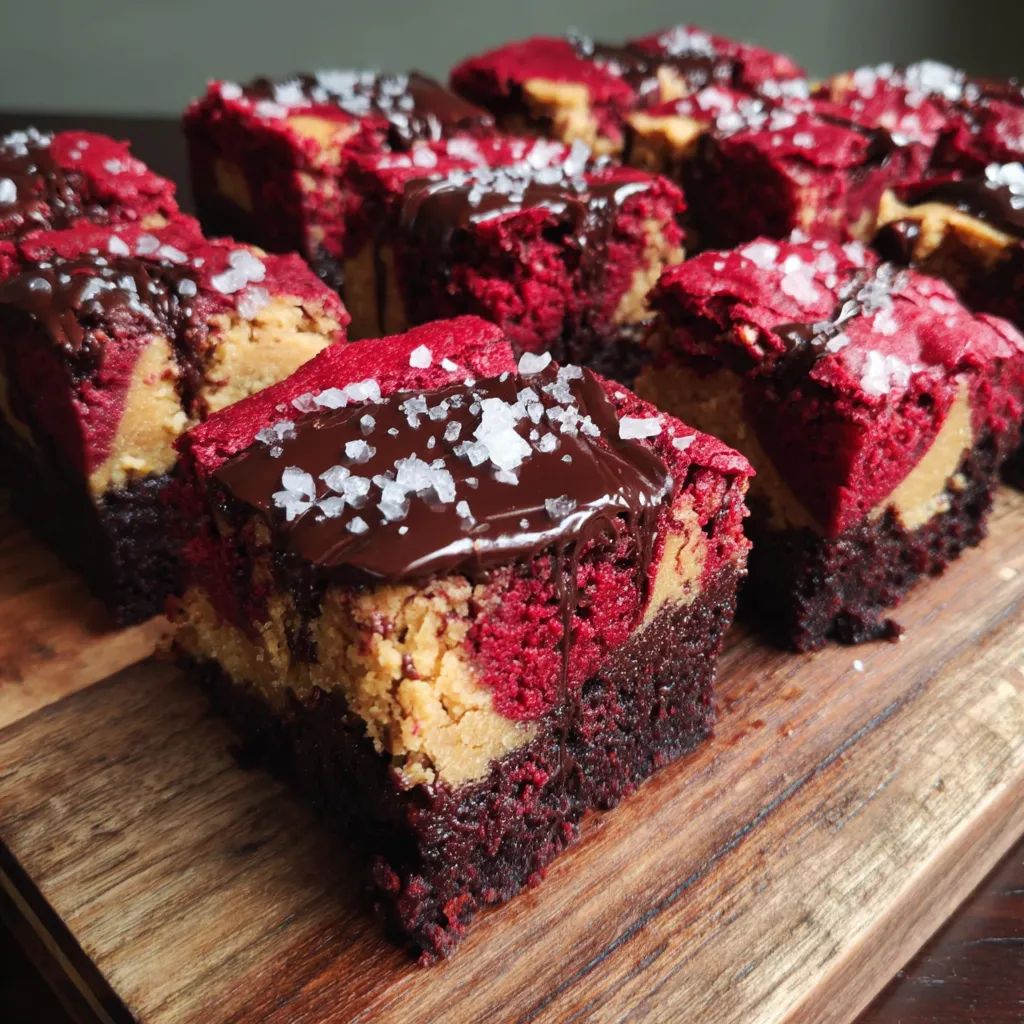
This stunning marbled dessert bar brings together fudgy red velvet brownies and chewy chocolate chip cookies for a delightful treat topped with flaky sea salt. It’s perfect for when you want something that feels both rich and comforting but with a fun twist in texture and flavor.
I first made these during a holiday party and they disappeared so fast that now everyone asks me to bring this to every celebration.
Ingredients
Red Velvet Brownie Layer
- Unsalted butter: melted brings richness and moisture to the brownies, using real butter makes a big difference
- Granulated sugar: adds sweetness and helps with that tender crumb
- Unsweetened cocoa powder: provides the classic chocolate flavor, opt for a good-quality brand for depth
- Vanilla extract: enhances all the flavors and complements the cocoa
- Red food coloring gel: gives the distinctive red velvet look, gel colors are better than liquid because they don’t thin the batter
- White vinegar: reacts with the baking soda to help the batter rise and maintain softness
- Large eggs: bind the batter and add structure
- All-purpose flour: offers the needed structure and should be measured carefully for best results
- Salt: balances sweetness and enhances flavor
Cookie Dough Layer
- Unsalted butter: softened for creaming with sugars produces a tender, chewy cookie texture
- Brown sugar: packed adds moisture and a hint of caramel flavor
- Granulated sugar: offers slight crispness to the cookie edges
- Large egg: combines with butter and sugars to create the perfect cookie dough consistency
- Vanilla extract: elevates and rounds out the flavor
- All-purpose flour: is the base that holds everything together
- Baking soda: helps cookies rise and get their characteristic texture
- Salt: tones down the sweetness and sharpens flavors
- Semi-sweet chocolate chips: give gooey pockets of chocolate throughout
Toppings
- Flaky sea salt: such as Maldon adds an irresistible contrast to the sweet layers and a gourmet touch
Step-by-Step Instructions
- Preheat the Oven and Prepare Your Pan:
- Set your oven to 350 degrees Fahrenheit or 175 degrees Celsius. Line a 9 by 13 baking pan with parchment paper and lightly spray to ensure the brownies don’t stick. Taking care in this step makes lifting your bars out so much easier later.
- Make the Red Velvet Brownie Batter:
- In a bowl, whisk together melted butter and granulated sugar until smooth. Add the cocoa powder, vanilla extract, red food coloring gel, and white vinegar. Whisk in the eggs one at a time until fully combined. Fold in the flour and salt gently, taking care not to overmix to keep the brownies tender. Set this batter aside.
- Prepare the Cookie Dough:
- Using an electric mixer or by hand, beat softened butter with both sugars until the mixture is light and fluffy. Add the egg and vanilla extract and mix well. Stir in the flour, baking soda, and salt until just combined. Fold in the chocolate chips last for even distribution without overworking the dough.
- Create the Checkerboard Pattern in the Pan:
- Drop spoonfuls of the red velvet brownie batter and the cookie dough alternately into the prepared pan in a checkerboard style. This alternating pattern will give you the beautiful marbled effect after baking.
- Bake and Finish:
- Bake for about 22 to 28 minutes until the top looks set and a toothpick inserted in the center comes out with moist crumbs but no raw batter. Immediately after taking out of the oven, sprinkle the flaky sea salt evenly across the top. This step highlights the sweetness and adds a sophisticated flavor contrast.
- Cool and Slice:
- Allow the pan to cool completely on a wire rack before lifting out the parchment paper to slice into bars. Cooling all the way helps the layers set properly for clean cuts.
 Save
Save
My favorite part has to be the checkerboard effect because it feels like I’m serving two treats in one. The first time I made these, the marbled design impressed all my friends and made it a recipe I’m proud to share.
Storage Tips
Store these bars in an airtight container at room temperature up to three days for the best texture. You can also freeze them for up to three months by wrapping tightly in plastic wrap and placing in a freezer bag. Thaw at room temperature before enjoying. Avoid refrigerating as that tends to dry them out.
Ingredient Substitutions
If you don’t have red food coloring gel try beet powder or natural food dyes for a different but still festive color. For a dairy-free version, you can substitute the butter with coconut oil or vegan margarine, but note the flavor and texture will change slightly. Use dairy-free chocolate chips for those avoiding dairy. Brown sugar can be replaced with coconut sugar but expect a different caramel note.
Serving Suggestions
These brookies are fantastic served slightly warm with a scoop of vanilla ice cream or a drizzle of caramel sauce for an indulgent dessert. You can also pack them for lunchboxes or serve with coffee or tea for a perfect afternoon treat. Because they are so rich, serving them in small squares is best.
Pro Tips
- Make sure not to overbake as that will make the brownies dry instead of fudgy
- Use gel food coloring to get that vibrant red without watering down your batter
- I learned the hard way that folding the flours gently keeps the layers tender rather than tough
Recipe FAQs
- → How do I get the intense red color in the brownie layer?
Using gel food coloring is best to achieve a vivid red shade without affecting the batter’s consistency.
- → What is the purpose of adding sea salt on top?
Flaky sea salt enhances the sweetness while providing a subtle crunchy contrast that brightens the chocolate flavors.
- → Can I substitute semi-sweet chocolate chips with another type?
Yes, bittersweet or dark chocolate chips work well and add a deeper chocolate note to the cookie layer.
- → How can I ensure the brookies stay fudgy and chewy?
Careful not to overbake is key—remove from the oven when a toothpick comes out with moist crumbs. Also, measuring flour accurately helps maintain texture balance.
- → What pan size is recommended for baking?
A 9×13 inch pan is ideal to achieve the right thickness and even baking for these bars.