
 Save
Save
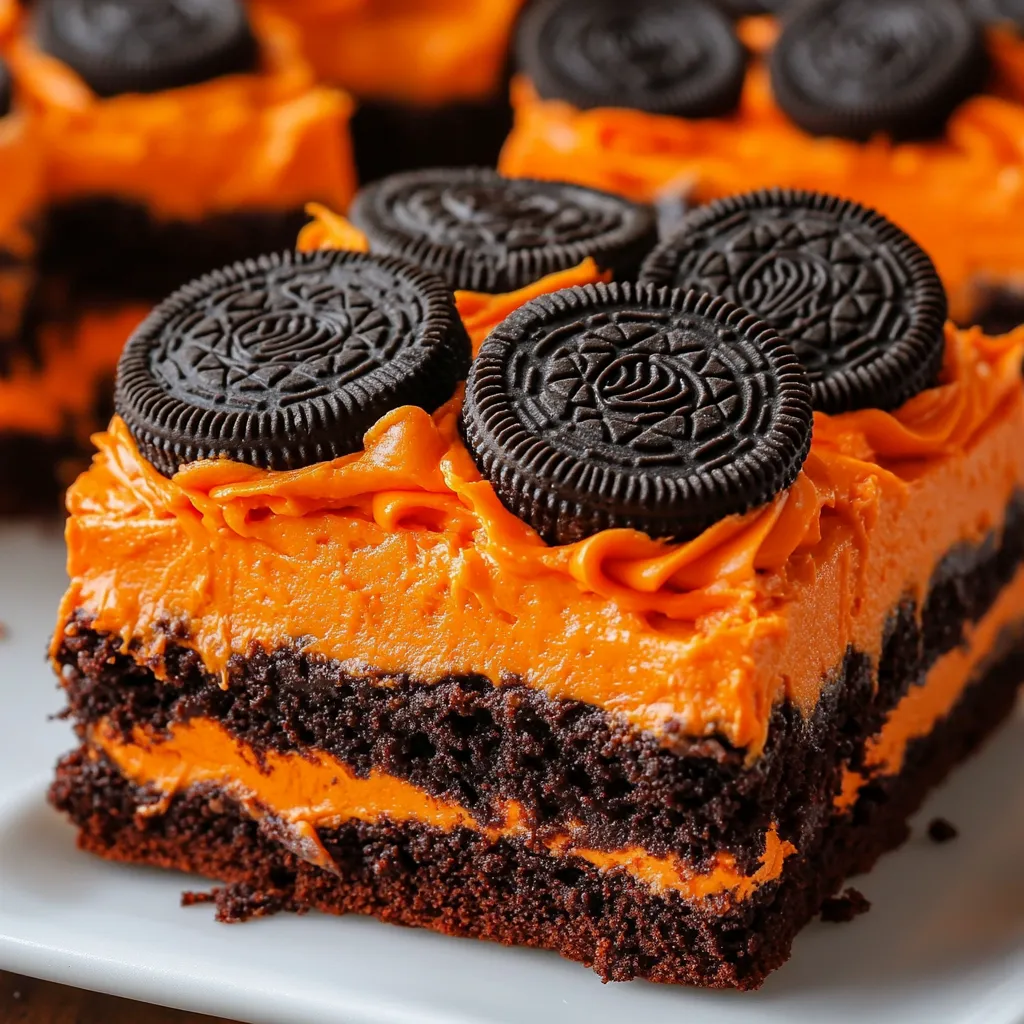
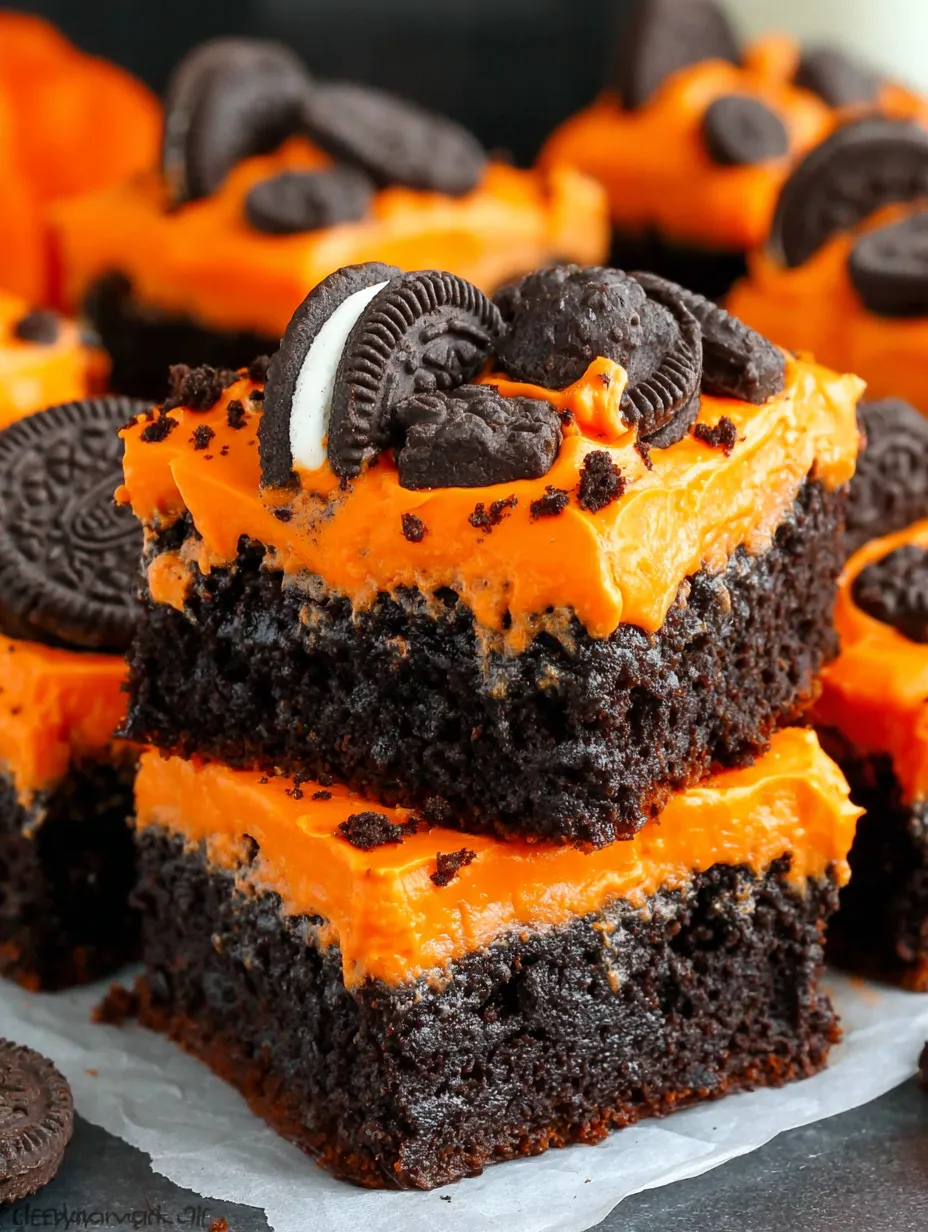
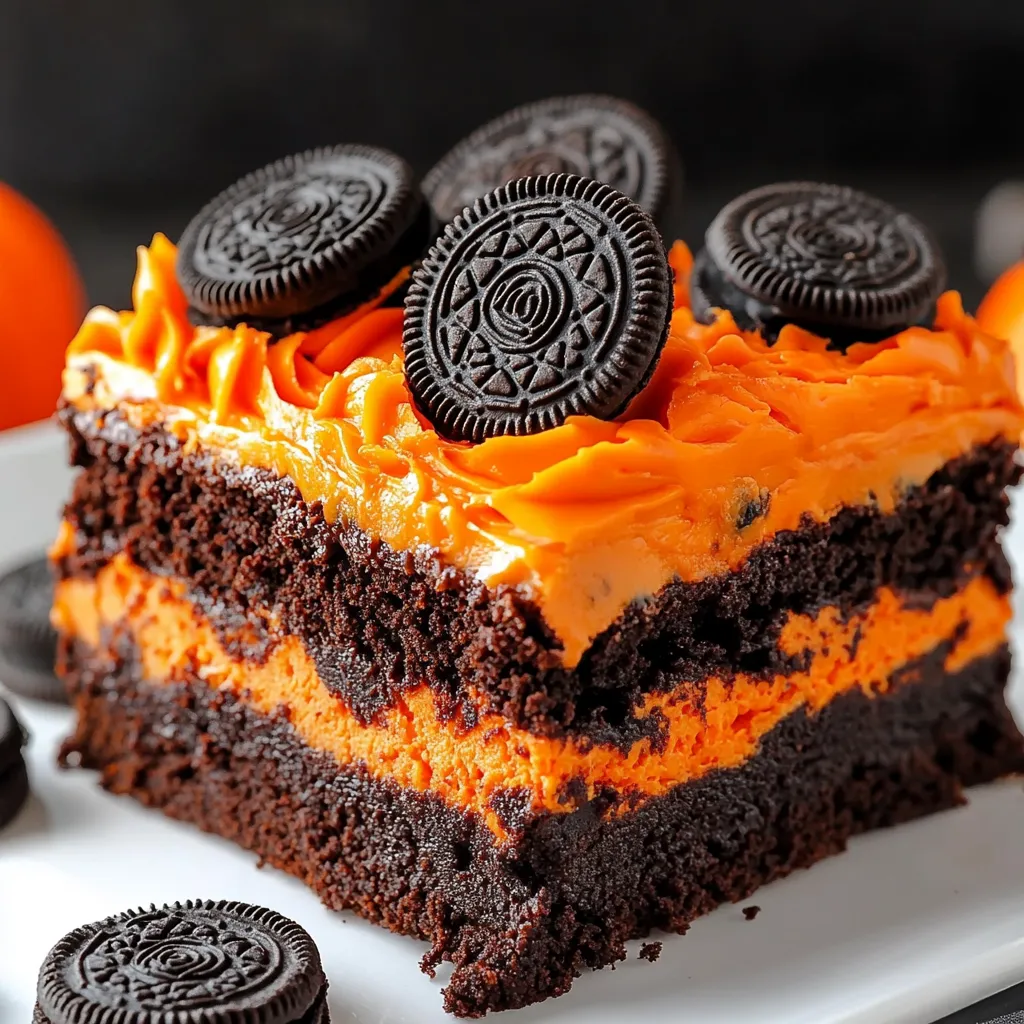
These Oreo Layered Halloween Brownies turn boxed brownie mix and a pack of orange-filled Oreos into the fudgiest, most festive treat for spooky season. With gooey chocolate, crunchy cookies, and a thick layer of bright orange frosting, they are always the first dessert to disappear from the Halloween party table in my house. The extra pop of color and the rich chocolate layers make them as showy as they are delicious.
I first made these for a neighborhood Halloween block party and I have not been allowed to show up without them since Kids and adults always ask for seconds.
Ingredients
- Brownie mix: gives you a chewy chocolate foundation always check for a mix with real cocoa for deeper flavor
- Eggs: help bind the mix together and make the brownies tender choose fresh eggs for the best lift
- Oil: creates the fudgy texture opt for neutral oil like canola or vegetable
- Milk: loosens the batter and makes it ultra moist use whole milk if possible for richness
- Orange-filled Oreos: add classic cookies and a festive pop look for the seasonal packs so you get the vibrant centers
- Milk chocolate frosting: doubles down on the chocolate and adds a creamy layer grab a quality brand for best taste
- White or vanilla frosting: forms the base for your colored layer smooth and thick frostings are easiest to tint
- Orange food coloring gel: creates that signature Halloween shade choose gel for intense color without thinning the frosting
Step-by-Step Instructions
- Prepare the Pan:
- Line a nine inch square baking pan with parchment paper pressing snugly into the corners so the brownies lift out easily.
- Mix the Batter:
- In a large bowl beat together the brownie mix eggs oil and milk using a mixer or sturdy whisk. Mix until no lumps remain and batter is glossy.
- Layer the Oreos:
- Scrape the batter into the lined pan and smooth the top. Press orange-filled Oreo cookies evenly across the surface so every bite gets a cookie.
- Bake:
- Slide the pan into a three hundred fifty degree oven and bake for twenty five to thirty minutes. The edges should look set and a toothpick poked in the center comes out with a few crumbs not wet batter.
- Cool Completely:
- Let brownies sit in the pan until fully cool. This step is important the frosting will melt if the brownies are warm.
- Make Orange Frosting:
- Scoop the white or vanilla frosting into a bowl. Add in the scraped orange cream centers from about ten Oreos plus one teaspoon orange food gel. Mix until completely orange and smooth.
- Frost the Brownies:
- Spread the orange frosting evenly across the cooled brownies right to the edges. Chill in the fridge for thirty minutes so the layer firms up.
- Add Chocolate Frosting and Toppings:
- Once chilled gently spread the milk chocolate frosting on top. Crumble remaining Oreos over for a chunky cookie finish.
- Cut and Serve:
- Using a hot wet knife slice the chilled brownies into neat squares. Wipe the knife clean each time for sharp edges.
 Save
Save
The orange Oreos are my favorite part to hunt for each season plus scraping the centers makes my kitchen smell like vanilla candy. My kids love helping mix the frosting until it looks just like pumpkin.
Storage Tips
Store these brownies in an airtight container in the fridge for up to four days. Separate layers with parchment so the frosting does not get messy. Let them sit out for ten minutes before serving for the best texture.
Ingredient Substitutions
If you cannot find orange-filled Oreos any flavored sandwich cookie works. You can tint the frosting in any spooky color purple or green is also fun. Gluten free mixes and cookies swap in with no trouble.
 Save
Save
Serving Suggestions
Stack brownies on a Halloween platter with gummy worms or candy eyes for a playful dessert tray. Pair with vanilla ice cream or serve with mugs of hot cocoa after trick or treating for extra indulgence.
Cultural and Historical Context
Halloween treats like these celebrate the playful spirit of fall in the US when families gather for costume parties and sweets. Oreos have been reinvented for holidays for decades but using them in homemade layered bars always feels a bit more special.
Recipe FAQs
- → What makes these brownies festive?
The addition of bright orange frosting made with vanilla frosting and orange Oreo filling creates a vibrant, festive look perfect for fall celebrations.
- → Can I use different Oreo flavors?
Yes, substituting with Double Stuf or chocolate-filled Oreos works well and adds variety to the texture and flavor.
- → How should these brownies be stored?
Store cooled brownies in an airtight container in the refrigerator for up to 4 days. Bring to room temperature before serving for a softer texture.
- → What tips help in cutting clean brownie slices?
Run a knife under hot water, dry it, then cut the brownies to prevent sticking and achieve neat slices.
- → Can I make these brownies gluten-free or vegan?
Yes, by using gluten-free brownie mixes and sandwich cookies for gluten-free, or vegan mixes and dairy-free frostings for a plant-based version.
- → Why chill brownies after frosting?
Chilling helps the frosting layers set firmly, which makes slicing easier and keeps the layers intact during serving.