
 Save
Save
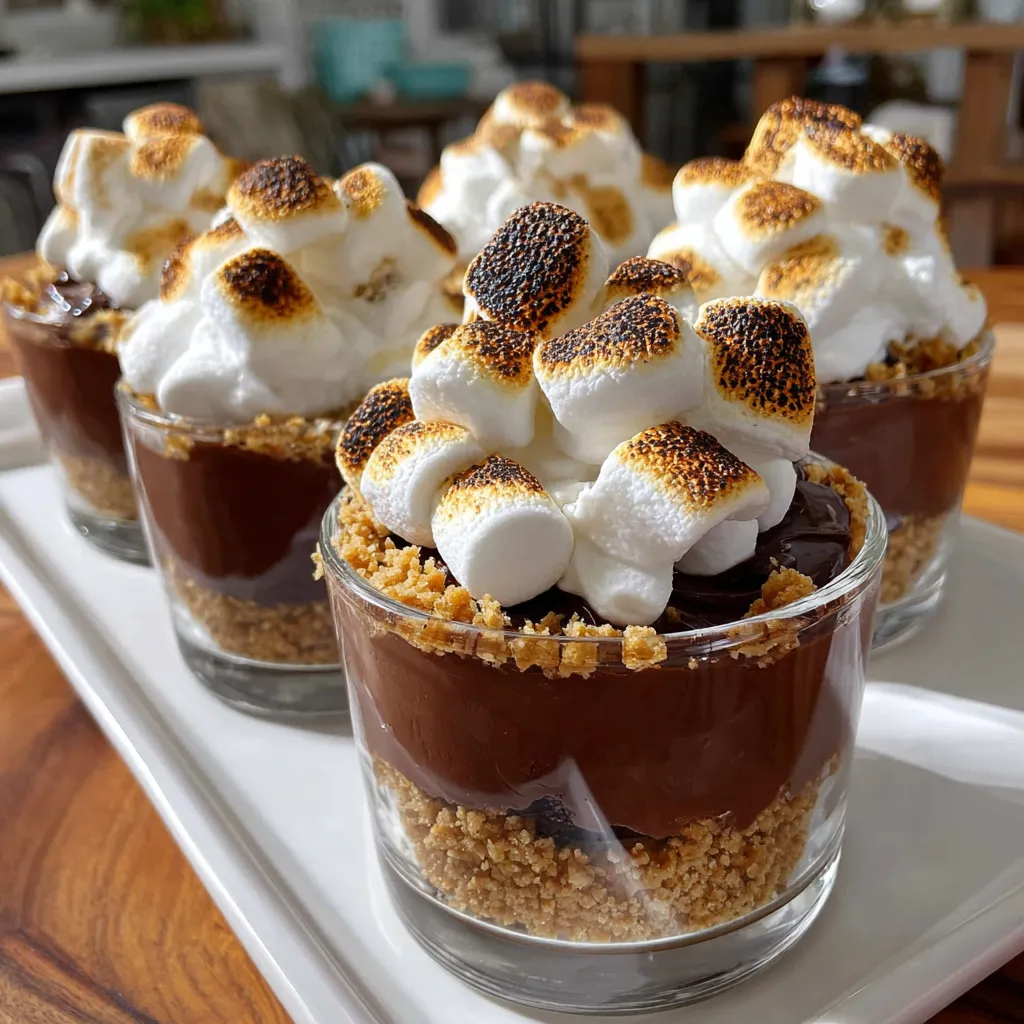
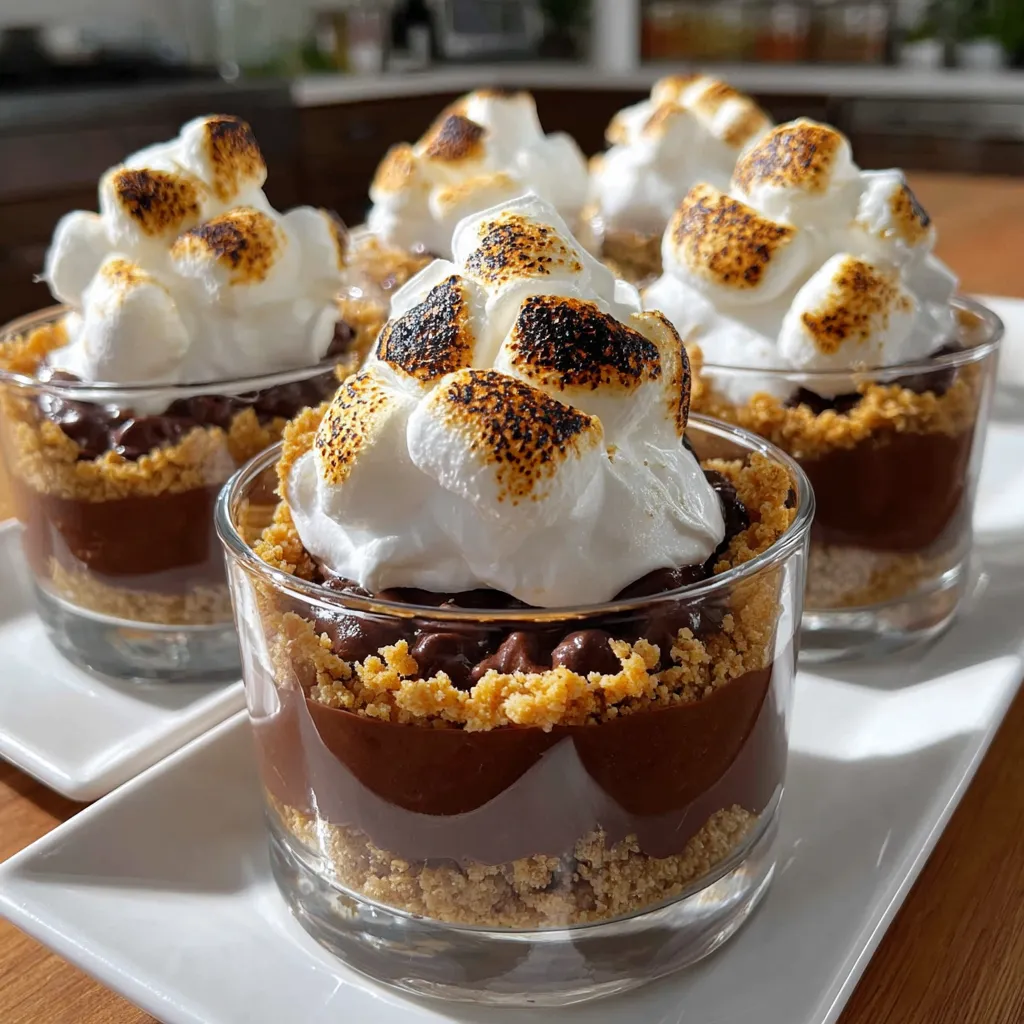
This no-bake s'mores dessert cup brings the nostalgic campfire treat into an easy and elegant form that’s perfect for any occasion. It layers the beloved flavors of graham crackers, marshmallows, and chocolate in a convenient cup that can be made ahead and enjoyed any time you want a sweet treat without turning on the oven.
I first made these dessert cups during a summer get-together, and they disappeared faster than I expected. Now they are a regular request when friends come over.
Ingredients
- Graham cracker crumbs: provide the classic crunchy base for best flavor use fresh or lightly crushed crackers
- Unsalted butter melted: binds the crust melting it fully helps create a firm base when chilled
- Mini marshmallows: add that soft chewy texture that is signature to s’mores
- Chocolate chips: give rich chocolate flavor dark chocolate chips work great for a less sweet option
- Whipped cream: adds lightness and creaminess on top that balances the sweetness
- Chocolate syrup: for drizzling and decoration choose a good quality syrup for the best taste
Step-by-Step Instructions
- Mix the Crust:
- Combine the graham cracker crumbs and melted butter in a bowl until fully incorporated. This mixture should be evenly moistened so it holds together when pressed.
- Form the Base:
- Press the graham cracker mixture firmly into the bottom of each dessert cup, creating a compact crust layer. Pressing firmly gives you a sturdy foundation for layering.
- Prepare the Chocolate Marshmallow Layer:
- In a separate bowl, gently mix the mini marshmallows and chocolate chips together, distributing them evenly without melting the chocolate.
- Layer the Cups:
- Spoon the marshmallow and chocolate mixture over the crust in each cup, creating a generous layer that covers the base well.
- Add the Whipped Cream:
- Top the chocolate and marshmallow layer with a smooth layer of whipped cream for a creamy contrast.
- Decorate with Chocolate Syrup:
- Drizzle chocolate syrup over the whipped cream layer. This step adds visual appeal and extra chocolate flavor.
- Chill to Set:
- Place the cups in the refrigerator for at least one hour. Chilling helps the crust firm up and allows the layers to meld together for the best taste.
 Save
Save
My favorite part has to be the crunchy buttery crust combined with pillowy marshmallows. This dessert always reminds me of summer camping trips with my family where s’mores were the highlight of the night.
Storage Tips
Store the dessert cups covered in the refrigerator to keep the whipped cream fresh and prevent the crust from becoming soggy. They maintain great texture and flavor for up to two days. Avoid freezing as the texture of the whipped cream and marshmallows will not hold up well.
Ingredient Substitutions
Instead of graham cracker crumbs you can use crushed digestive biscuits or vanilla wafers for a slightly different flavor profile. Try coconut oil in place of butter for a dairy-free crust option. For whipped cream alternatives consider coconut whipped cream or a dairy-free whipping topping if you want to keep the recipe vegetarian or vegan.
Serving Suggestions
Serve these dessert cups chilled as an easy party treat or after dinner dessert. Adding fresh berries on top or a sprinkle of toasted nuts can add a surprising twist. Pair with a cup of coffee or hot chocolate for a cozy indulgence.
Cultural Context
S’mores originated as a campfire treat in the United States and have since become a symbol of summer fun and family gatherings. This no-bake version keeps the essence alive but makes it accessible year-round and indoors without the need for a fire.
Recipe FAQs
- → How do I make the crust stick in the cups?
Mixing melted butter thoroughly with the graham cracker crumbs helps create a firm crust that presses easily into the bottom of the cups and holds its shape.
- → Can I use dark chocolate chips instead?
Yes, swapping in dark chocolate chips adds a richer, slightly more intense chocolate flavor to balance the sweetness.
- → Is chilling necessary before serving?
Chilling allows the layers to set firmly and meld flavors, enhancing the texture and overall experience.
- → Can I add extra layers for more texture?
Definitely, layering more marshmallow and chocolate mixtures or additional toppings can create extra depth and variety.
- → How long do these cups keep in the fridge?
They can be stored covered in the refrigerator for up to one day without losing texture or flavor.