
 Save
Save
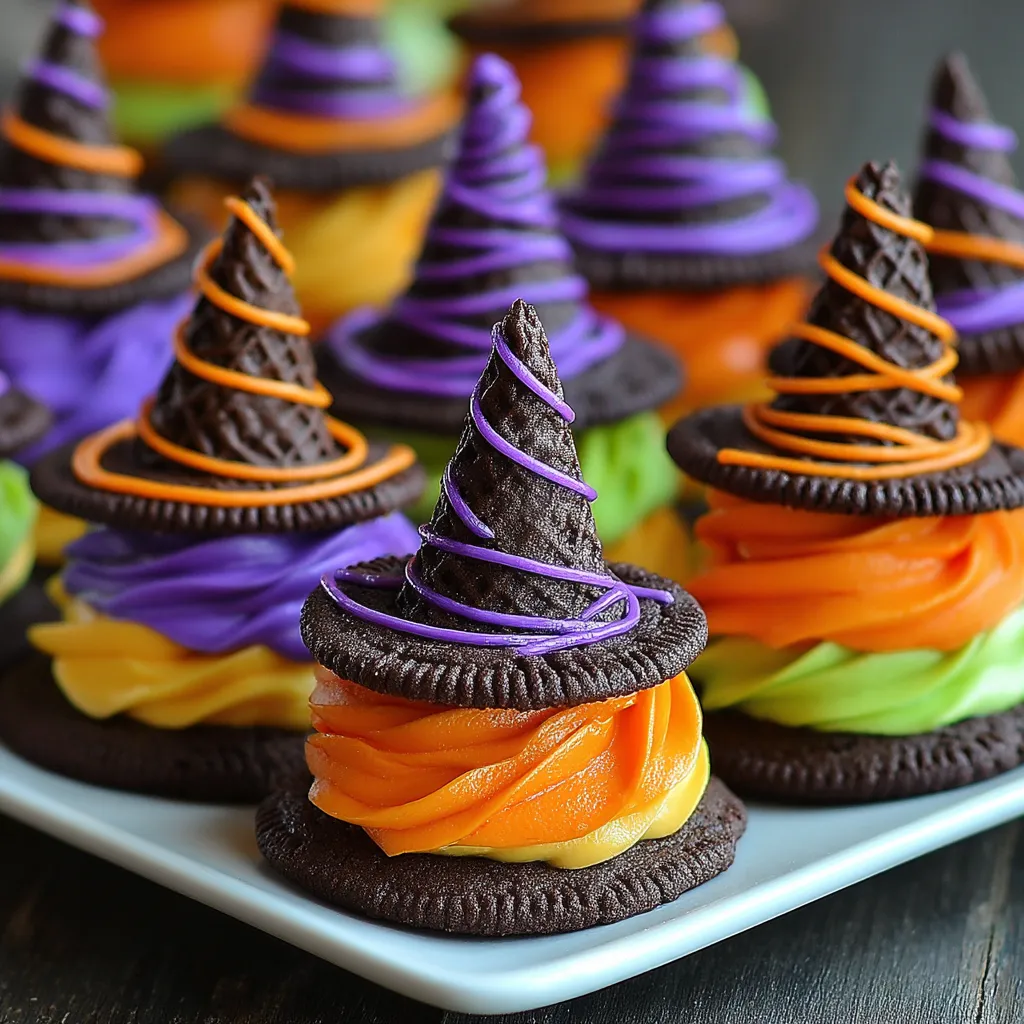
These Halloween Witch Hat Cookies bring fun and creativity to any spooky gathering. With a chocolaty base and playful decorations, they are a standout treat for parties and family activities. I love how easy it is to tailor the colors and details for extra Halloween flair—the process is just as enjoyable as the delicious results.
My family loves to pick their favorite colors and decorate their own hats every Halloween. These cookies have become a tradition at our house that my kids look forward to more than carving pumpkins.
Ingredients
- Chocolate cake mix or homemade chocolate cake: for the base gives you a moist and fluffy foundation
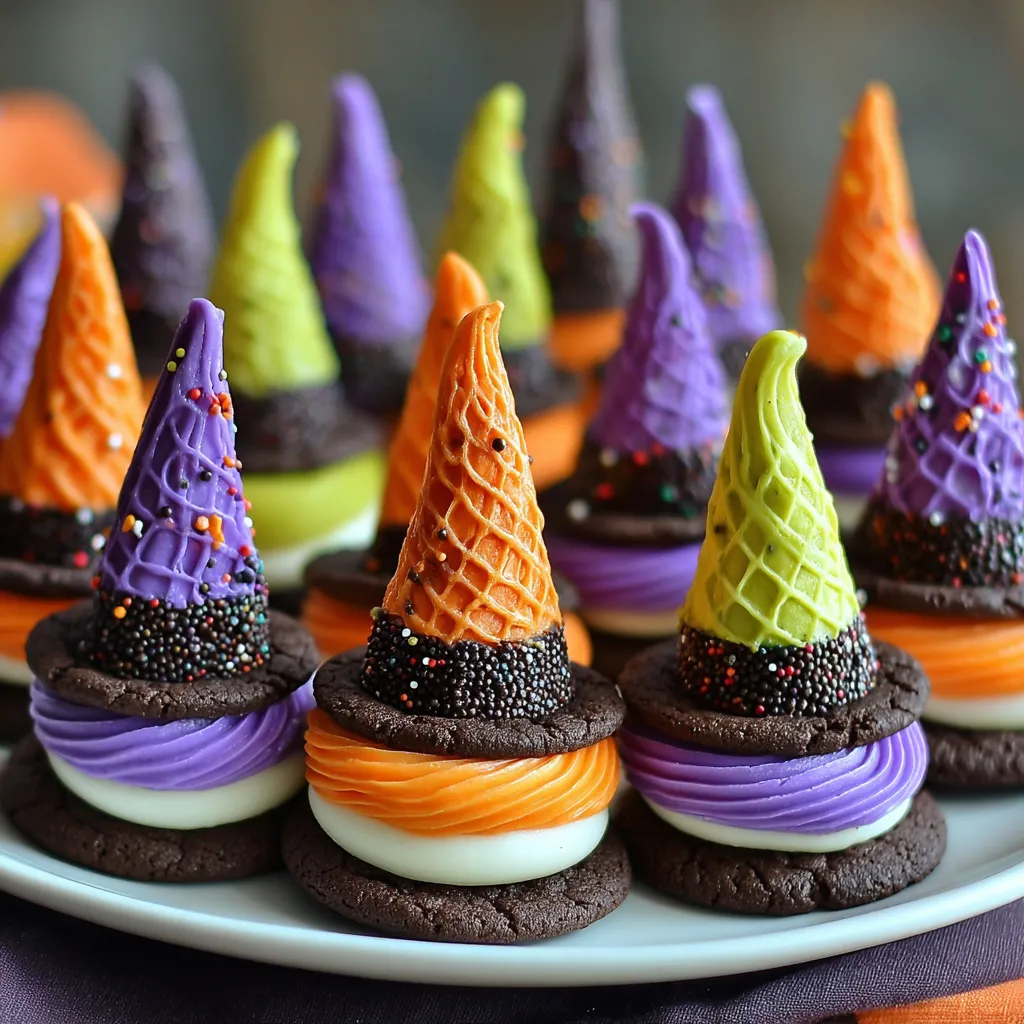
- Sugar cones: are the secret to getting that perfect witch hat shape choose cones with no cracks for the smoothest results
- Chocolate cookies: provide a sturdy and tasty brim use your favorite brand or bake your own for extra freshness
- Creamy white decorator icing: is the base for all your colored decorations test the icing before using to make sure it pipes smoothly
- Gel food coloring: in lemon yellow, black, rose pink, violet, golden yellow, and orange you will get more intense colors with gel than liquid
- Black color mist food coloring: helps create that magical dark hat look
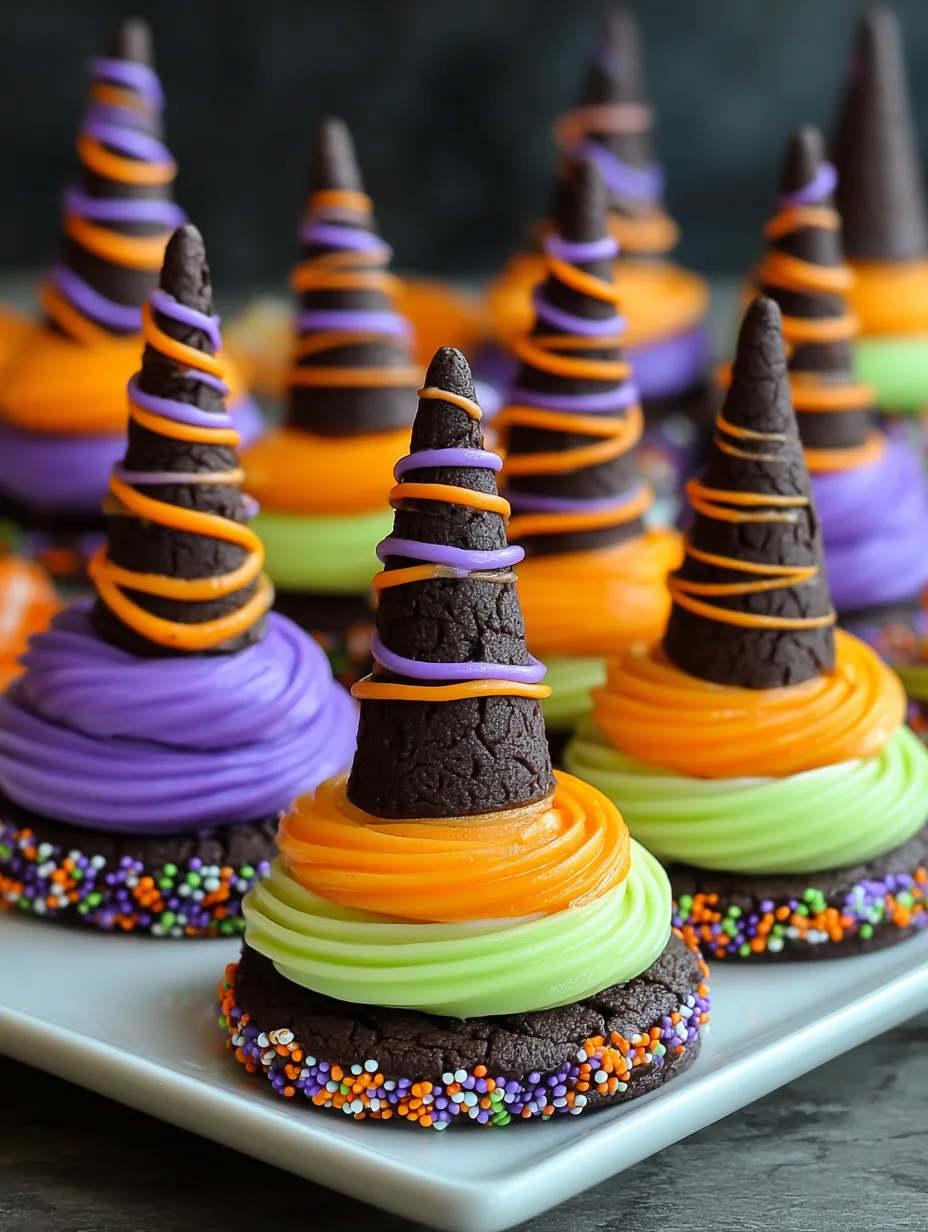
- Optional sprinkles and edible glitter: add extra sparkle and fun
Look for cones and cookies that are not chipped and avoid any with stale aroma for the best flavor and appearance.
Step-by-Step Instructions
- Prepare and Bake the Cones:
- Mix the chocolate cake batter according to your chosen recipe instructions. Set up the sugar cones in the cupcake cone rack on a baking sheet and fill each with two tablespoons of batter. Bake until set based on your cake mix’s timing then cool fully on a rack to prevent melting the icing later.
- Spray the Cones:
- If the cake rises above the cone rim slice off any extra with a sharp knife. Set cones wide end down on parchment paper and spray each with black color mist until evenly coated. Let the cones dry for at least fifteen minutes before handling.
- Tint the Icing and Prepare Bags:
- Divide the creamy decorator icing into three portions. Color one cup orange using the orange gel food color. Mix violet and rose pink gel for another cup and tint it purple. Tint a quarter cup yellow using both golden yellow and lemon yellow then place in a piping bag with a fine tip for buckles. Fit two piping bags with star tips and fill each with either orange or purple icing. The yellow icing goes in a smaller tipped bag for detail work.
- Assemble the Witch Hats:
- Pipe a small circle of orange icing onto the center of each cookie and press a cone on top to secure it. Pipe a thick band around the base of each hat some with purple icing and some with orange smoothing with a spatula for a neat look. Wait ten to twenty minutes for the base icing to set before piping yellow buckles around each hat band using your detail bag. Let the cookies rest until the icing is fully set about another fifteen minutes before serving or packaging.
 Save
Save
I always look forward to picking out the food coloring for these cookies—seeing my kids debate over their favorite band color is almost as much fun as eating the finished treats. Last year we made a whole batch in neon colors for an extra witchy effect.
Storage Tips
Store finished cookies in an airtight container to keep them fresh for up to five days. If you need to keep them longer wrap the cookies individually and freeze in a sealed bag for up to two months. Thaw cookies at room temperature before serving for best texture.
Ingredient Substitutions
Try swapping in vanilla or funfetti cake mix for a different flavor and look. If gel food coloring is not available use what you have but stick with vibrant colors for the best Halloween effect. Any round chocolate cookie with a sturdy surface can work as the base. For a lighter touch consider using whipped cream cheese frosting instead of decorator icing just pipe and serve more quickly.
 Save
Save
Serving Suggestions
Place these cookies on a big platter decorated with cobwebs or plastic spiders for that haunted house vibe. They also look great bagged individually for party favors or trick or treating. Serve alongside other themed treats like monster cupcakes or candy corn squares for a full dessert spread.
Cultural and Historical Context
Witch hats are a classic Halloween symbol, representing mystery and magic in many cultures. These cookies combine American traditions of decorated desserts and holiday baking into an edible centerpiece. Making these with kids embraces the playful, imaginative spirit that Halloween is all about.
Recipe FAQs
- → How do I bake the cake batter inside the cones?
Fill sugar cones with about 2 tablespoons of cake batter and place them upright on a cupcake cone rack before baking. This ensures even cooking and stable shape.
- → What is the best way to decorate the witch hats?
Use decorating bags fitted with tips to pipe tinted icing bands and buckles carefully. Allow each layer to set before adding the next for clean designs.
- → Can I adjust icing colors for different themes?
Absolutely. Mixing gel or liquid food colors lets you customize the icing hues to match any party motif or preference.
- → How should I store these treats to keep them fresh?
Place them in an airtight container at room temperature or refrigerate for up to five days to preserve texture and flavor.
- → Is freezing recommended for longer storage?
Yes. Wrap each cone individually before freezing, then thaw at room temperature before serving for best results.
- → What tools make assembling easier?
A cupcake cone baking rack, decorating bags, and piping tips are essential for baking evenly and achieving neat decorations.