
 Save
Save
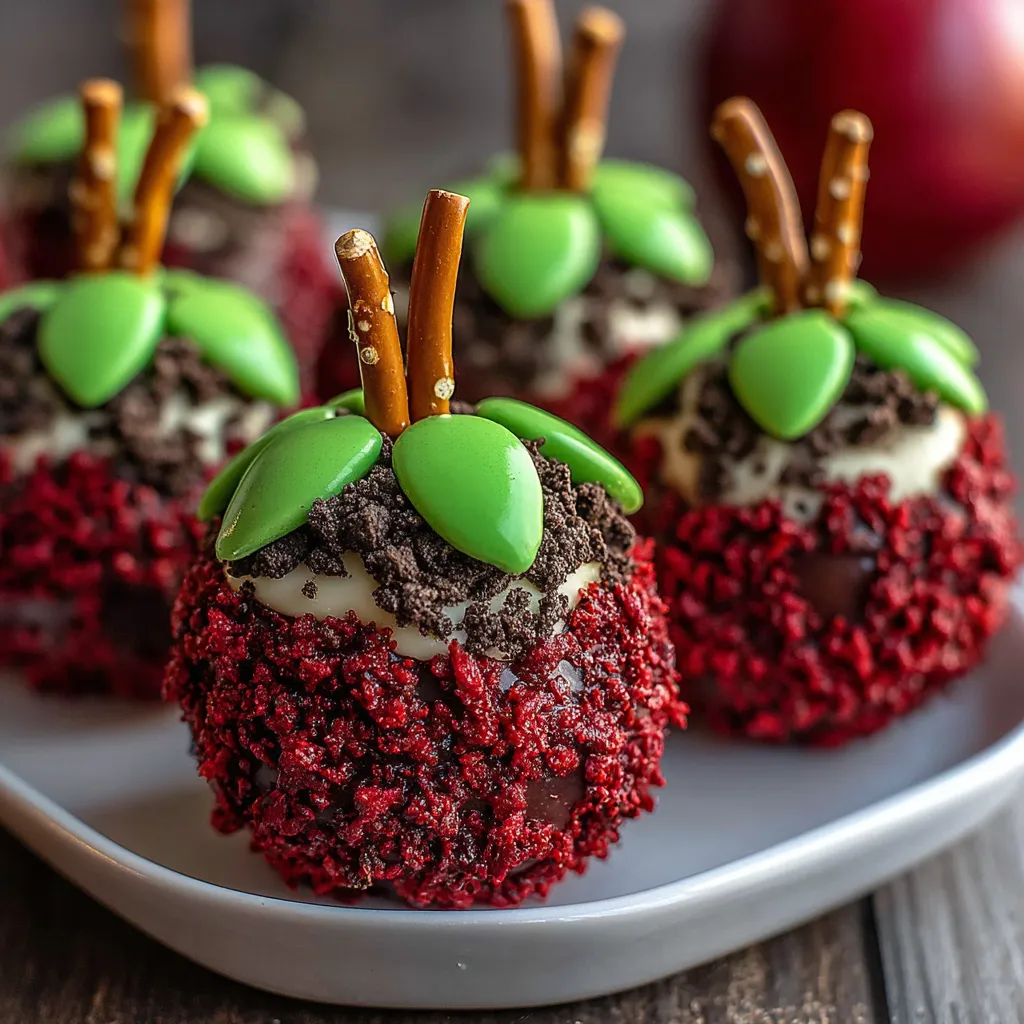
Apple Oreo Balls are a whimsical no-bake treat shaped just like apples, ideal for birthday parties, class activities, or anytime you want to bake with kids but skip the oven. They come together with pantry basics and look as charming as they taste, making dessert the main event.
The first time I made these was for a back-to-school celebration and they vanished before I could set down the tray. Watching the kids decorate their “apple” balls is always the highlight of my school year kickoff.
Ingredients
- Oreo cookies: twenty-four make sure to crush them into fine even crumbs for a smooth truffle
- Cream cheese: eight-ounce block softened this binds and adds creamy tang flavor
- Red candy melts: these coat the apple balls giving that vibrant red apple look use a quality brand for best melt
- Mini pretzel sticks: broken into short pieces these create the apple stems whole-wheat sticks add a touch of nuttiness
- Green M and M candies or green candy leaves: for the leaf look use fresh bright green ones for realism
- Coconut oil (optional): adds shine and helps thin the candy coating for flawless dipping always use virgin oil for the cleanest taste
Step-by-Step Instructions
- Line the Tray:
- Lay parchment paper on a flat baking sheet to prevent sticking and for easy cleanup. Make sure the sheet fits in your fridge.
- Mix and Form the Mixture:
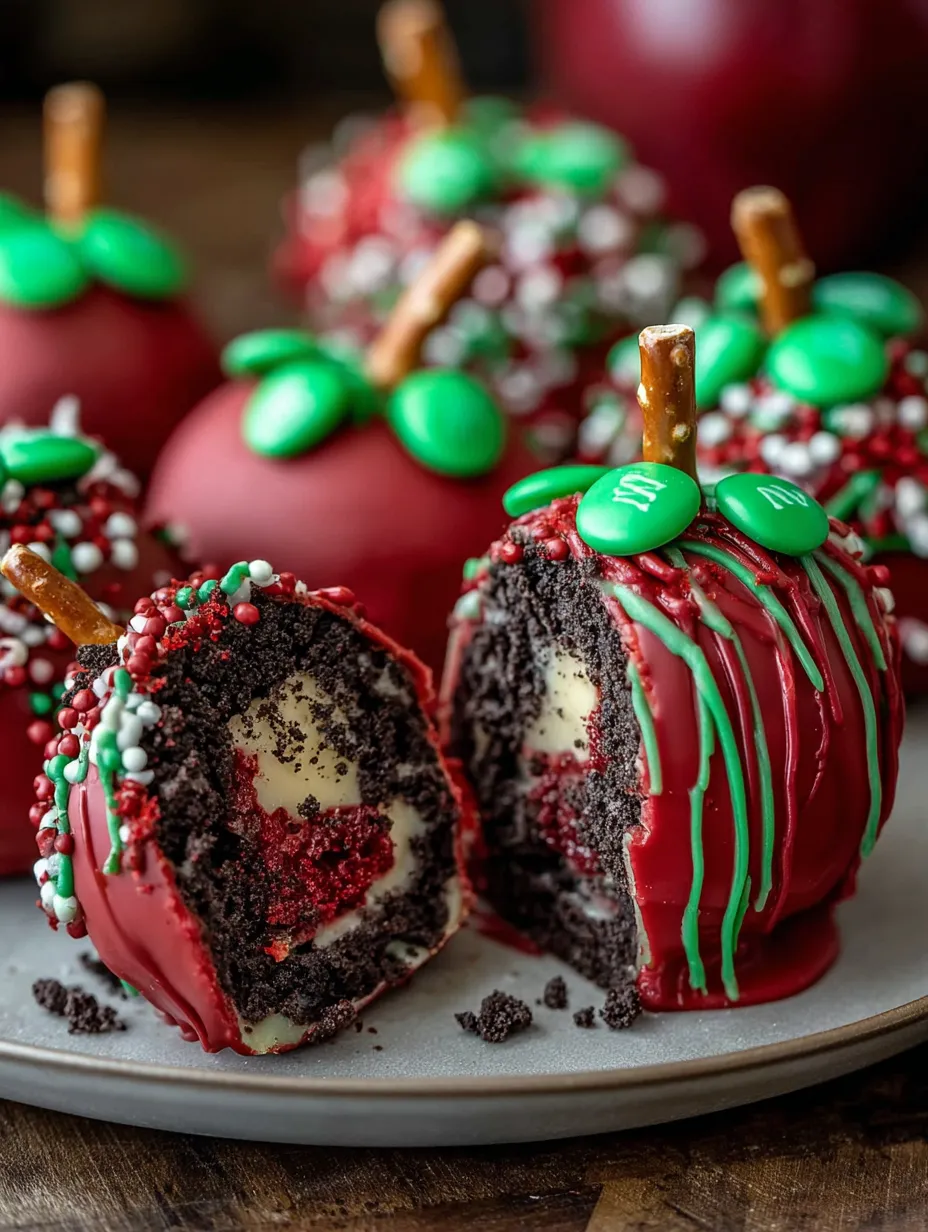
- In a large bowl thoroughly blend the crushed Oreo crumbs with softened cream cheese using a spatula or clean hands. The mixture should be uniform dark and easy to press together.
- Shape the Apples:
- Using a small scoop or tablespoon portion the mixture into small mounds. Roll gently between your palms to form balls then shape each with a rounded top and slightly flat base to mimic apples.
- Chill for Firmness:
- Transfer the shaped balls onto the baking sheet and refrigerate them for at least twenty minutes so they set and will not crumble during dipping.
- Melt the Candy Coating:
- Place the red candy melts in a microwave-safe bowl and heat in thirty-second bursts stirring well in between. If the melted coating seems thick stir in a spoonful of coconut oil to loosen it.
- Dip and Decorate:
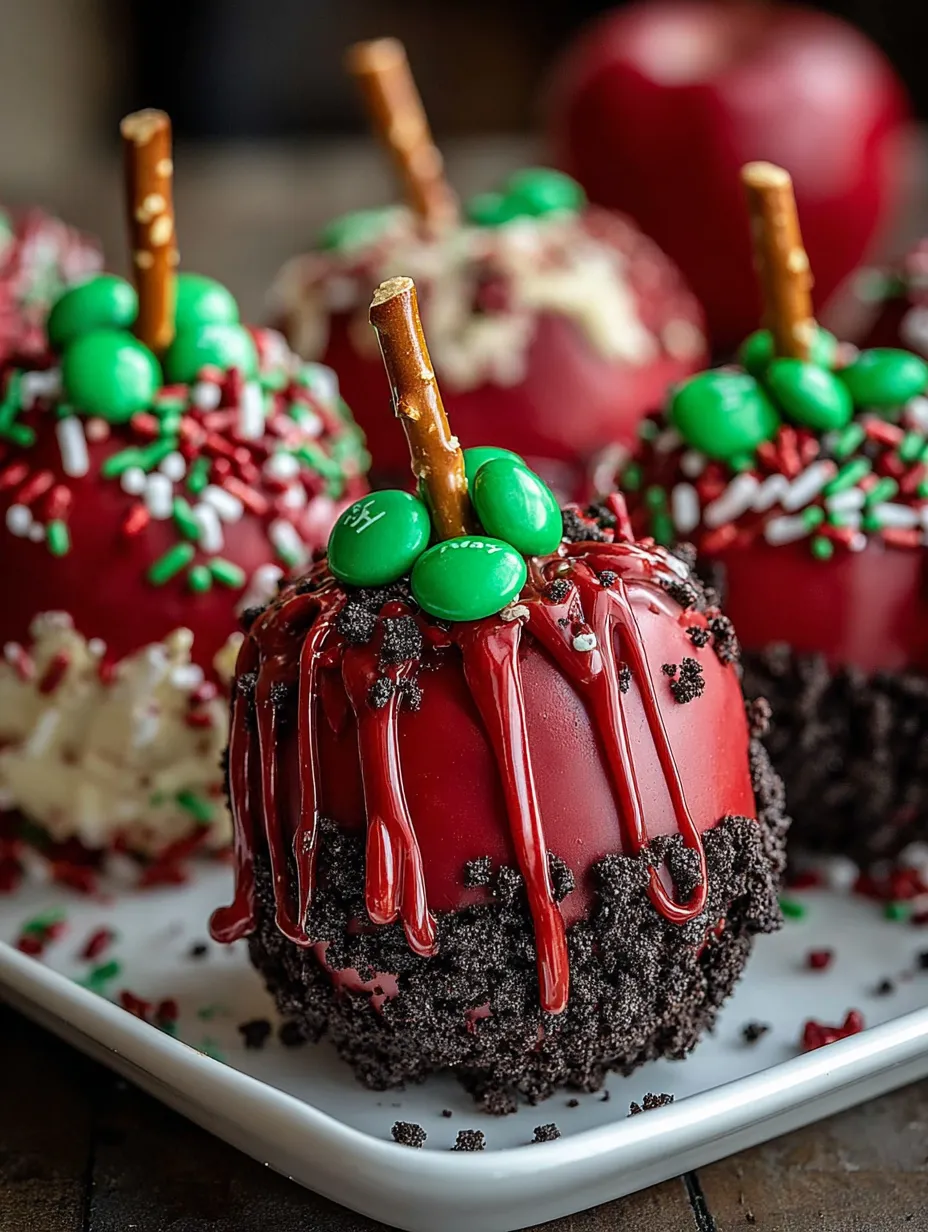
- Work one ball at a time dipping it fully into the melted candy with a fork or dipping tool then return to the parchment. Quickly press a pretzel piece in the top as a stem and add a green M and M or candy leaf at the curve for a realistic apple look.
- Set and Store:
- Let the finished apple balls stand at room temperature or chill again until the coating hardens completely. Store them covered in the fridge for best texture.
 Save
Save
Oreo cookies have always been my secret ingredient for fuss-free sweets. Every fall my youngest insists we make these for her teacher as a back-to-school tradition and there is nothing sweeter than that annual apple delivery.
Storage Tips
These keep best in an airtight container inside your refrigerator. Keep layers separated with wax paper to prevent sticking. You can freeze the undipped balls for up to two months then coat once thawed for last-minute party prep.
Ingredient Substitutions
Swap the red candy melts for white chocolate tinted with gel food coloring for pastel apples. Dairy-free cream cheese works well if you need a vegan version. Get creative with leaf options using fruit leathers or little sprigs of mint.
Serving Suggestions
Pile the finished apple Oreo balls in a rustic basket lined with gingham for a teacher’s gift or to anchor a harvest-themed dessert table. They make cute edible decorations at fall fairs or bake sales. For kids’ parties set up a decorating station with mini sprinkles and let everyone craft their own apple.
 Save
Save
Cultural and Historical Context
While apple truffles are a playful American invention the tradition of “apple for the teacher” has long roots. These treats tap into that symbolism in a modern and delicious way blending the fun of playful food art with good old-fashioned Oreo indulgence.
Recipe FAQs
- → What type of cookies work best for the base?
Crushed sandwich-style cookies with a chocolate flavor provide a crunchy texture and rich base that complements the creamy cheese.
- → How can I achieve a smooth dipping coating?
Melting the coating in short intervals and stirring regularly ensures a silky texture; adding a small amount of coconut oil can help with smoothness.
- → Can the shaped balls be prepared ahead of time?
Yes, chilling the balls until firm before dipping helps maintain their shape and they can be stored refrigerated after coating for several days.
- → What is the method for forming the apple look?
After rolling into balls, gently flatten the base and round the top slightly to resemble an apple’s shape before chilling.
- → How do I add the stem and leaf details?
Insert a small broken pretzel stick at the top as a stem and press a green candy beside it to mimic a leaf while the coating is still soft.