
 Save
Save
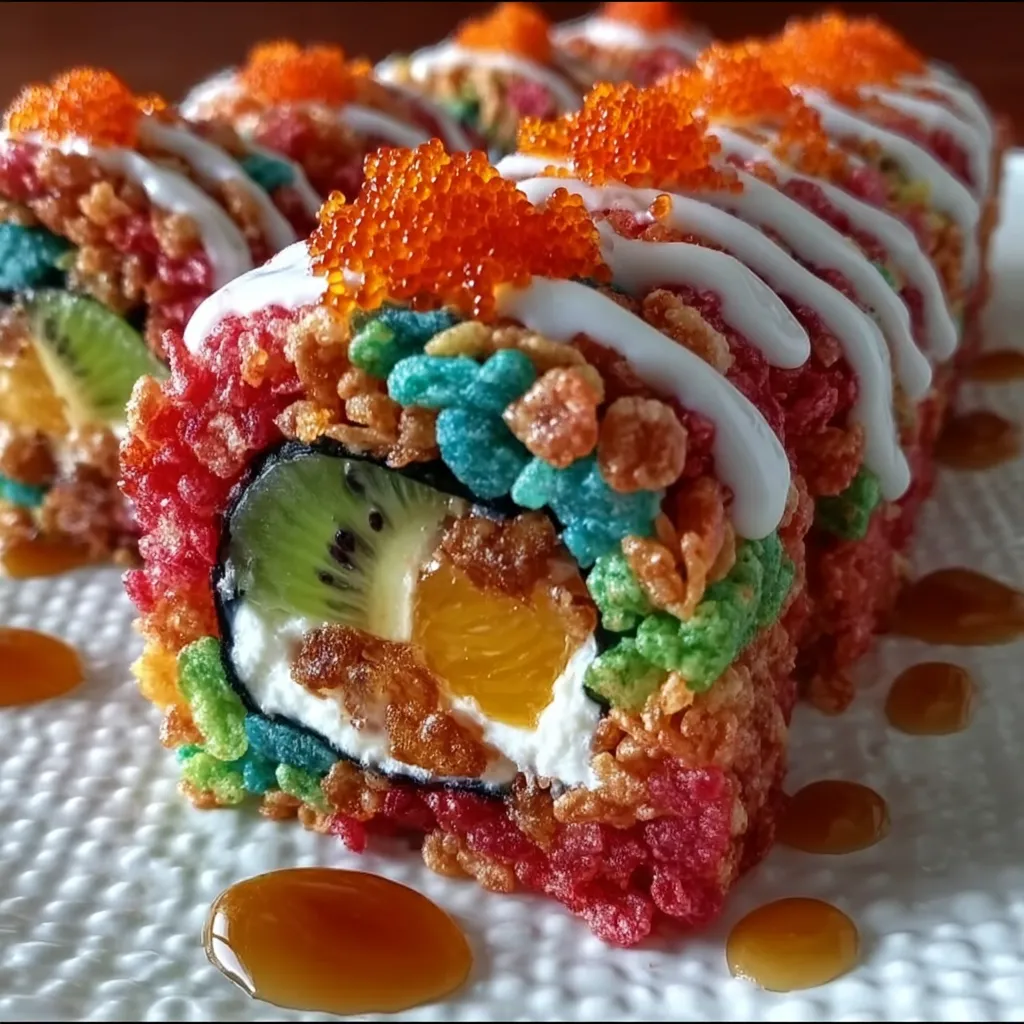
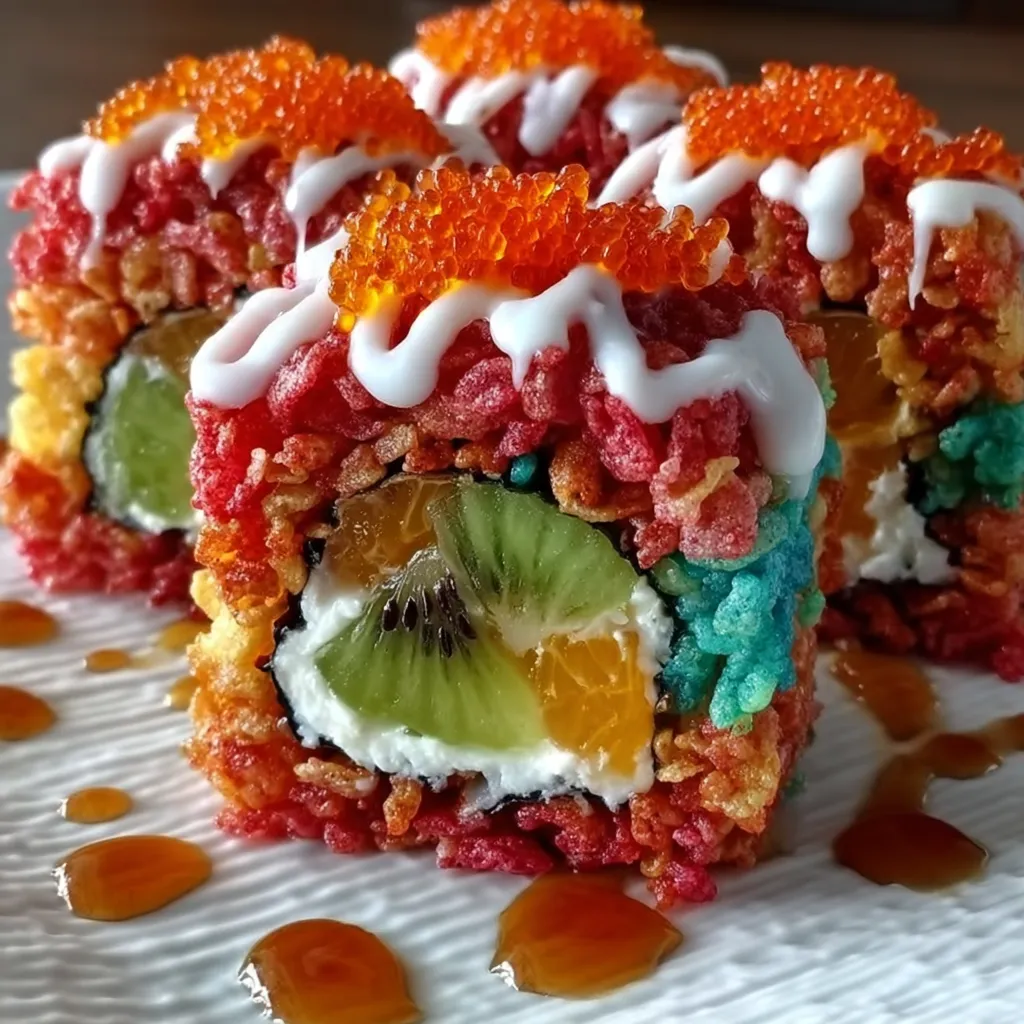
This Fruity Pebbles Sushi recipe turns a beloved colorful cereal into a playful dessert that looks like sushi but tastes delightfully sweet. It’s perfect for parties, kids’ treats, or anytime you want something fun and easy to make without baking.
I first made this for a kids’ birthday party, and it was a huge hit. Watching everyone’s faces light up as they tried dessert sushi was unforgettable. It now makes appearances whenever we want a colorful treat with a surprise twist.
Ingredients
- Four cups Fruity Pebbles cereal: provides the crunchy and colorful base, choose a fresh box for maximum crunch
- One cup marshmallows: helps bind the cereal while adding sweetness, mini marshmallows melt more evenly
- Three tablespoons unsalted butter: adds richness and smooth melting, unsalted lets you control salt levels
- One teaspoon vanilla extract: enhances the sweetness and rounds out the flavors
- One cup white chocolate chips: melts smoothly for coating or drizzling, opt for high quality for best taste
- Food coloring optional: lets you create sushi-like garnishes with colored chocolate
- Fresh fruit slices such as strawberries, kiwi, and mango: add freshness and vibrant garnish, plus a nice contrast to sweetness
Step-by-Step Instructions
- Sauté the Base:
- In a large pot over low heat, melt the butter slowly so it doesn’t burn or foam. This gentle warming gently prepares the base.
- Melt the Marshmallows:
- Add marshmallows to the melted butter and stir continuously until the mixture is completely smooth and liquid. This step ensures the cereal will stick together perfectly.
- Add Flavor:
- Take the pot off heat and stir in vanilla extract immediately so the flavor stays bright and fresh.
- Fold in the Cereal:
- Pour Fruity Pebbles into the marshmallow mixture and gently fold to coat every piece without crushing the cereal. A soft hand keeps the vibrant cereal shapes intact.
- Shape the Sushi Base:
- Line a baking sheet and press the mixture firmly into a one-inch thick rectangular shape. This forms your sushi "rice" base and compression helps it hold together. Let it cool and set for 15 minutes at room temperature.
- Cut into Strips:
- Use a sharp knife to cut the rectangle slab into one-inch wide strips. Sharpness is key to keep edges clean and neat.
- Roll into Sushi:
- Carefully roll each strip into a tight sushi shape and press gently so it holds without cracking.
- Melt White Chocolate:
- In a microwave-safe bowl, melt white chocolate chips by heating in 30-second bursts. Stir thoroughly between each interval until smooth and creamy.
- Add Color and Decorate:
- Optionally divide the melted chocolate into smaller bowls and tint with food coloring, then drizzle or dip the sushi rolls to mimic traditional sushi toppings.
- Garnish and Chill:
- Decorate the plate with fresh fruit slices to add color and freshness. Refrigerate sushi rolls for 10 minutes before serving for the best texture and ease of handling.
 Save
Save
My favorite ingredient here is the Fruity Pebbles cereal itself because its bright colors and crisp texture make this recipe playful and nostalgic. The first time my kids helped roll the cereal strips was filled with laughter and sticky fingers but turned into a great family activity.
Storage Tips
Store any leftover rolls in an airtight container at room temperature to maintain their crispness for up to one day. Avoid refrigeration beyond a few hours to prevent the marshmallow mix from hardening too much. To refresh texture, briefly air out treated rolls before serving again.
Ingredient Substitutions
- Puffed rice cereal or Fruity Pebbles alternatives can be used to vary flavor and texture
- Instead of white chocolate chips, you can use white melting wafers or candy melts for easier melting and coloring
- For a vegan variation, swap marshmallows with vegan marshmallows and use dairy-free butter and chocolate
Serving Suggestions
- Serve with fresh fruit slices on the side to add brightness and a little natural tartness that balances sweetness
- Pair with a glass of cold milk or a fruity iced tea for a fun treat presentation
- These are great for themed parties where sushi appearance will surprise and delight guests of all ages
Cultural/Historical Context
This recipe is a playful fusion twist on Japanese sushi, reimagined as a kid-friendly and colorful dessert. It blends elements of visual diner artistry with American nostalgic breakfast cereals, celebrating creativity in no-bake sweets. Fruity Pebbles sushi plays on the trend of turning familiar foods into unexpected formats, making dessert fun and approachable.
Pro Tips
- Toast the cereal lightly before mixing if you want an extra crunchy texture but be careful not to burn it
- Use parchment paper on your baking sheet for easy release and cleanup when shaping the cereal slab
- For cleaner cuts and rolls, allow the cereal mix to set completely and use a warm knife to prevent sticking
Recipe FAQs
- → How do I prevent the cereal mixture from sticking to the pan?
Lightly grease the baking sheet or line it with parchment paper before pressing in the cereal mixture to avoid sticking.
- → Can I use other cereals besides Fruity Pebbles?
Yes, cereals with a similar texture and coating ability work best to maintain the sushi-like shape.
- → What is the best way to melt marshmallows evenly?
Melt marshmallows and butter slowly over low heat, stirring constantly to achieve a smooth consistency without burning.
- → How do I add different colors to the white chocolate?
Divide melted white chocolate into small bowls and mix in a few drops of food coloring to resemble various sushi toppings.
- → How long should I chill the rolls before serving?
Chill the shaped rolls in the refrigerator for at least 10 minutes to firm up and hold their shape when sliced.
- → Are fresh fruit slices necessary for this dish?
Though optional, fresh fruit adds a refreshing contrast and brightens the overall appearance.