
 Save
Save
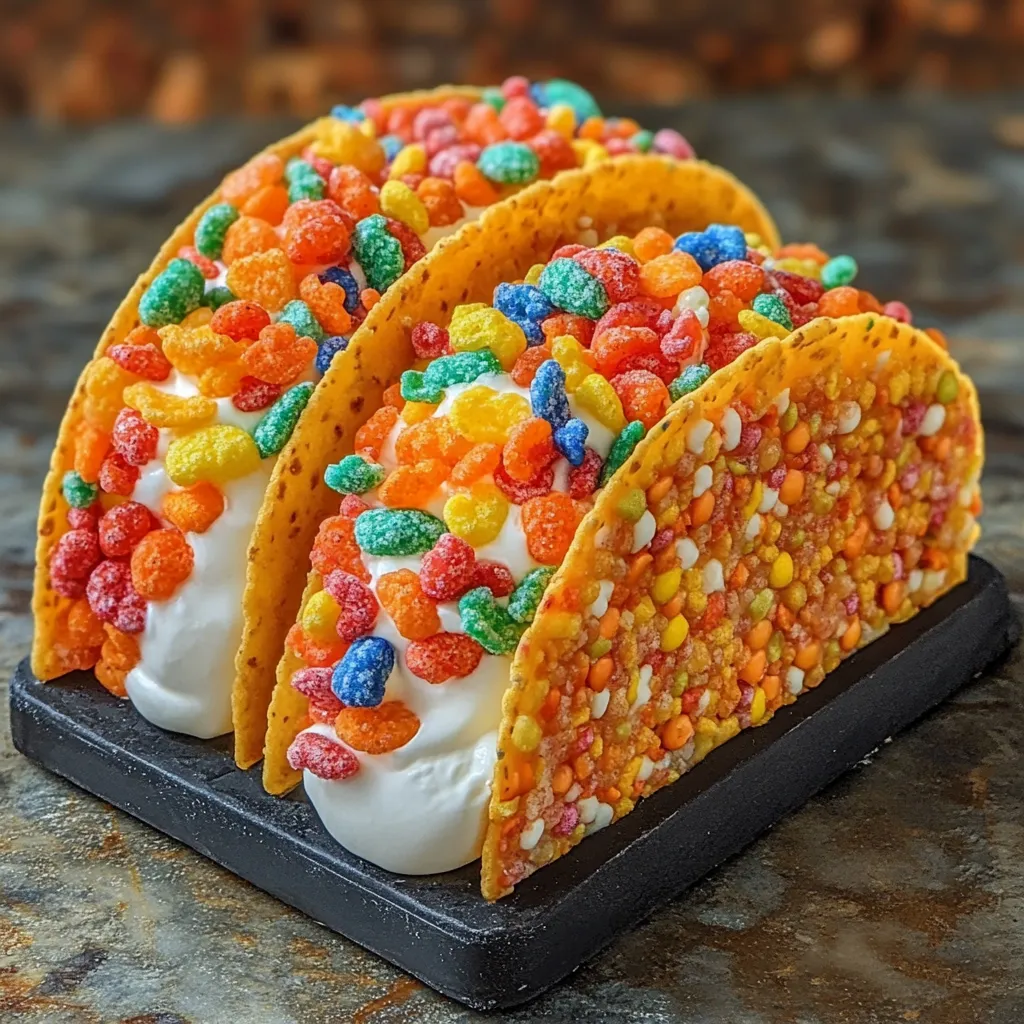
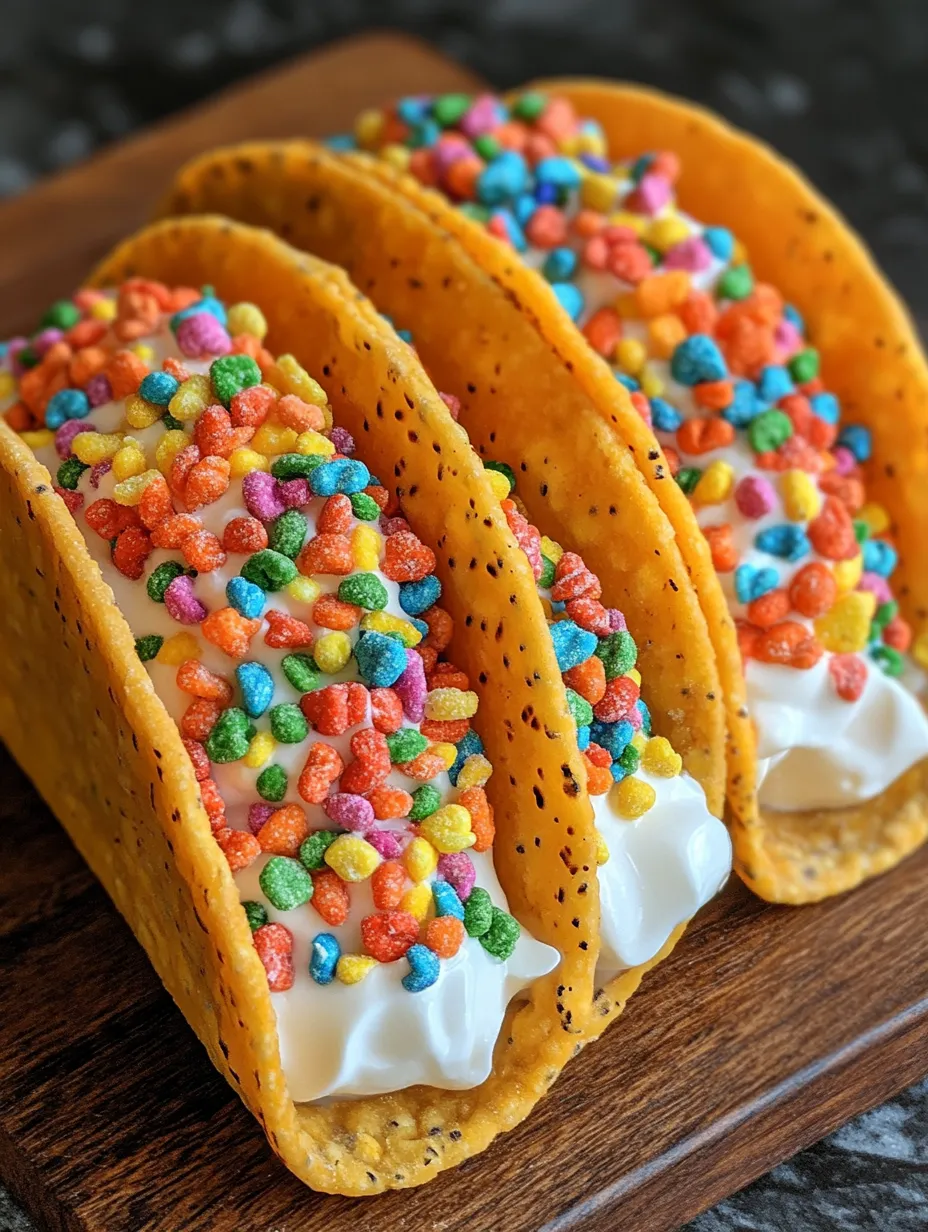
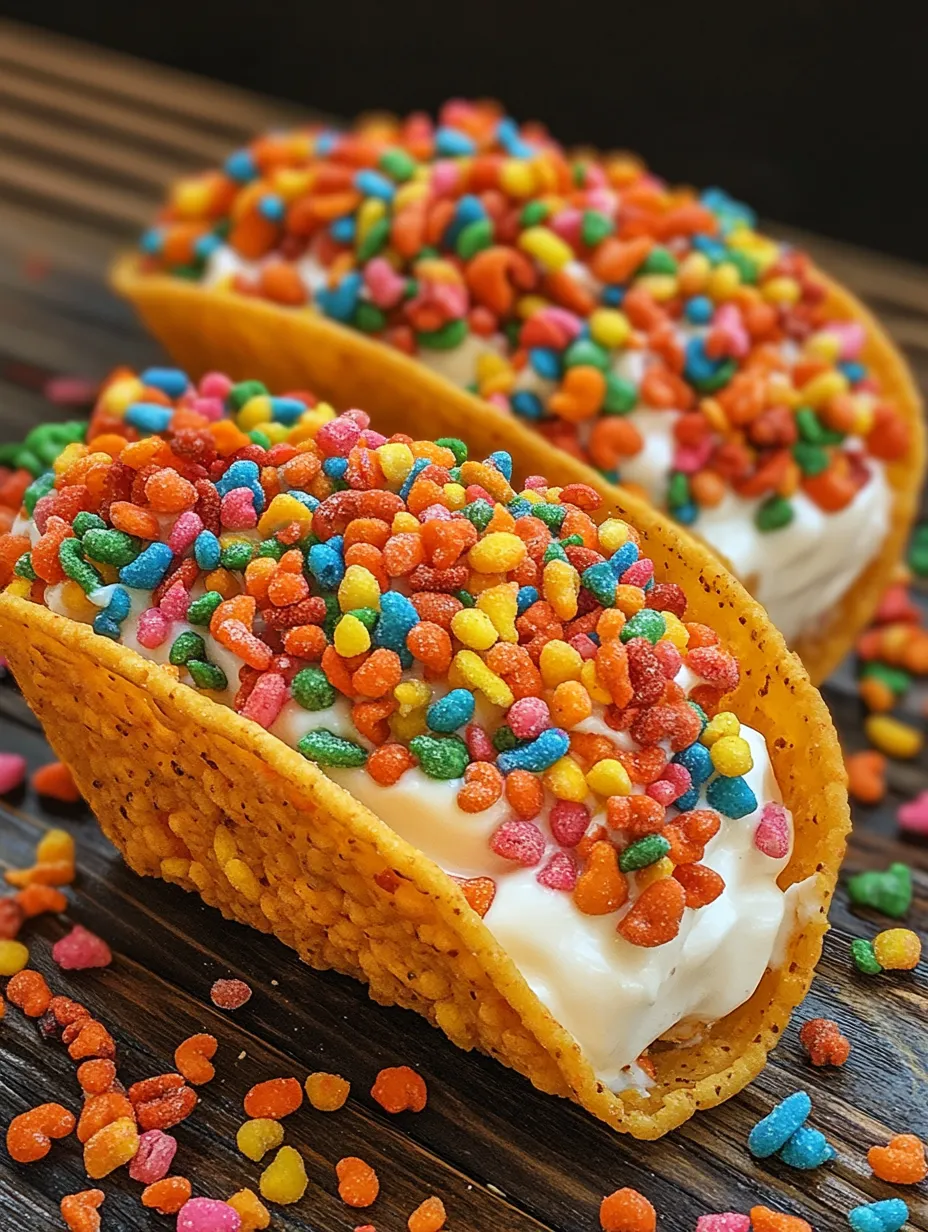
This colorful Fruity Pebbles Cheesecake Tacos recipe transforms a favorite childhood cereal into a creative no-bake dessert. Each tortilla-shaped shell bursts with crunch and nostalgia, then gets packed with rich and fluffy cheesecake filling. Finished with a bright sprinkle of fruity cereal, these treats never fail to steal the show at parties and family gatherings.
I first made these for a rainy afternoon of baking with my nieces. Now they ask for cheesecake tacos at every visit and I admit they are just as much fun for grown-ups as they are for kids.
Ingredients
- Three cups colorful fruity cereal: Choose the brightest box for visual impact and the freshest taste
- Half cup unsalted butter melted: Make sure the butter smells sweet and use high quality for best flavor binding
- Eight ounces cream cheese softened: Look for full fat and room temperature for the creamiest texture
- Half cup powdered sugar sifted: Sift to keep the filling super smooth and free of lumps
- One teaspoon real vanilla extract: Use pure extract as it makes a huge difference in overall taste
- One cup whipped cream: Freshly whipped holds up best and keeps the filling light
- Extra fruity cereal for optional garnish: Adds pop and crunch just before serving
Step-by-Step Instructions
- Prepare The Crunchy Shell:
- Combine fruity cereal and melted butter in a large bowl. Stir until every piece is glossy and coated taking care not to break the cereal too much. The buttery coverage helps the shells hold their shape so mix well but work gently.
- Shape Your Shells:
- Spoon the mixture into curved molds or drape across the backside of a muffin tin. Press firmly with your hands or the back of a spoon so the shell is about a quarter inch thick all over. Chill in the refrigerator for at least half an hour. The shells need to firm up so they hold together when filled.
- Whisk Up The Filling:
- Beat the softened cream cheese with an electric mixer until light and fluffy. Gradually add in powdered sugar and vanilla keeping the mixer on low to avoid splatter. Scrape the bowl as you mix to ensure a perfectly silky filling without any hidden lumps.
- Add Airiness:
- Switch to a spatula and gently fold whipped cream into the cheesecake base. Work with a light motion scooping from the bottom up until just combined. This step is what creates that rich yet airy filling texture.
- Assemble The Bites:
- Remove the chilled cereal shells from the fridge. Spoon or pipe the cheesecake mixture into each shell filling them almost to the brim for a dramatic look.
- Garnish And Serve:
- Finish by gently pressing extra fruity cereal on top for a burst of color and crunch. Serve right away for maximum crispness or chill for up to two hours if making ahead.
 Save
Save
My favorite part is watching the kids’ faces light up when the shells pop perfectly out of the molds. There is something about childhood cereal that always brings back happy kitchen memories and these treats quickly became a new family tradition.
Make Ahead Options
To make party prep smooth assemble the cereal shells and store them in an airtight container up to two days ahead. The cheesecake filling keeps overnight in the refrigerator but wait to pipe and garnish until the last few hours for the best texture. If you like a crisp shell always serve within a few hours of assembling.
Variation Ideas
Customize by trying other cereals such as cocoa pebbles for a chocolate twist or cinnamon cereal for a warm spicy flavor. For themed parties swap cereal colors to match the season. Adding a splash of orange liqueur to the filling creates a fun grownup variation. Change the look by piping filling in stripes or dots and pile on extra toppings like mini chocolate chips or sprinkles.
 Save
Save
Serving Suggestions
Display on a bright platter for visual impact or set out shells and filling separately for a build-your-own taco bar. Toppings like chopped fruit, candies, or sauces turn dessert into an activity. Tuck into cupcake liners for an easy grab-and-go option at larger parties.
Recipe FAQs
- → How do I shape the cereal shells?
Firmly press the buttery cereal mixture into small taco molds or muffin tin cups, then chill for 30 minutes to let shells set and hold shape.
- → Can I use any fruity cereal brand?
Yes, any colorful fruity cereal works well to create the vibrant, crunchy shells featured here.
- → How can I keep the filling light and airy?
Gently fold whipped cream into the cream cheese mixture using a spatula, avoiding overmixing to maintain a fluffy texture.
- → Is it possible to prepare these ahead of time?
The cereal shells and filling can be made in advance. Assemble just before serving to keep eggs fresh and the shells firm.
- → What’s the best serving method for these tacos?
Serve immediately after adding extra cereal garnish for optimal crunch, or chill briefly for a firmer, cooler bite.
- → How can I customize the flavors?
Try different cereals like Cocoa Pebbles or Cinnamon Toast Crunch, or add flavors like orange liqueur and zest for a festive twist.