
 Save
Save
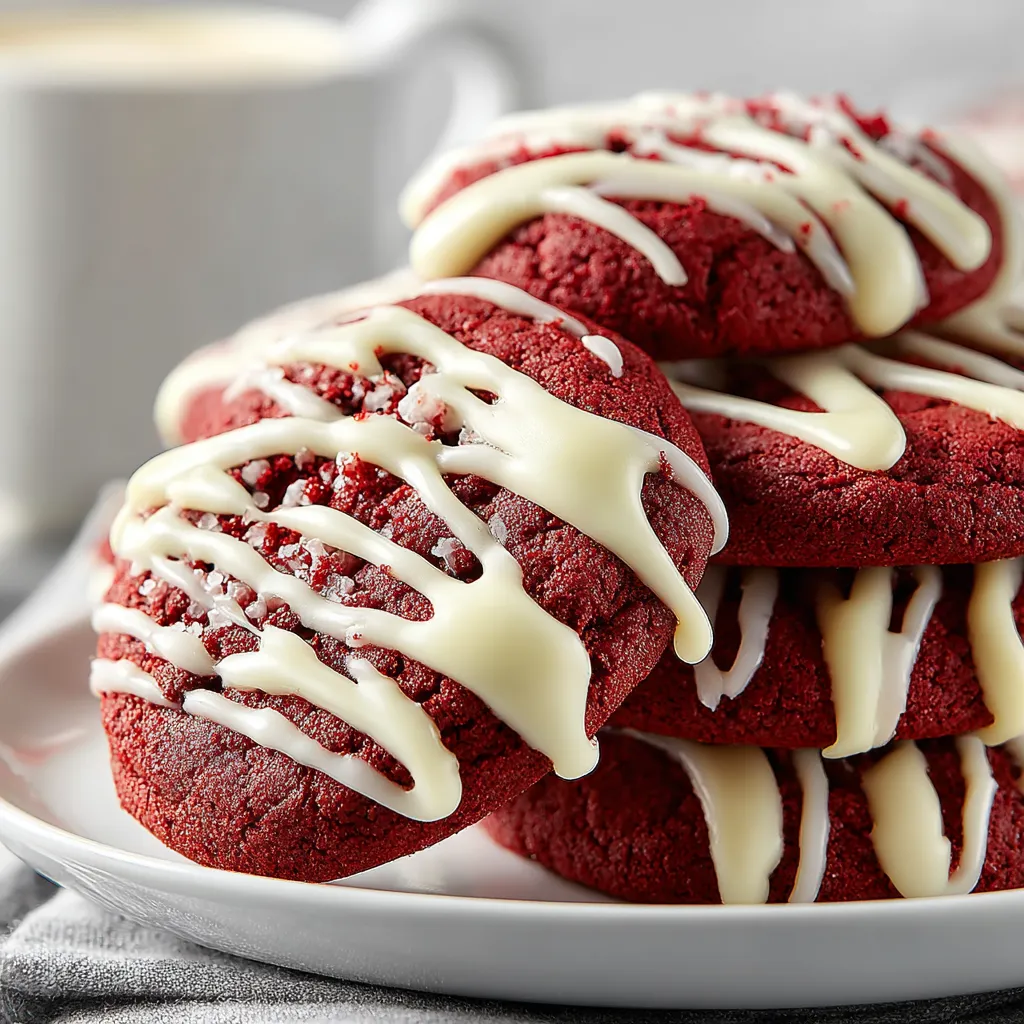
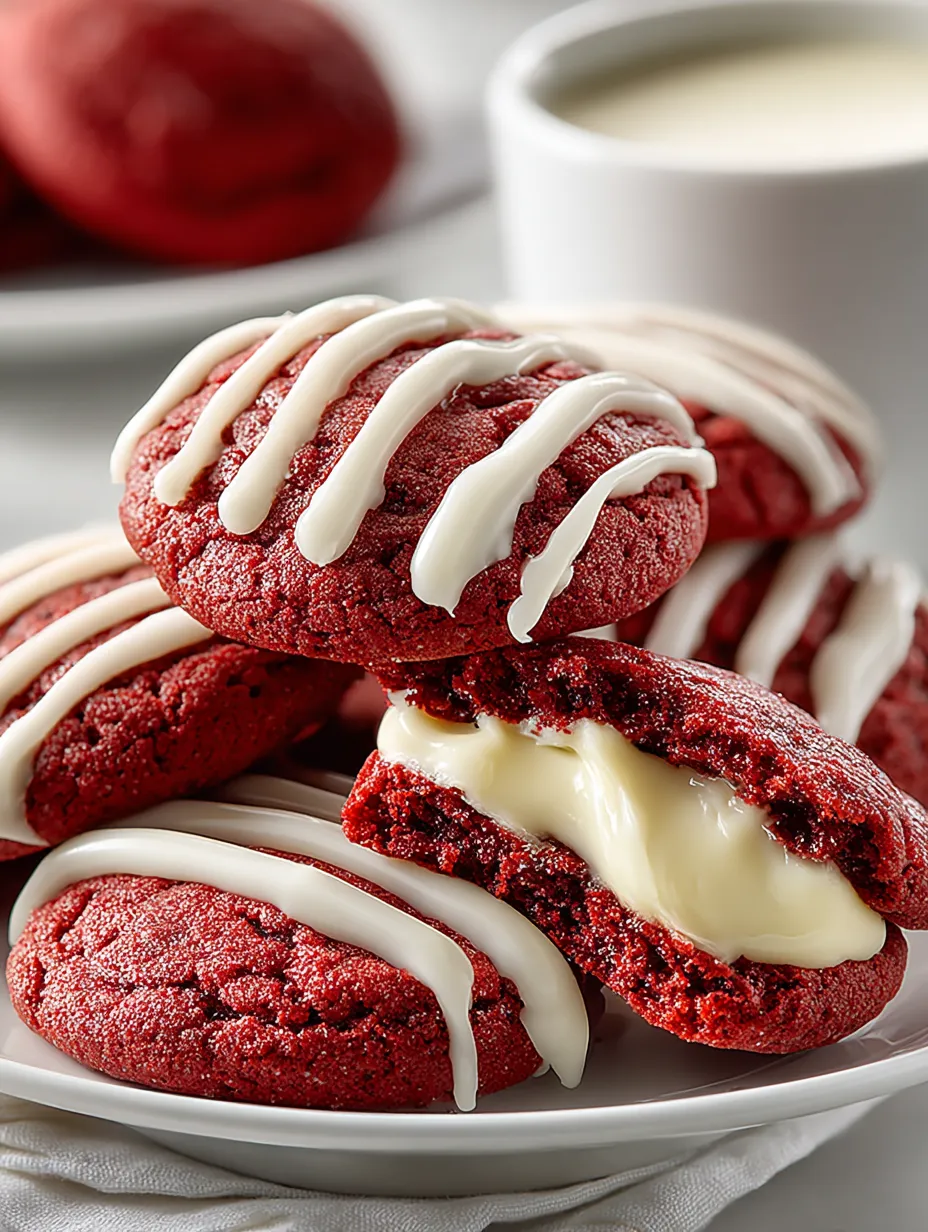
These red velvet cookies bring the rich, familiar flavors of classic Southern red velvet cake into a soft, chewy cookie form. They balance real cocoa with just a touch of vinegar for that signature tang while being topped with a glossy cream cheese glaze that adds a perfect sweet finish. Ideal for Valentine’s Day trays, holiday get-togethers, or anytime you want a show-stopping dessert that stands out.
I first baked these during a family gathering and was delighted to see everyone reaching for seconds. Now they’ve become a requested treat whenever I want to make something special but uncomplicated.
Ingredients
- All-purpose flour: 1 and a half cups This provides the cookie’s structure so choose a fresh, high-quality brand
- Unsweetened cocoa powder: Quarter cup For real depth of chocolate flavor, pick a Dutch-processed cocoa if you can
- Baking soda: Half teaspoon Helps the cookies rise just enough for a tender crumb
- Salt: Quarter teaspoon Enhances all the flavors
- Unsalted butter, softened: Half cup Quality butter makes a big difference in flavor and texture
- Light brown sugar, packed: Three quarters cup Adds moisture and a subtle caramel note
- Granulated sugar: Quarter cup Balances the brown sugar and helps with browning
- Large egg: One Binds the dough and adds richness
- Whole milk: One tablespoon Adds a bit of moisture and softness
- Red food coloring: Two teaspoons Use a gel or liquid for the vibrant red color
- Pure vanilla extract: One teaspoon Adds warmth and depth of flavor
- White vinegar: Half teaspoon Key to that authentic tang and color enhancement
For the Cream Cheese Glaze
- Cream cheese, softened: Two ounces Look for block cream cheese for best consistency
- Unsalted butter, softened: Two tablespoons Adds richness to the glaze
- Powdered sugar: Three quarters cup Sweetens and thickens the glaze
- Pure vanilla extract: Half teaspoon For a hint of warm fragrance
- Whole milk: Twelve tablespoons Added gradually to thin the glaze to drizzle consistency
Step-by-Step Instructions
- Preheat and pan prep:
- Preheat your oven to 350 degrees Fahrenheit. Line two baking sheets with parchment paper to ensure your cookies bake evenly and release easily without sticking.
- Whisk the dry mix:
- In a bowl, whisk together the flour, cocoa powder, baking soda, and salt until the cocoa is fully blended with no streaks visible. This helps avoid lumps and distributes leavening evenly.
- Cream butter and sugars:
- In a separate bowl, beat the softened butter with the brown and granulated sugars using medium speed until the mixture is light and fluffy. This should take about two to three minutes. Be sure to scrape down the sides of the bowl occasionally for even mixing.
- Add egg, flavor, color, and acid:
- Add the egg, milk, vanilla extract, red food coloring, and white vinegar to the butter and sugar mixture. Beat until everything is fully combined and the batter looks glossy. Adjust the red coloring if you want it more vibrant.
- Combine wet and dry ingredients:
- Add the dry ingredients to the wet mixture and mix on low speed just until the flour disappears. Do not overmix as that can make your cookies tough.
- Chill for clean edges:
- Cover the dough and chill it in the fridge for 20 to 30 minutes. This step is important to prevent the cookies from spreading too much and to keep their shape thick.
- Scoop and bake:
- Use about one and a half tablespoon portions of dough, spacing them two inches apart on your baking sheets. Bake for 10 to 12 minutes until the cookie edges have set but the centers still look slightly soft.
- Cool completely:
- Let the cookies rest on the baking sheets for five minutes before transferring them to a wire rack to cool completely. Cooling fully ensures the glaze will stick properly.
- Make the cream cheese glaze:
- Beat the cream cheese and butter together until smooth. Gradually mix in the powdered sugar and vanilla extract until creamy. Add the milk one tablespoon at a time to achieve a thick drizzle consistency, using only as much milk as needed.
- Glaze and set:
- Drizzle or pipe the glaze over the cooled cookies. Let the glaze set at room temperature for about 20 minutes or chill for 10 minutes to speed up the process.
 Save
Save
I love how the vinegar works quietly behind the scenes to create the classic red velvet tang. It reminds me of baking with my grandmother when I first learned the secret to that true red velvet flavor, which always brings back warm memories.
Storage Tips
Store these cookies in an airtight container at room temperature for up to three days to keep them soft. For longer storage, freeze them without glaze and add the glaze after thawing. This prevents any sogginess and keeps them tasting fresh.
Ingredient Substitutions
If you prefer not to use red food coloring try beet powder or hibiscus powder for a natural red tint along with a subtle earthy or tart flavor. White vinegar can be swapped one-for-one with lemon juice or apple cider vinegar without losing that signature tang or tenderness. To make these gluten-free, substitute the all-purpose flour with a cup-for-cup gluten-free baking blend that includes xanthan gum to maintain texture.
Serving Suggestions
These cookies shine with a glass of cold milk but are also delicious alongside fresh whipped cream or vanilla ice cream. They make a lovely addition to a dessert platter or festive cookie gift box for friends and family.
Cultural Context
Red velvet cake originated in the American South and has a deep association with holiday celebrations and romantic occasions. Transforming it into cookies lets you enjoy that nostalgic flavor in a new, convenient form perfect for sharing.
Pro Tips
- Chill the dough to keep those soft, tall edges perfect for a more attractive cookie
- Adjust your red food coloring slowly a little more gives a bold look without overpowering flavor
- Do not skip beating the butter and sugars until fluffy which foams air into the dough for lighter cookies
Recipe FAQs
- → What gives red velvet its signature tang?
The white vinegar adds a subtle tang that highlights the cocoa and brightens the overall flavor.
- → How does chilling the dough affect the cookies?
Chilling solidifies fats, helping the cookies keep their shape and achieve clean edges instead of spreading flat.
- → Can I use natural substitutes for red food coloring?
Yes, beet powder or hibiscus powder offer vibrant, natural hues with earthy or tart undertones that complement the cocoa.
- → What’s the best way to apply the cream cheese glaze?
Drizzle or pipe the glaze over cooled cookies, then allow it to set at room temperature or chill briefly to firm up.
- → How to keep cookies tender using gluten-free flour?
Use a cup-for-cup gluten-free blend with xanthan gum to maintain softness and prevent crumbling without affecting color or taste.
- → Why add vinegar or lemon juice to the dough?
They react with baking soda to aid leavening, enhancing texture and color depth while adding subtle brightness.