
 Save
Save
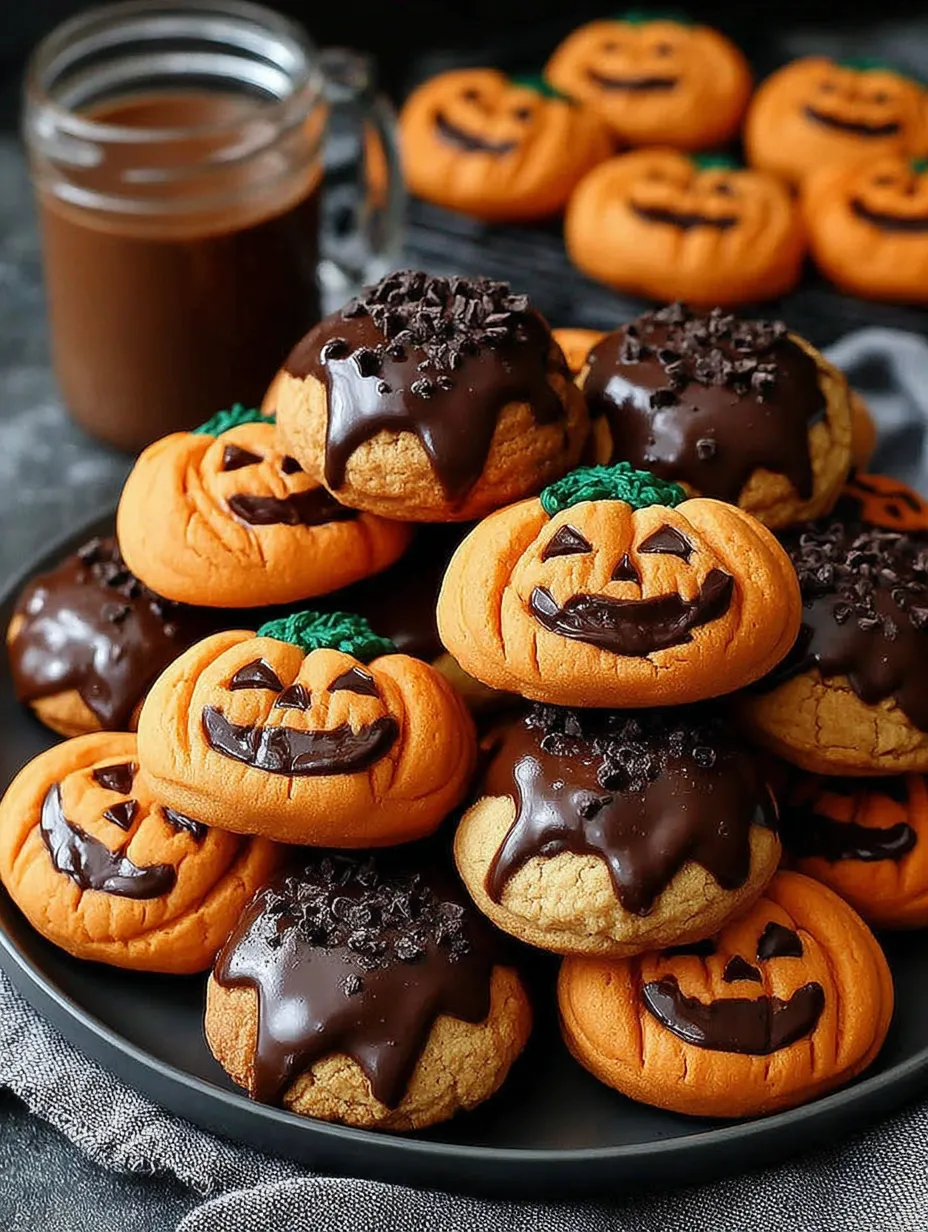
Halloween calls for baking that is both playful and delicious and these chocolate filled Jack Lantern cookies are always a hit at my house. A simple sugar cookie dough transforms into adorable pumpkin shapes and is then sandwiched with smooth chocolate and finished with cheerful jack lantern faces. Every batch brings out creativity in the kitchen and these treats easily become the showstopper on any party table or festive platter.
I first tried these cookies for a school bake sale and they disappeared in minutes. Now they are my must bake every October because everyone looks forward to making silly pumpkin faces together.
Ingredients
- All purpose flour: for a tender crumb and structure choose a fresh bag for best texture
- Baking powder: brings just the right lift make sure yours is active
- Salt: balances sweetness and adds flavor depth use a fine grain or Kosher salt
- Unsalted butter: gives the cookies a rich flavor always start with room temperature for easy mixing
- Granulated sugar: sweetens the dough and helps with crisp edges go for pure cane if possible
- Large egg: binds everything together and adds moisture fresher eggs give better rise
- Vanilla extract: for warm aroma and classic cookie flavor pick real extract for best taste
- Orange gel food coloring: makes the pumpkins pop use gel so colors stay bold
- Milk chocolate: creates a lush creamy filling go for high quality bars or chips for better melting
- Heavy cream: turns the chocolate into a smooth spread look for one with a high fat content
- Optional green icing or candies: create cute little pumpkin stems any basic green icing or small candy works
Step-by-Step Instructions
- Make the Cookie Dough:
- In a medium bowl whisk together flour baking powder and salt to evenly distribute the leavening and seasoning. In a separate larger mixing bowl cream softened butter with sugar using a stand or hand mixer on medium high until pale and fluffy. Beat in egg and vanilla then add orange gel coloring a few drops at a time mixing to your preferred pumpkin shade. Slowly add flour mixture and stir until just combined being careful not to overmix.
- Chill the Dough:
- Divide dough in half and pat each piece into a thick disk with your hands. Wrap tightly in plastic wrap and chill in the fridge for at least thirty minutes which firms up the butter and makes rolling much easier.
- Preheat and Prepare:
- Set your oven to three hundred fifty degrees Fahrenheit one hundred seventy five degrees Celsius and line baking sheets with parchment or silicone mats to prevent sticking and promote even browning.
- Roll and Cut:
- Dust a clean surface and rolling pin with flour and roll out one disk to a quarter inch thickness. Use a pumpkin shaped cookie cutter for as many cutouts as possible. Place half on your baking sheet. For the other half use a small sharp knife or jack lantern cutter inserts to carefully carve out fun faces.
- Bake:
- Transfer pans to the oven and bake eight to ten minutes until edges are set and just turning golden. Let cookies cool on the sheet a few minutes before moving to a wire rack so they do not break apart.
- Make the Chocolate Filling:
- Add chopped milk chocolate and heavy cream to a microwave safe bowl and heat in thirty second bursts stirring after each until completely smooth and shiny. You want it easily spreadable but not piping hot.
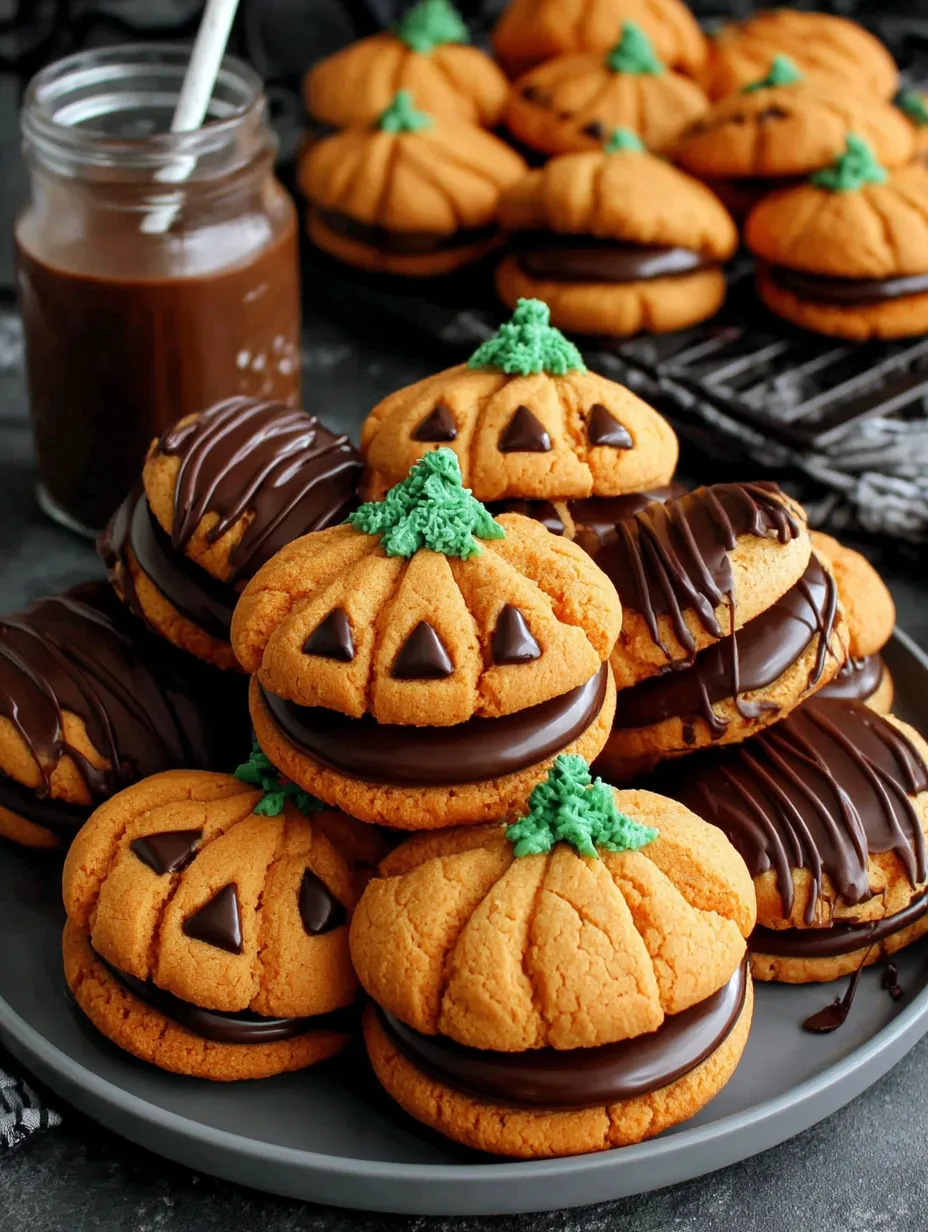
- Assemble:
- Take one whole pumpkin cookie and spread a spoonful of chocolate filling on the flat side. Top it with a cookie that has a face cut out press gently to stick them together and repeat until all sandwiches are made.
- Decorate:
- For a finishing touch dot the pumpkin stem with a bit of green icing or a small green candy. Let everything set up at room temperature until chocolate firms.
 Save
Save
The chocolate filling is my favorite part It reminds me of trick or treating with my cousins who would always trade candy for anything filled with chocolate. Now my nephews request extra filling for their pumpkins.
Storage Tips
Keep filled cookies in an airtight container at room temperature for four days. Want to make ahead? Store unfilled cookies in the freezer for up to one month and add chocolate only before serving for the best texture.
Ingredient Substitutions
Try dark or white chocolate instead of milk for the filling. If you do not have orange gel food coloring use a mix of red and yellow. To make a nutty version substitute chocolate with a layer of peanut butter or hazelnut spread. Out of heavy cream? A splash of whole milk works in a pinch though the filling may be a bit less rich.
Serving Suggestions
Arrange cookies on a spooky tray with black napkins and scatter a few candy pumpkins for extra color. Tuck a few jack lanterns into clear bags with ribbons for fun classroom gifts. They pair perfectly with mugs of apple cider or a fall spice latte.
 Save
Save
Cultural and Historical Context
Jack lanterns date back to Irish legend and have become a beloved part of Halloween in America. Baking pumpkin cookies brings those stories to life and turns traditional pumpkin carving into a delicious hands on activity that families have enjoyed for generations.
Recipe FAQs
- → Can the dough be prepared in advance?
Yes, the dough can be made ahead and refrigerated for up to 2 days or frozen for longer storage, making prep flexible.
- → What is the best way to achieve vibrant orange cookie dough?
Using gel food coloring helps you achieve bright orange without adding extra moisture that could affect dough texture.
- → How can I prevent cookies from spreading too much while baking?
Chilling the dough thoroughly before rolling and baking helps maintain the pumpkin shape and prevents excessive spreading.
- → What alternatives are there for the chocolate filling?
You may swap the milk chocolate for dark or white chocolate, or try spreads like peanut butter or hazelnut for different flavors.
- → How long can these cookies be stored after baking?
Store assembled cookies in an airtight container at room temperature for up to 4 days to keep them fresh.
- → Are these cookies suitable for baking with children?
Yes, cutting shapes and decorating the cookies are kid-friendly activities that make baking both fun and creative.