
 Save
Save
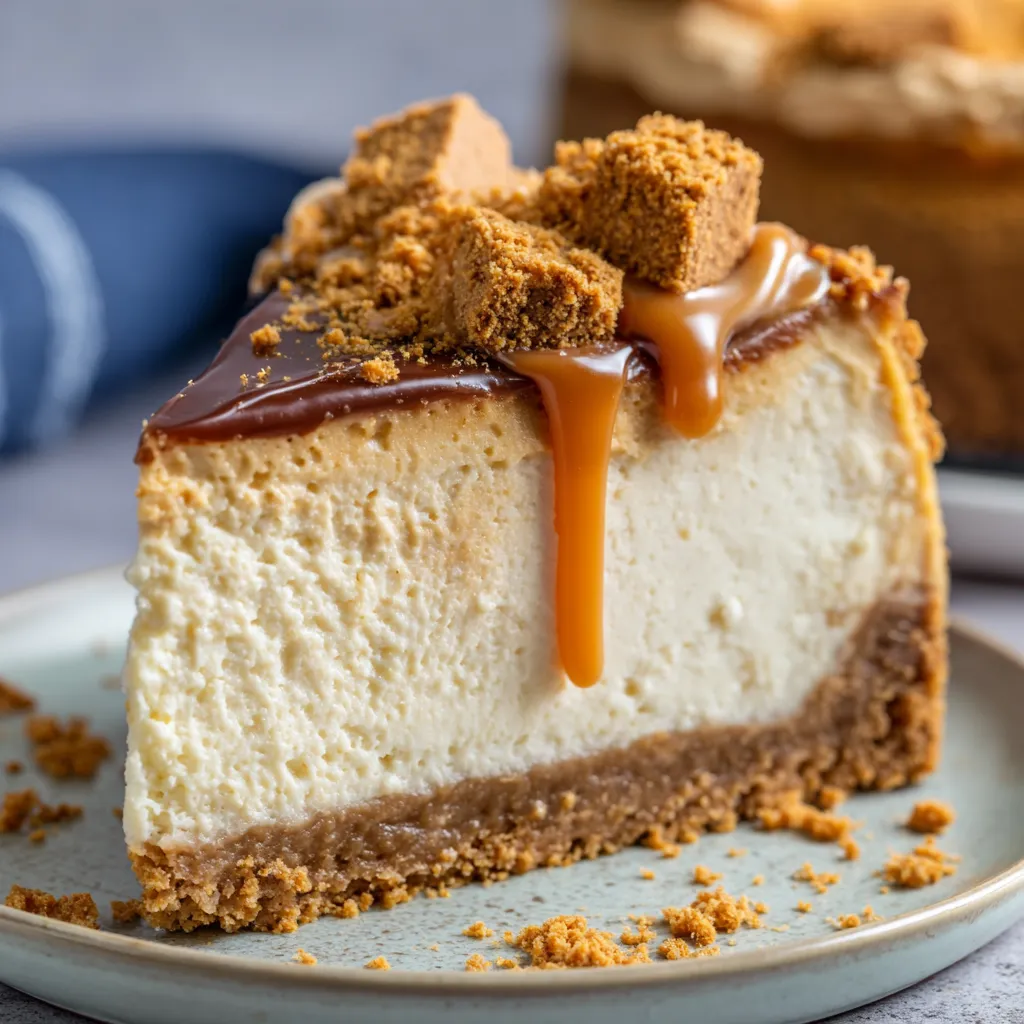
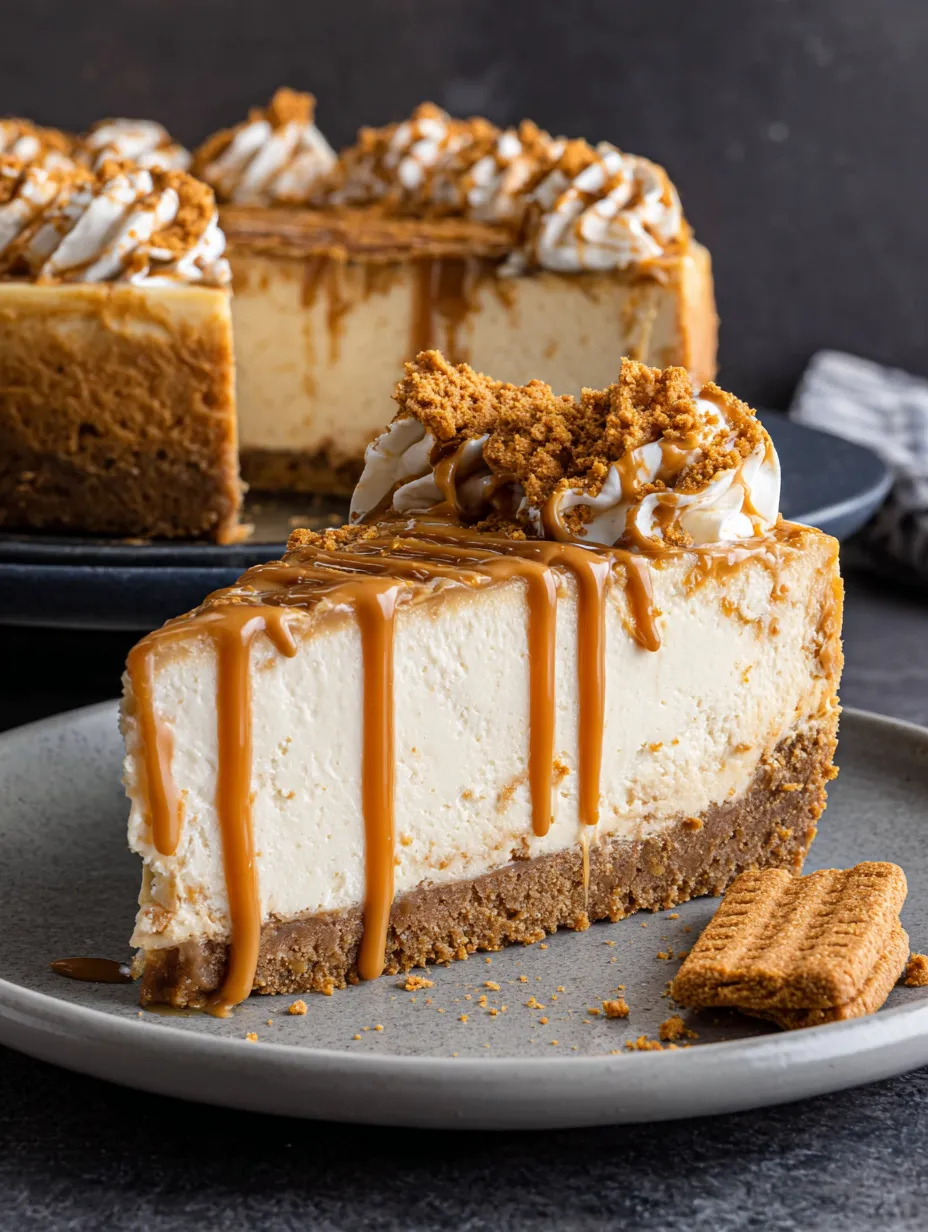
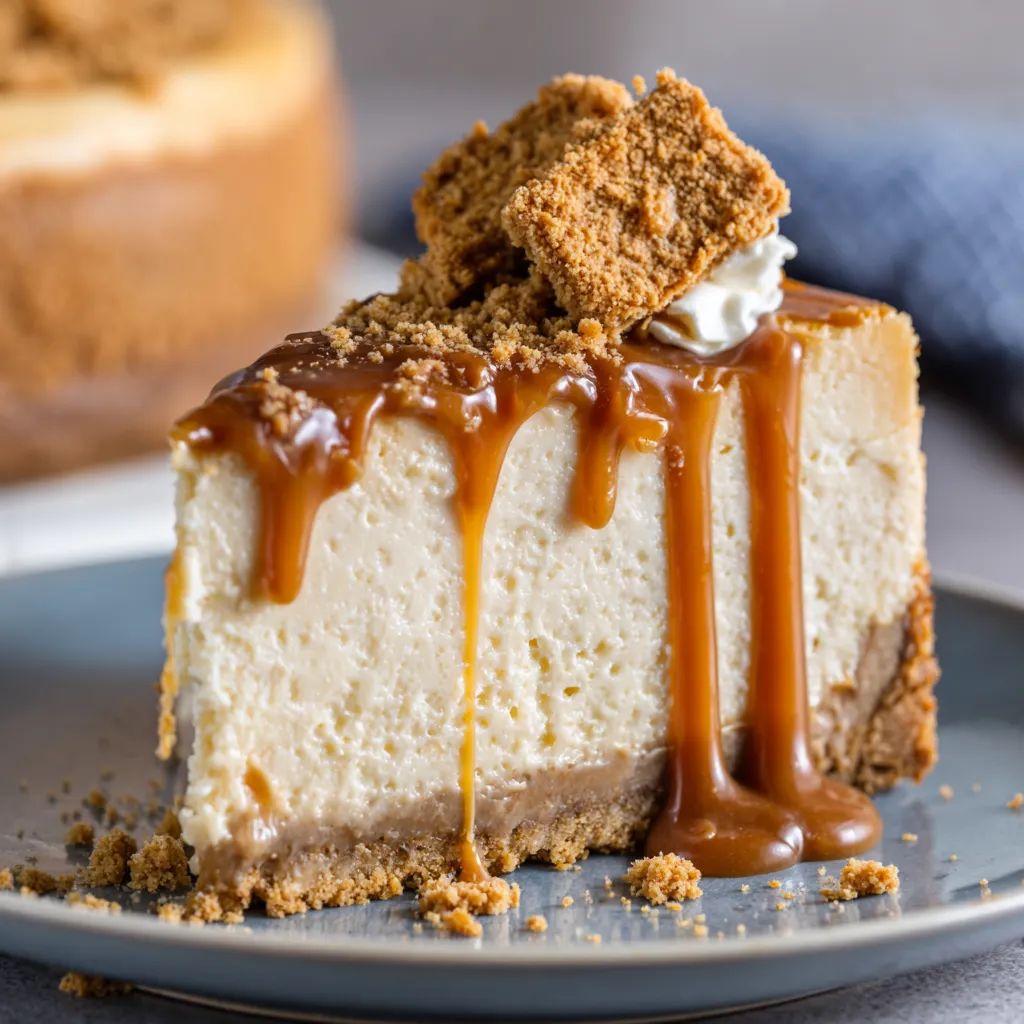
This Biscoff cheesecake is a pure celebration for anyone who loves rich creamy desserts and the distinct flavor of caramelized cookies. It has a buttery Biscoff cookie crust and a dreamy no-bake filling finished with a glossy layer of melted Biscoff spread. Every bite is a sweet melt-in-your-mouth treat that begs for just one more forkful. My family goes wild every time I bring this to the table and it always disappears before I can even blink.
I whipped this up one Sunday afternoon for a family birthday and there was not a crumb left by evening. Even my cousin who claims not to like cheesecake asked for seconds.
Ingredients
- Biscoff cookies: The key ingredient that creates the unique caramel and spiced flavor in both the crust and topping Look for the original Lotus brand and buy a fresh packet so they are crisp
- Butter: Use unsalted and melt it so the crust holds together smoothly Make sure your butter is fresh and not too soft or greasy
- Cream cheese: Full fat and brick style is crucial for thick creamy texture Never use whipped or spreadable types in a tub Philadelphia works well but any quality brand will do
- Powdered sugar: Helps add sweetness while keeping the filling silky Avoid lumpy or old sugar for best texture
- Vanilla extract: Brings all the flavors together Use real pure vanilla for the richest taste
- Biscoff cookie butter: The heart of the filling and topping Choose a smooth fresh jar so it blends easily in the batter Trader Joe’s Speculoos spread also works perfectly
- Heavy cream: Needs to be cold right from the fridge to whip up thick I always use high fat cream for the best set and mouthfeel
Step-by-Step Instructions
- Prepare the Pan:
- Line an 8-inch springform pan with parchment on the bottom and optional strips along the sides This prevents sticking and makes removal easy when set
- Make the Cookie Crust:
- Crush Biscoff cookies in a food processor until you get fine crumbs Pour in the melted butter and pulse until the crumbs look like wet sand Press the mixture firmly into the pan using the bottom of a measuring cup Make the crust even and tight to support the filling Chill it in the freezer while you mix the next layer
- Prepare the Cheesecake Filling:
- Place the softened cream cheese powdered sugar and vanilla into a stand mixer Beat until you get a smooth lump-free mixture and scrape down the sides Add in the Biscoff cookie butter Blend well so that all the flavors are evenly combined
- Whip in the Cream:
- With the mixer running slowly pour in the cold heavy cream Continue beating until the batter is thick and holds soft peaks This step gives the finished cake its airy mousse-like texture
- Assemble and Set:
- Spoon the creamy filling onto the chilled cookie crust Smooth the top with a spatula to create an even surface Cover and chill in the fridge for at least six hours or preferably overnight to let it firm up completely
- Release and Decorate:
- Once set use the parchment to lift the cake out of the pan and transfer to a stand Melt extra Biscoff spread until pourable and drizzle over the cheesecake Finish with a shower of crushed Biscoff cookies for crunch and decoration
- Chill Before Serving:
- Put the decorated cake back in the fridge for ten minutes to set the topping Then you can slice and serve up pure happiness
 Save
Save
There is something magical about seeing the glistening Biscoff topping settle into the cold cheesecake my favorite part is that caramel scent filling the kitchen. My grandmother always used to sneak a spoonful of the filling before it was assembled and I have definitely kept up that tradition.
Storage Tips
This cheesecake must be kept in the fridge to stay fresh and set Store it covered or in an airtight container for up to five days The crust keeps its crunch and the layers remain clean and defined If freezing wrap tightly and keep in the freezer for up to three months Slice before freezing for quick individual treats
Ingredient Substitutions
- If you cannot find Biscoff cookies most speculoos or caramelized biscuit brands will work
- Trader Joe’s Speculoos spread swaps in well for Biscoff cookie butter
- Lactose free cream cheese and cream can be used with no change in result
- You can switch out the powdered sugar for superfine sugar but avoid granulated varieties
Serving Suggestions
Serve this cheesecake as a cool summer pie or stunning holiday finale It pairs perfectly with hot coffee or spiced tea For a fancier look pipe a ring of whipped cream around the top edge and sprinkle with extra cookie crumbs If making for a party I often cut small squares instead of wedges so everyone gets a taste
 Save
Save
The Story of Biscoff Cheesecake
Biscoff cookies originated in Belgium as speculoos biscuits enjoyed with coffee For years cafes handed out these cookies alongside a small cup Well after cookie butter arrived the idea of blending them into rich desserts became a craze This cheesecake is a popular treat in many European homes and has made its way into American celebrations as the must-have no-bake showstopper
Recipe FAQs
- → What gives the crust its distinctive flavor?
The crust's rich caramel and spice notes come from finely crushed biscoff cookies combined with melted butter, creating a crisp, flavorful base.
- → How is the filling kept thick and stable?
Chilled heavy cream is whipped into the cream cheese and biscoff butter mixture, providing a smooth, thick texture that holds shape after chilling.
- → Can other types of cream cheese be used?
Full-fat, brick-style cream cheese is recommended to achieve the best texture and firmness; softer tub-style varieties may result in a less stable filling.
- → What is the best way to remove the dessert from the pan?
Line the springform pan with parchment paper on the base and sides; once chilled, use the paper overhang to lift the dessert out smoothly without damage.
- → How long should the dessert chill before serving?
It’s best to let it chill for at least 6–8 hours or preferably overnight to allow the layers to set fully and flavors to meld.
- → Is it possible to freeze the dessert for later?
Yes, after setting in the fridge, the dessert can be covered and frozen for up to 3 months. Thaw it slowly in the fridge before serving.