Quick Overview
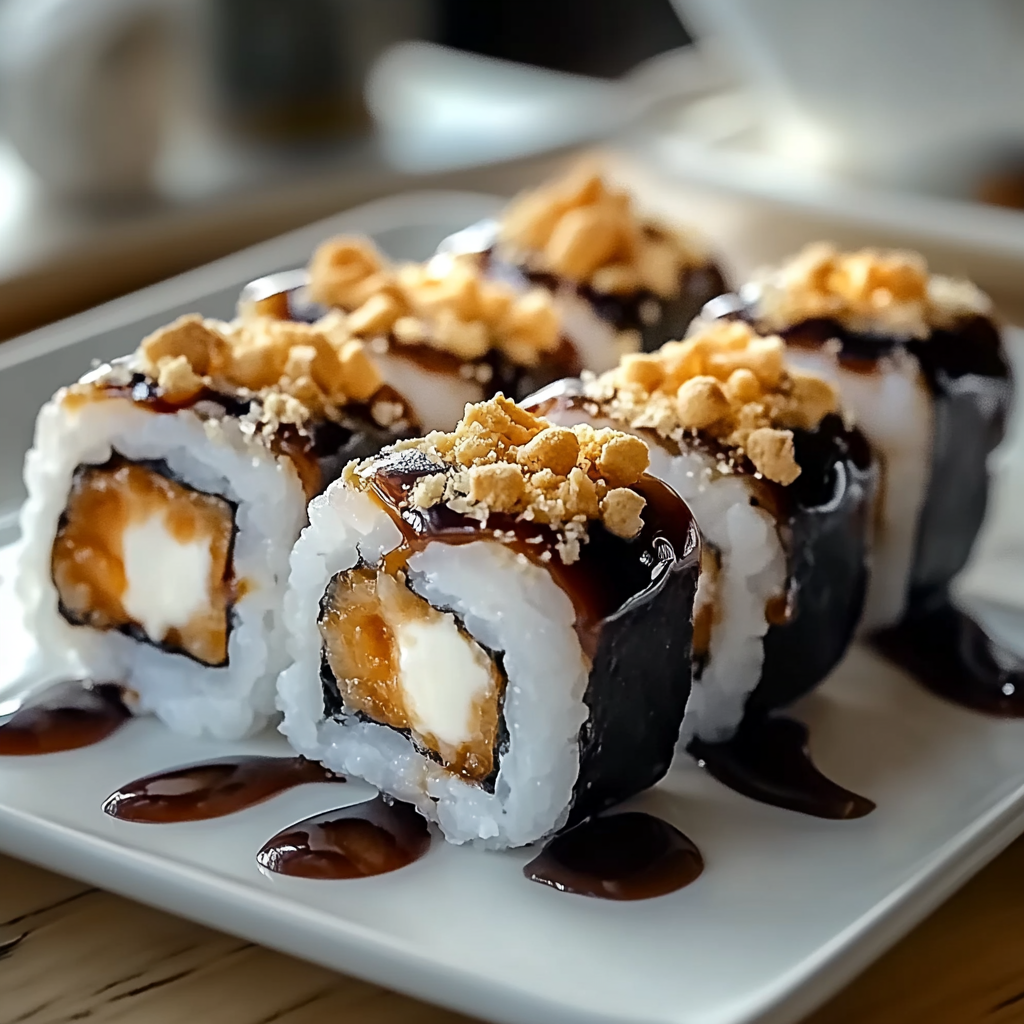
S’mores Sushi Recipe is a creative twist on the classic campfire treat that combines the beloved flavors of chocolate, marshmallows, and graham crackers into a fun and visually striking dish. This fusion of sweet ingredients offers a delightful alternative to traditional desserts and is perfect for parties or family gatherings. In just a few simple steps, you can create this unique treat that will impress both kids and adults alike.
Ingredient Breakdown
Rice Paper (1 package)
Rice paper forms the base of our S’mores Sushi. It has a neutral flavor and provides an ideal canvas for wrapping the sweet filling. When hydrated in water, rice paper becomes pliable and easy to work with. It gives the sushi roll structure while allowing all the delicious ingredients inside to shine through.
Marshmallows (1 cup)
Mini marshmallows are essential for achieving that classic s’mores flavor. They add sweetness and chewiness to each bite of sushi. When melted slightly, they become gooey and blend perfectly with other ingredients, enhancing the overall texture of the dish. You can also use flavored marshmallows for an extra twist.
Chocolate (1 cup)
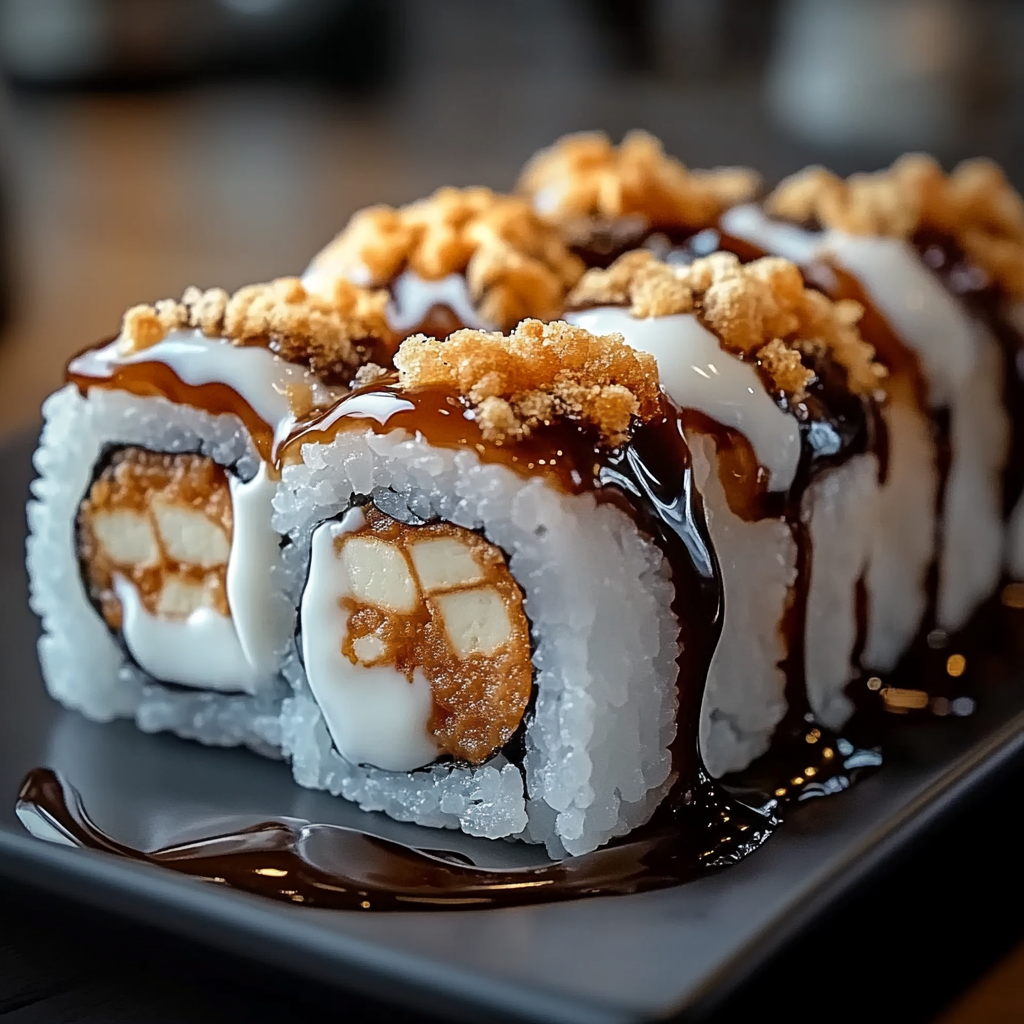
Choose your favorite type of chocolate—milk, dark, or white—this ingredient adds richness to your sushi rolls. Melted chocolate creates a luscious filling that pairs beautifully with marshmallows and graham crackers. You can also drizzle more chocolate on top for added decoration.
Graham Crackers (1 cup crushed)
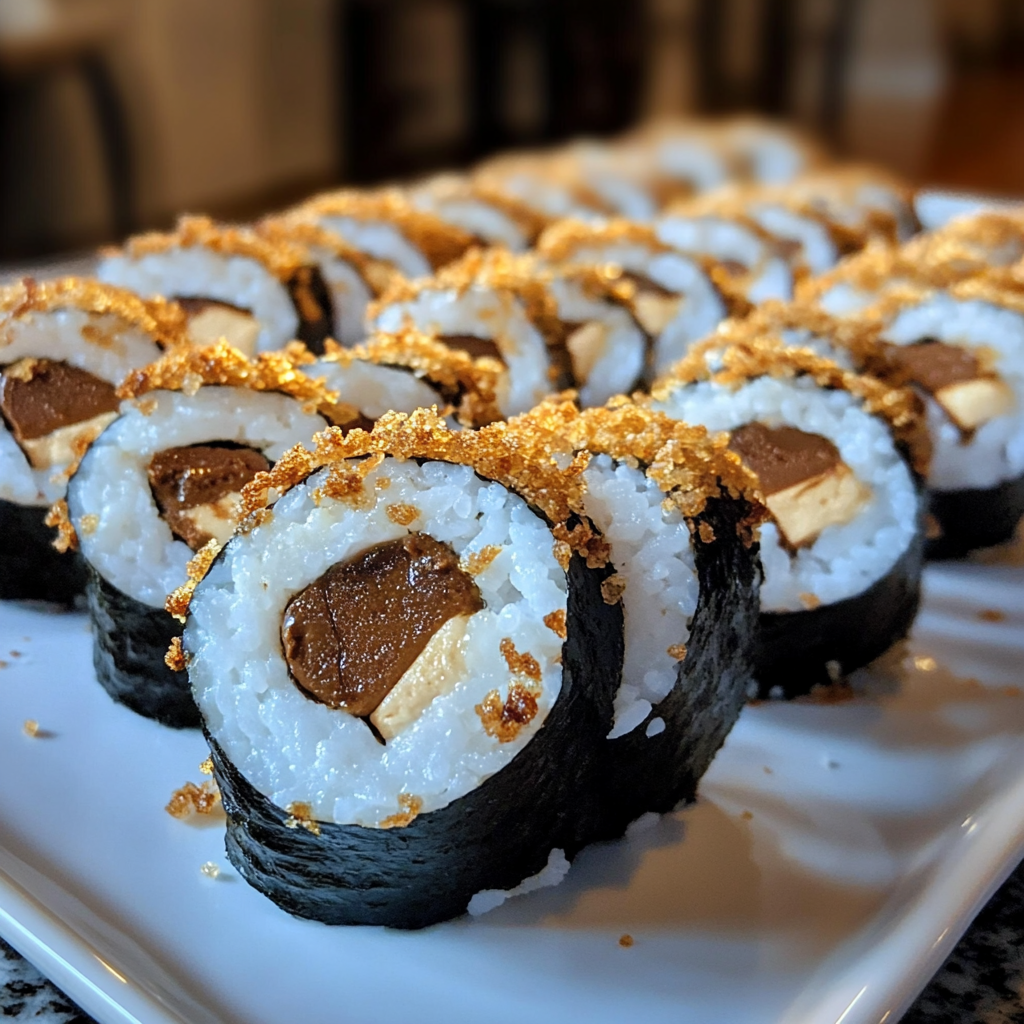
Crushed graham crackers bring the classic s’mores crunch into every bite of sushi. They add texture and flavor contrast against the soft rice paper and gooey filling. For an authentic experience, ensure they are finely crushed so they adhere well when rolling.
Optional Add-ins (various)
Feel free to include optional ingredients like sliced strawberries or bananas if you want more flavor variety in your S’mores Sushi Recipe. These fruits can enhance the sweetness while providing additional freshness in every roll.
Step By Step Recipe: S’mores Sushi Recipe
Prepare Your Workspace
Start by gathering all your ingredients and tools in one place. You’ll need rice paper sheets, mini marshmallows, chocolate chips (or bars), crushed graham crackers, and optional add-ins like fruit slices if desired. Ensure you have clean cutting boards or plates ready for assembling your sushi rolls.
Fill a shallow dish with warm water; this will be used for softening rice paper sheets later on. Additionally, have scissors handy if you’d like to cut any larger items into smaller pieces before assembly.
Soak Rice Paper
Take one sheet of rice paper from its package carefully so it doesn’t tear easily. Dip the rice paper into the warm water for about 10 seconds until it becomes soft but not overly mushy; it should still hold its shape when lifted out of the water.
Lay the softened rice paper flat on your prepared surface; ensure it’s smooth without wrinkles as this will affect how well it rolls up later.
Assemble Your Filling
Now comes the fun part! Start by placing about one tablespoon of mini marshmallows in line down the center of the rice paper sheet. Next add one tablespoon of melted chocolate (make sure it’s not too hot) followed by two tablespoons of crushed graham crackers sprinkled over everything evenly.
If you’re using optional add-ins like fruit slices, place them right alongside your other fillings so they integrate nicely once rolled up! Remember not to overfill; keeping things balanced makes rolling easier.
Roll Up Your Sushi
With all fillings placed correctly on top of each other in line down center lengthwise, start rolling from one end towards another tightly but gently without squishing too hard or ripping through rice paper.
Once rolled up completely tuck in sides while rolling so nothing spills out during transport—this will create an enclosed roll similar to traditional sushi preparation!
Ensure everything stays firm yet not overly compacted either; there should still be some give once finished rolling!
Slice & Serve
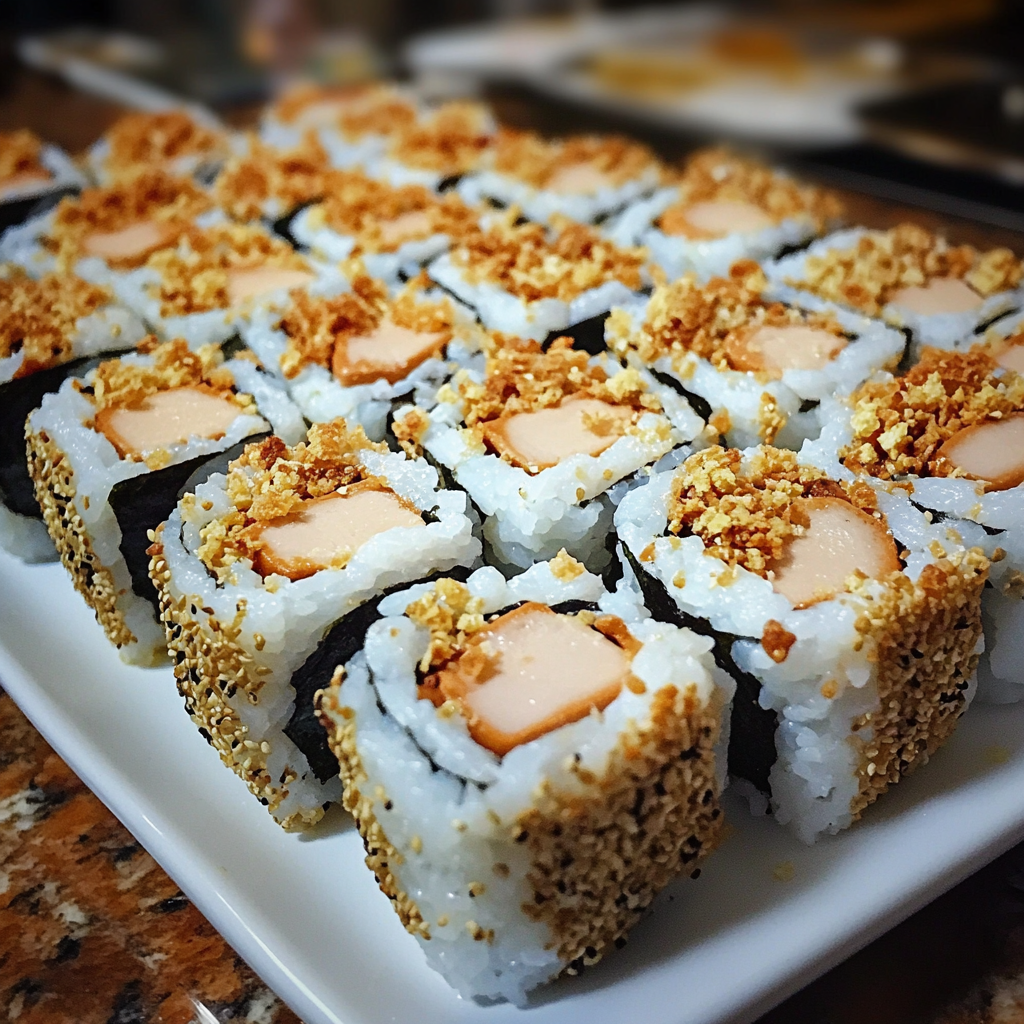
Using a sharp knife coated lightly with oil (to prevent sticking), slice through rolled piece into bite-sized pieces—around 1-inch thick works well here! Arrange them neatly onto serving platters or plates while sprinkling remaining crushed graham cracker over top as garnish before serving guests immediately!
You may choose different arrangements such as circular patterns or lines depending on how fancy you wish presentation displayed overall—let creativity flow!
Serving and Storing Tips
Serving Suggestions
These delightful S’mores Sushi pieces are perfect for sharing at parties or family gatherings! Serve them fresh immediately after slicing so everyone gets to enjoy their unique texture right away—it won’t take long before they disappear completely!
Consider pairing these treats with ice cream scoops nearby too—vanilla works wonderfully alongside rich chocolate flavors present within rolls themselves! Adding fruit skewers might make presentation even more colorful while offering refreshing taste contrasts against sweetness found throughout each bite too!
If you’re hosting an event outdoors during summertime months ahead consider preparing batches ahead then setting out platters filled neatly amongst picnic spreads—guests will love munching away during warm weather activities outside!
Storing Leftovers
If you happen to have any leftover S’mores Sushi after serving guests don’t worry! Store them properly by placing pieces within airtight containers lined with parchment paper separating layers gently preventing sticking together again later on.
Refrigerate leftovers promptly; they’ll last up to three days stored correctly though best enjoyed fresh ideally! If needed heat briefly in microwave beforehand enjoying again—just enough time until melted gooey goodness returns back inside those tasty bites once more!
This method ensures maximum enjoyment without losing original flavors while maintaining quality even after initial preparation has passed time-wise too!
Mistakes to avoid
One common mistake when preparing the S’mores Sushi Recipe is using the wrong type of rice. It is essential to choose sushi rice or short-grain rice, which becomes sticky when cooked. Long-grain rice does not hold together well, making it difficult to form sushi rolls. Always rinse your rice thoroughly before cooking to remove excess starch, ensuring a perfect texture.
Another frequent error involves skipping the cooling process after cooking the rice. Allowing the rice to cool to room temperature is crucial for achieving the right consistency. If you attempt to roll while the rice is still hot, it can become mushy and unmanageable. Use a fan or spread it on a baking sheet to speed up cooling.
Make sure not to overload your sushi with fillings. While it may be tempting to add more marshmallows, chocolate, or graham crackers, doing so can lead to messy rolls that are hard to slice. Stick to a balanced amount of each ingredient for easy handling and an appealing presentation.
Lastly, don’t forget about slicing techniques. Using a sharp knife dipped in water helps create clean cuts without squishing your rolls. A sawing motion works better than applying too much pressure, ensuring that each piece retains its shape and ingredients.
Tips and tricks
To achieve the best results with your S’mores Sushi Recipe, consider using flavored wraps like chocolate or strawberry tortillas instead of traditional nori. This twist adds extra flavor and complements the sweet ingredients perfectly. You can find these wraps in most grocery stores or specialty shops.
Another helpful tip is to prepare your filling ingredients in advance. Having everything ready will streamline the assembly process and allow you to focus on rolling without interruptions. Pre-measure your chocolate, graham crackers, and marshmallows so they are easy to grab when needed.
When assembling your sushi rolls, use a bamboo mat lined with plastic wrap for easier rolling and cleanup. The mat provides stability while helping you create tight rolls without squeezing too hard on the filling. Additionally, plastic wrap prevents sticking and makes it easier to remove once rolled.
Consider chilling your completed S’mores Sushi for about 30 minutes before slicing. This step allows the roll flavors to meld together and firms up the structure slightly, making it easier to cut into neat pieces without them falling apart.
Suggestions for S’mores Sushi Recipe
For an exciting twist on the classic S’mores Sushi Recipe, try incorporating various flavored chocolates such as white chocolate or caramel-filled varieties. These options can enhance the overall taste profile and offer unexpected surprises in each bite.
If you are looking for a healthier alternative, consider substituting regular marshmallows with mini marshmallow fluff or yogurt-covered alternatives. These options still provide sweetness but reduce some calories while maintaining a delightful creaminess that complements other ingredients.
Also, think about adding fruit into your sushi rolls for added nutrition and freshness. Sliced strawberries or bananas pair wonderfully with chocolate and graham crackers, providing natural sweetness and a pop of color to your presentation.
For special occasions or themed parties, personalize your S’mores Sushi by decorating them with edible glitter or colorful sprinkles before slicing. This fun touch elevates their appearance and makes them more enticing for guests of all ages.
FAQs
What is S’mores Sushi?
S’mores Sushi combines traditional s’mores ingredients—chocolate, marshmallows, and graham crackers—with sushi-making techniques. Instead of using fish or vegetables typical in sushi, this dessert version utilizes sweet elements wrapped in sticky rice and tortillas or similar wraps. It’s a fun treat that appeals especially to children and anyone with a sweet tooth!
Can I make S’mores Sushi ahead of time?
Yes! You can prepare S’mores Sushi ahead of time by assembling the rolls and refrigerating them until you’re ready to serve. Cooling helps set the flavors together nicely; however, be cautious not to keep them in the fridge too long as they may lose freshness over time. Aim for no more than 24 hours for optimal taste.
What variations can I try with my S’mores Sushi Recipe?
Endless variations exist for this recipe! Consider experimenting with different fillings such as peanut butter cups instead of chocolate bars or adding fruits like raspberries or cherries for extra flavor complexity. Changing up tortilla types also allows you room for creativity—use cinnamon tortillas for an interesting twist!
Is there a gluten-free option for S’mores Sushi?
Absolutely! To create gluten-free S’mores Sushi, simply use gluten-free graham crackers available at many grocery stores today while ensuring that all other components are also gluten-free approved (like chocolate). You can use gluten-free wraps if preferred instead of tortillas—many brands offer excellent alternatives!
How do I store leftover S’mores Sushi?
Store any leftover S’mores Sushi tightly wrapped in plastic wrap within an airtight container at room temperature if consumed within one day; otherwise refrigerate them if planning on keeping longer than that period—up until 24 hours maximum recommended due freshness concerns!
Can I freeze S’mores Sushi?
Freezing isn’t ideal due mainly due ice crystals forming during thawing affecting texture negatively but if necessary you can place sliced pieces between parchment paper layers inside an airtight container before freezing—this will help minimize stickiness! Just remember thaw completely before serving again!
Summary
In summary, creating an enjoyable S’mores Sushi Recipe requires attention to detail regarding ingredient choices and techniques used during preparation. By avoiding common mistakes such as improper rice selection and excessive fillings while embracing tips like preparing ingredients ahead of time ensures success every time! Experimenting with variations like flavored chocolates or fruits adds excitement while personalizing each creation enhances appeal further still! Store leftovers correctly so nothing goes wasted; however remember that even frozen versions might not yield perfect results upon thawing!