Quick Overview
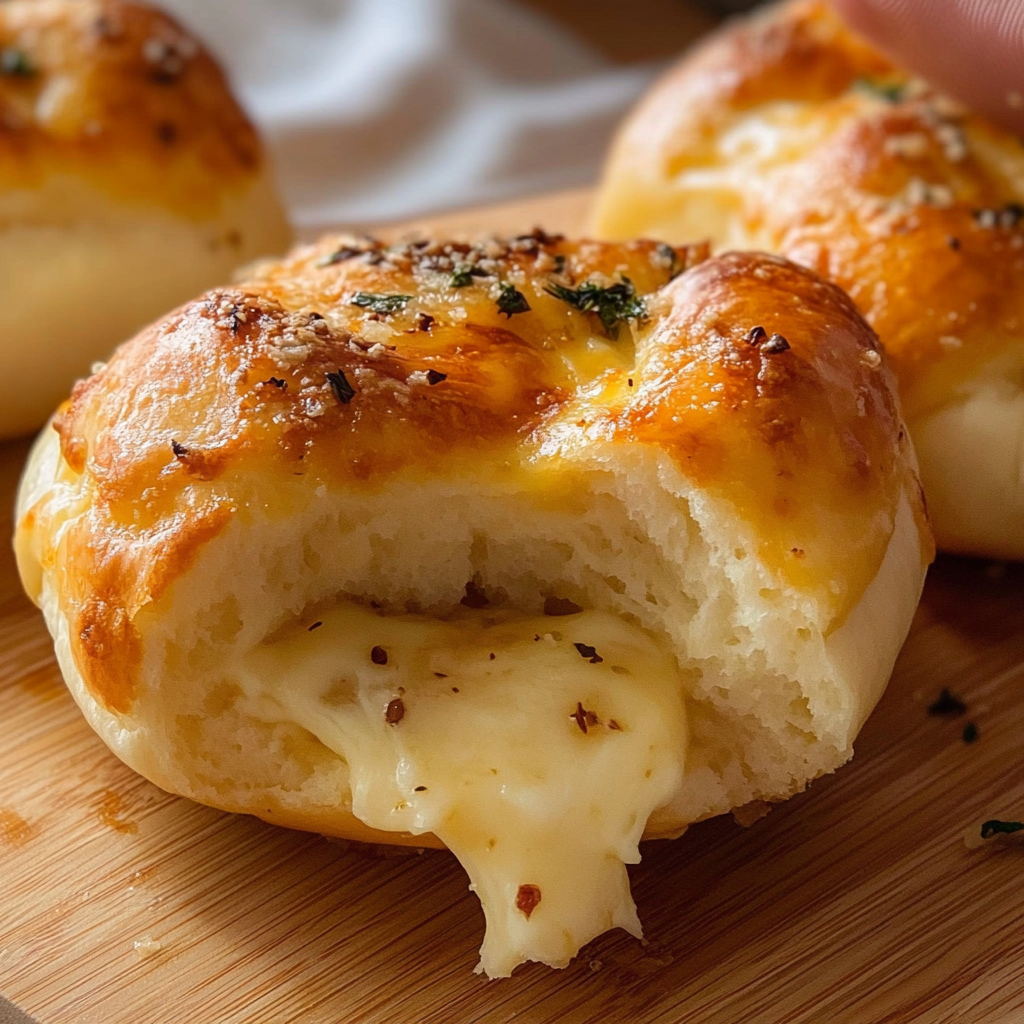
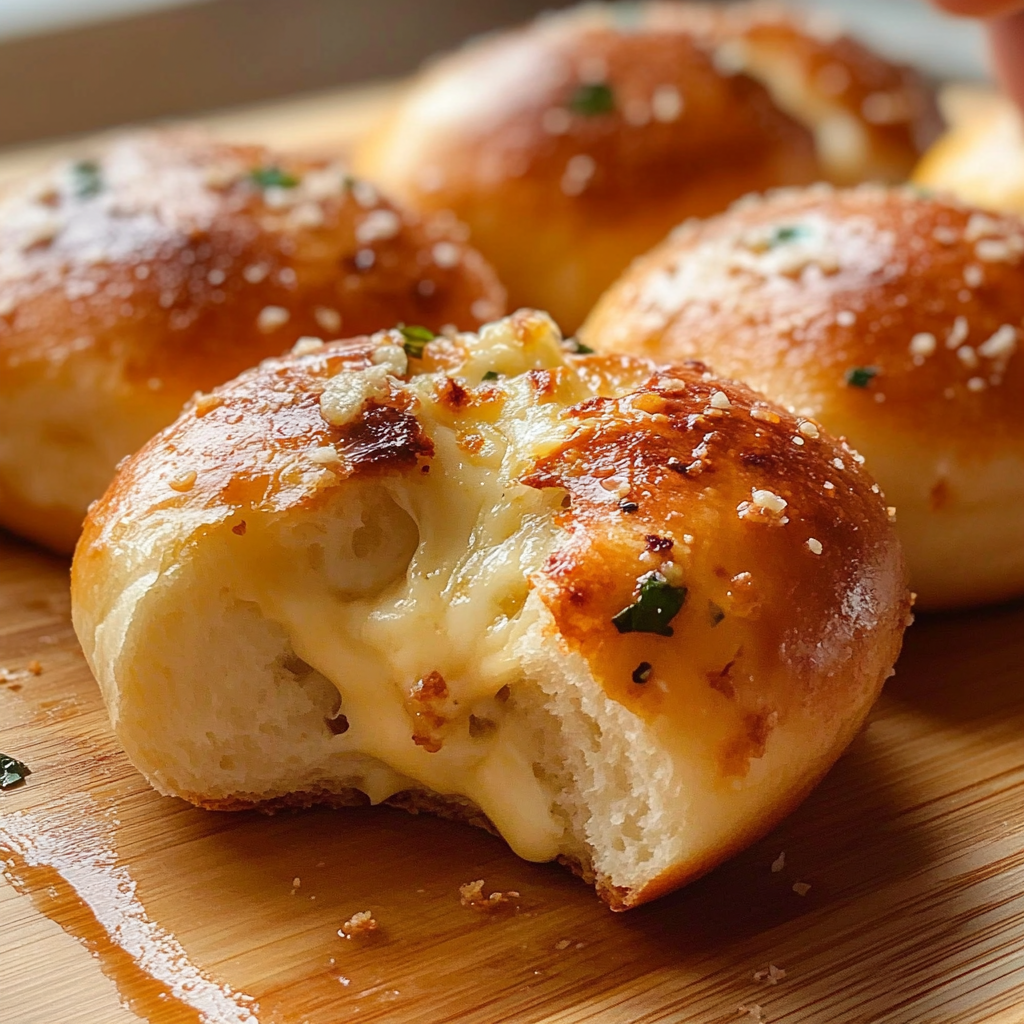
Cheesy Garlic Buns are the ultimate comfort food that combines the rich flavors of melted cheese with the aromatic goodness of garlic. These buns are not just delicious; they also offer a delightful texture that is soft on the inside and crispy on the outside. Perfect for any occasion, these buns can be served as an appetizer, side dish, or even a snack. The best part? They are surprisingly easy to make right in your own kitchen.
The process begins with a simple dough that rises beautifully, allowing for a fluffy yet firm base. As you mix in fresh garlic and gooey cheese, you create a mouthwatering experience that will have everyone reaching for seconds. Whether you serve them at a dinner party or enjoy them during family movie night, these Cheesy Garlic Buns are sure to impress. In this article, we’ll guide you through the ingredients needed to bring this recipe to life and provide step-by-step instructions to ensure your buns come out perfectly every time.
Get ready to indulge in these delectable treats that will have your taste buds dancing!
Ingredient Breakdown
1. **All-Purpose Flour (3 cups)**
This forms the base of our dough. It provides structure and texture to the cheesy garlic buns.
2. **Active Dry Yeast (2 ¼ teaspoons)**
Yeast helps the dough rise and gives it a light texture. Make sure it’s fresh for best results.
3. **Warm Water (1 cup)**
Warm water activates the yeast and helps blend all ingredients smoothly.
4. **Sugar (2 tablespoons)**
Sugar feeds the yeast and adds a slight sweetness to balance out the savory flavors.
5. **Salt (1 teaspoon)**
Salt enhances flavor and controls yeast activity in the dough.
6. **Olive Oil (2 tablespoons)**
This adds moisture and richness to the dough while helping keep it tender.
7. **Garlic (4 cloves, minced)**
Fresh garlic provides an aromatic flavor that complements the cheese perfectly.
8. **Shredded Cheese (1 ½ cups)**
A mix of mozzarella and cheddar gives these buns a gooey texture and rich taste.
9. **Parsley (¼ cup, chopped)**
Fresh parsley adds color and freshness, enhancing both appearance and flavor.
Step By Step Recipe: Cheesy Garlic Buns
1. Begin by activating the yeast. In a small bowl, combine warm water with sugar and sprinkle yeast on top. Let it sit for about 5-10 minutes until frothy.
2. In a large mixing bowl, whisk together all-purpose flour and salt. Create a well in the center for adding wet ingredients.
3. Pour in the activated yeast mixture along with olive oil into the well of flour. Mix together until it forms a shaggy dough.
4. Knead the dough on a floured surface for about 8-10 minutes until smooth and elastic. You can also use a stand mixer fitted with a dough hook for this process.
5. Place kneaded dough into an oiled bowl, cover it with plastic wrap or a damp cloth, and let it rise in a warm area for about 1 hour or until doubled in size.
6. Once risen, punch down the dough gently to release air bubbles before incorporating minced garlic and shredded cheese thoroughly.
7. Divide the dough into equal portions (about 12 pieces). Shape each piece into a bun by rolling it between your palms until smooth.
8. Arrange shaped buns on a greased baking sheet or lined with parchment paper, leaving space between each one for expansion during baking.
9. Cover again with plastic wrap or cloth and allow them to rise for another 30-40 minutes until puffed up.
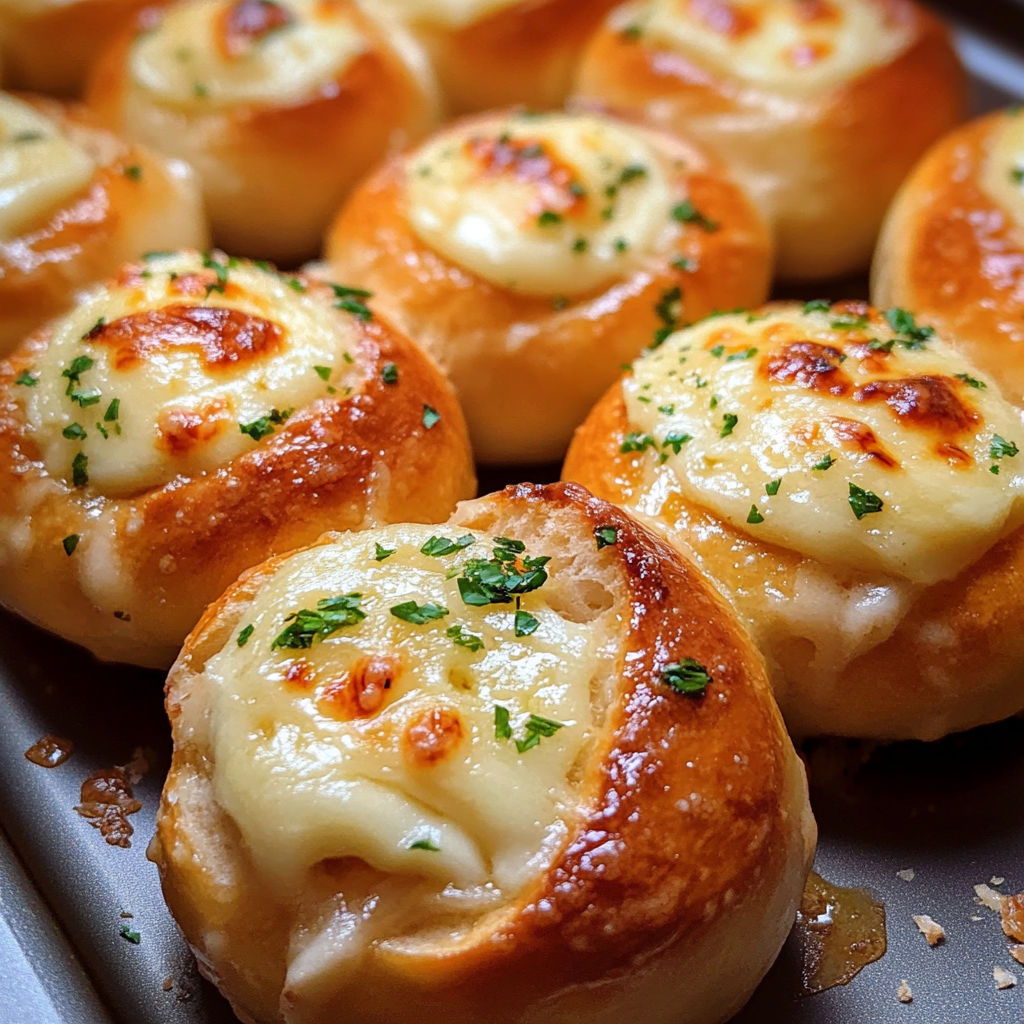
10. Preheat your oven to 375°F (190°C). Bake risen buns for approximately 15-20 minutes until golden brown on top.
11. Remove from oven and brush tops lightly with melted butter if desired; sprinkle chopped parsley over them before serving warm!
Serving and Storing Tips
Serving Suggestions
These Cheesy Garlic Buns shine when served hot straight from the oven! Pair them with marinara sauce or your favorite dipping sauce for added flavor enjoyment at gatherings or dinners alike!
Storing Leftovers
If you have any leftover buns, store them in an airtight container at room temperature for up to two days or freeze them for longer storage! To reheat frozen ones, simply pop them in an oven preheated at 350°F (175°C) until warmed through—about 10 minutes will do!
Reheating Instructions
To maintain their delicious texture when reheating leftover cheesy garlic buns simply place them back into an oven instead of using microwaves which can make them chewy!
Ideal Pairings
Serve these delightful treats alongside soups like tomato basil or stews where their cheesy goodness complements hearty flavors beautifully making each bite irresistible!
Mistakes to avoid
One common mistake when making Cheesy Garlic Buns is not measuring ingredients accurately. Baking requires precision, and any deviation can affect the texture and flavor. Use a digital scale for dry ingredients and liquid measuring cups for wet ones. This will ensure consistent results every time.
Another mistake is over-kneading the dough. While kneading develops gluten, too much can lead to tough buns. Aim for a soft, elastic dough that springs back when poked gently. Knead just until the dough becomes smooth and no longer sticks to your hands.
Not allowing enough time for the dough to rise is also a frequent error. Proper fermentation is crucial for flavor development and achieving a light texture. Be patient and let the dough double in size in a warm environment before baking.
Using low-quality cheese can ruin your Cheesy Garlic Buns. Opt for fresh, flavorful cheeses like mozzarella or cheddar. Avoid pre-shredded varieties that often contain anti-caking agents, which can affect melting and flavor.
Finally, neglecting to preheat your oven can lead to uneven baking. Preheating ensures that your buns start cooking at the right temperature from the moment they enter the oven, promoting even browning and proper rise.
Tips and tricks
For perfect Cheesy Garlic Buns, use room temperature ingredients whenever possible. This includes butter, eggs, and milk. Room temperature components mix more easily, leading to a smoother dough that rises well.
Incorporate garlic in various forms for added depth of flavor. Fresh minced garlic provides a pungent kick, while roasted garlic gives a sweet, mellow taste. You can also experiment with garlic powder if you’re short on fresh cloves.
Consider brushing melted butter over the buns immediately after they come out of the oven. This adds richness and helps the tops achieve a beautiful golden color. For extra flavor, mix minced herbs like parsley or oregano into the butter before brushing.
Experiment with toppings! Before baking, sprinkle some herbs or seasonings on top of your buns for an aromatic finish. Try adding grated parmesan cheese or crushed red pepper flakes for an exciting twist on traditional flavors.
Lastly, don’t forget to let your baked Cheesy Garlic Buns cool slightly before serving them. Cooling allows the cheese inside to set a bit, making it easier to enjoy without making a mess as you bite into them.
Suggestions for Cheesy Garlic Buns
Pair your Cheesy Garlic Buns with marinara sauce for dipping. The tangy sauce complements the rich cheese and garlic beautifully. It’s an easy way to enhance your dining experience whether at home or during gatherings.
For an added touch of freshness, serve these buns alongside a simple salad or roasted vegetables. The crunchiness of greens balances out the soft texture of the buns while providing a nutritious element to your meal.
If you’re hosting a gathering, consider using Cheesy Garlic Buns as sliders by filling them with cooked meats or veggies. They make great bases for mini sandwiches that are both satisfying and delicious.
To create fun variations of your Cheesy Garlic Buns, try adding different fillings like sautéed spinach or sun-dried tomatoes along with cheese for unique flavors. Experimenting with various ingredients keeps this recipe exciting each time you make it.
Lastly, store any leftover buns properly by wrapping them tightly in plastic wrap or placing them in an airtight container. This preserves their freshness for later enjoyment—just reheat them slightly before serving again!
FAQs
What types of cheese work best in Cheesy Garlic Buns?
When preparing Cheesy Garlic Buns, using melty cheeses enhances their texture and flavor significantly. Mozzarella is famously stretchy and gooey when melted; it offers that classic cheesy experience everyone loves. Meanwhile, sharp cheddar adds depth with its robust taste that pairs wonderfully with garlic.
Can I make Cheesy Garlic Buns ahead of time?
Yes! You can prepare Cheesy Garlic Buns ahead by shaping them and allowing them to rise partially before refrigerating overnight covered tightly with plastic wrap. On baking day, simply take them out early so they return to room temperature before finishing their final rise and baking process.
How do I store leftover Cheesy Garlic Buns?
To preserve leftover Cheesy Garlic Buns’ freshness, wrap them tightly in plastic wrap or place them in an airtight container at room temperature if consumed within two days. For longer storage periods—up to three months—freeze them individually wrapped so you can enjoy freshly baked flavors later!
Can I use whole wheat flour instead of all-purpose flour?
Absolutely! Substituting whole wheat flour will add nutty flavors while increasing fiber content in your Cheesy Garlic Buns recipe; however, note that this may alter texture slightly since whole wheat flour absorbs more moisture than all-purpose flour does—consider adjusting liquid amounts accordingly during preparation!
What should I serve with my Cheesy Garlic Buns?
Cheesy Garlic Buns pair beautifully with marinara sauce as a dip; this combination creates an irresistible appetizer experience! Additionally serving alongside salads or roasted vegetables provides balance while creating satisfying meals suitable for gatherings or casual weeknight dinners alike!
How long do I need to let my dough rise?
Typically allow about 1-2 hours for rising until doubled in size depending on ambient temperatures—warmer environments expedite fermentation processes significantly compared colder conditions which may prolong rising times considerably! Always ensure adequate warmth during proofing stages!
Summary
In summary, making delightful Cheesy Garlic Buns involves avoiding common mistakes such as improper measurements and over-kneading dough while employing helpful tips like using room temperature ingredients and experimenting with various toppings! Pair these delicious buns thoughtfully alongside sauces or salads while storing leftovers correctly ensures lasting enjoyment!