Quick Overview
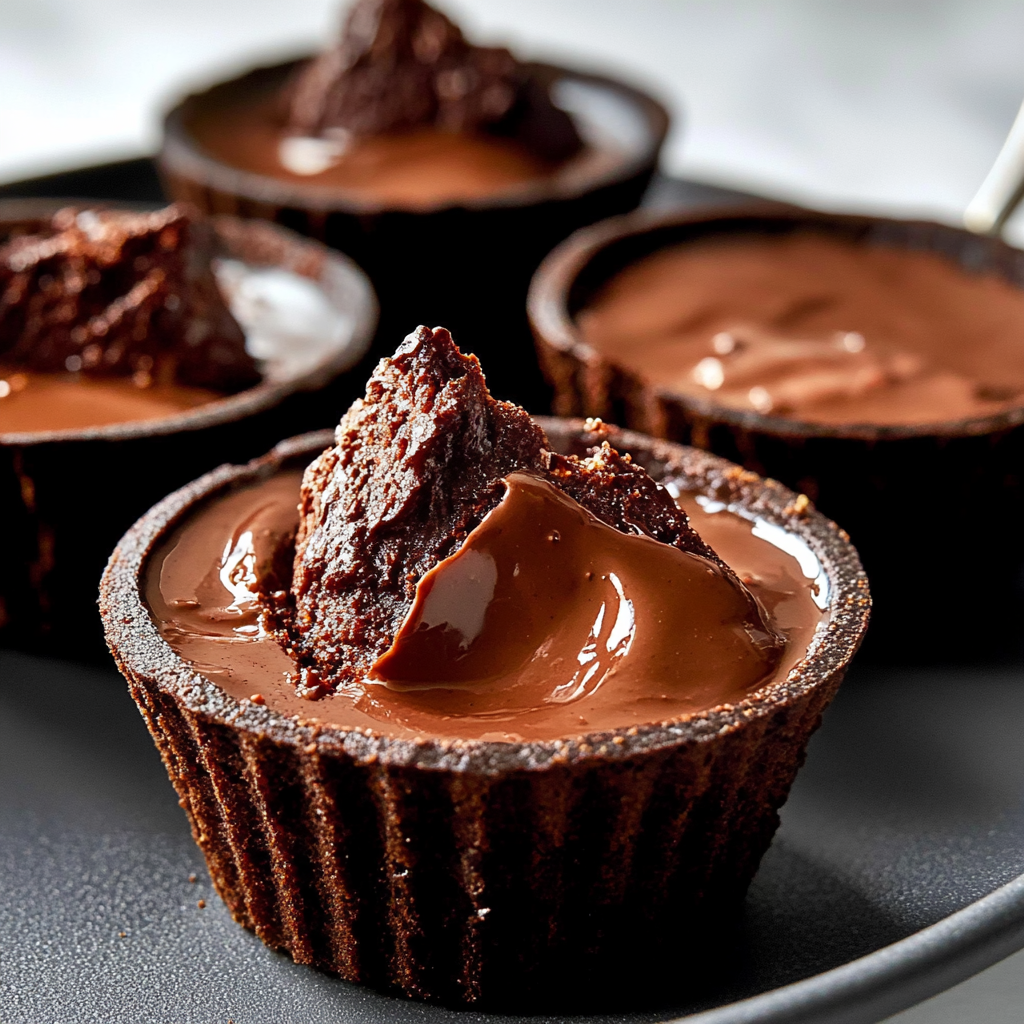
If you’re searching for a delicious yet simple dessert idea, look no further than these 3 ingredient chocolate pots. This indulgent treat combines rich chocolate with a smooth texture that melts in your mouth. Perfect for gatherings or a cozy night in, these pots require minimal ingredients and effort. Whether you’re entertaining guests or treating yourself after a long day, this recipe is sure to impress.
In just a few steps, you can whip up these delightful chocolate pots that are not only satisfying but also visually appealing. Their elegant presentation makes them suitable for any occasion. The best part? You only need three basic ingredients to create this masterpiece!
These creamy treats can be customized in numerous ways by adding flavors like vanilla or sea salt for an extra touch. Plus, they are a great way to use leftover ingredients if you have some on hand. Follow along as we guide you through the ingredient breakdown and step-by-step instructions for making your very own 3 ingredient chocolate pots.
Ingredient Breakdown
Dark Chocolate
For this recipe, use 200 grams of high-quality dark chocolate with at least 70% cocoa content. The richer the chocolate, the more intense the flavor of your pots will be.
Heavy Cream
You will need 1 cup (240 ml) of heavy cream. This adds creaminess and helps create the silky texture of the chocolate pots.
Sugar
Use 2 tablespoons of granulated sugar to sweeten the mixture slightly. Adjust the amount based on your taste preference and the bitterness of the chocolate used.
Step By step Recipe: 3 Ingredient Chocolate Pots
Step 1: Melt the Chocolate
Begin by breaking the dark chocolate into small pieces and placing it in a heatproof bowl. Set this bowl over a pot of simmering water to create a double boiler effect. Stir occasionally until fully melted and smooth.
Step 2: Whip the Cream
In another bowl, pour the heavy cream and add the granulated sugar. Using an electric mixer or whisk, whip until soft peaks form. Be careful not to over-whip; you want it fluffy but still pourable.
Step 3: Combine Mixtures
Once the chocolate has melted and slightly cooled, fold it gently into the whipped cream using a spatula. Start with one-third of the whipped cream to lighten the mixture before incorporating all of it carefully.
Step 4: Portion into Pots
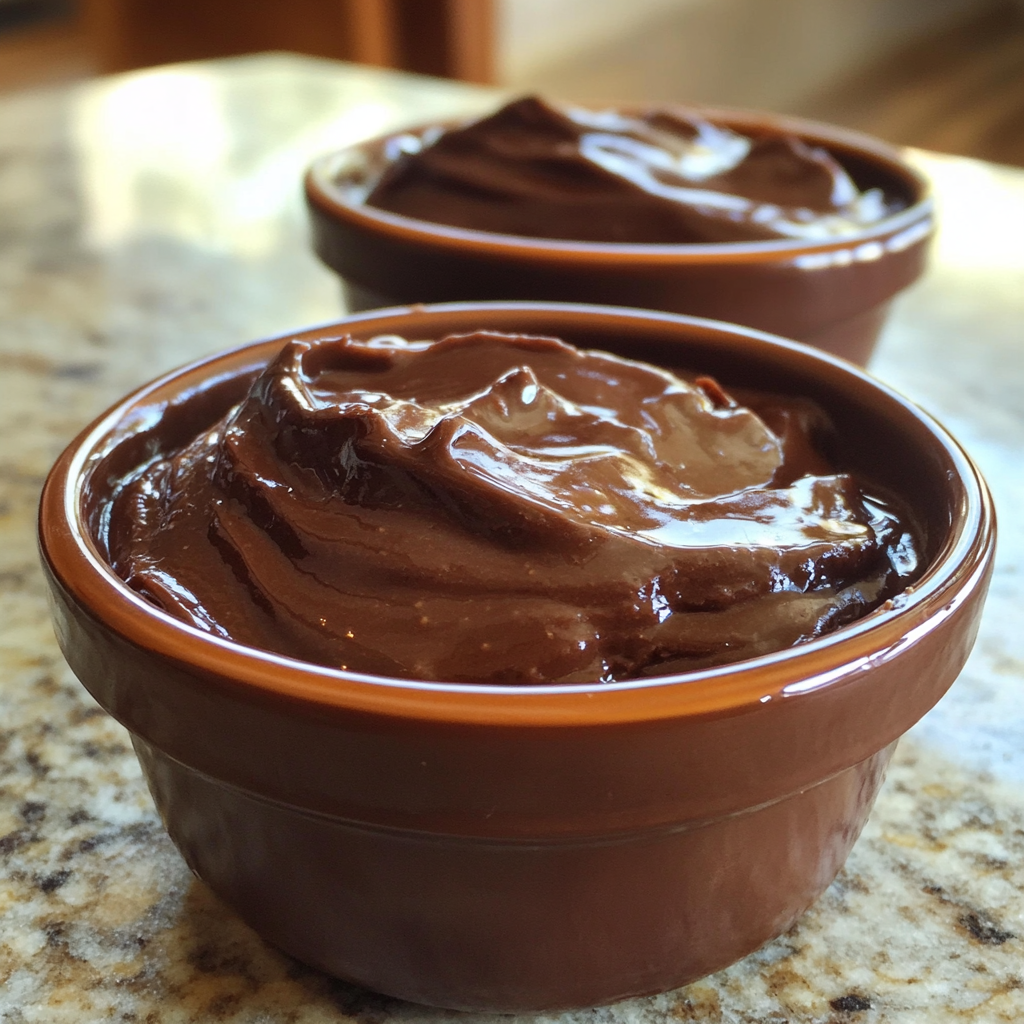
Spoon or pipe the mixture into small serving cups or ramekins. Fill them up to about three-quarters full to leave room for any toppings if desired.
Step 5: Chill Before Serving
Refrigerate your filled cups for at least two hours or until they firm up slightly. This helps set their shape and enhances their flavor.
Step 6: Serve & Enjoy
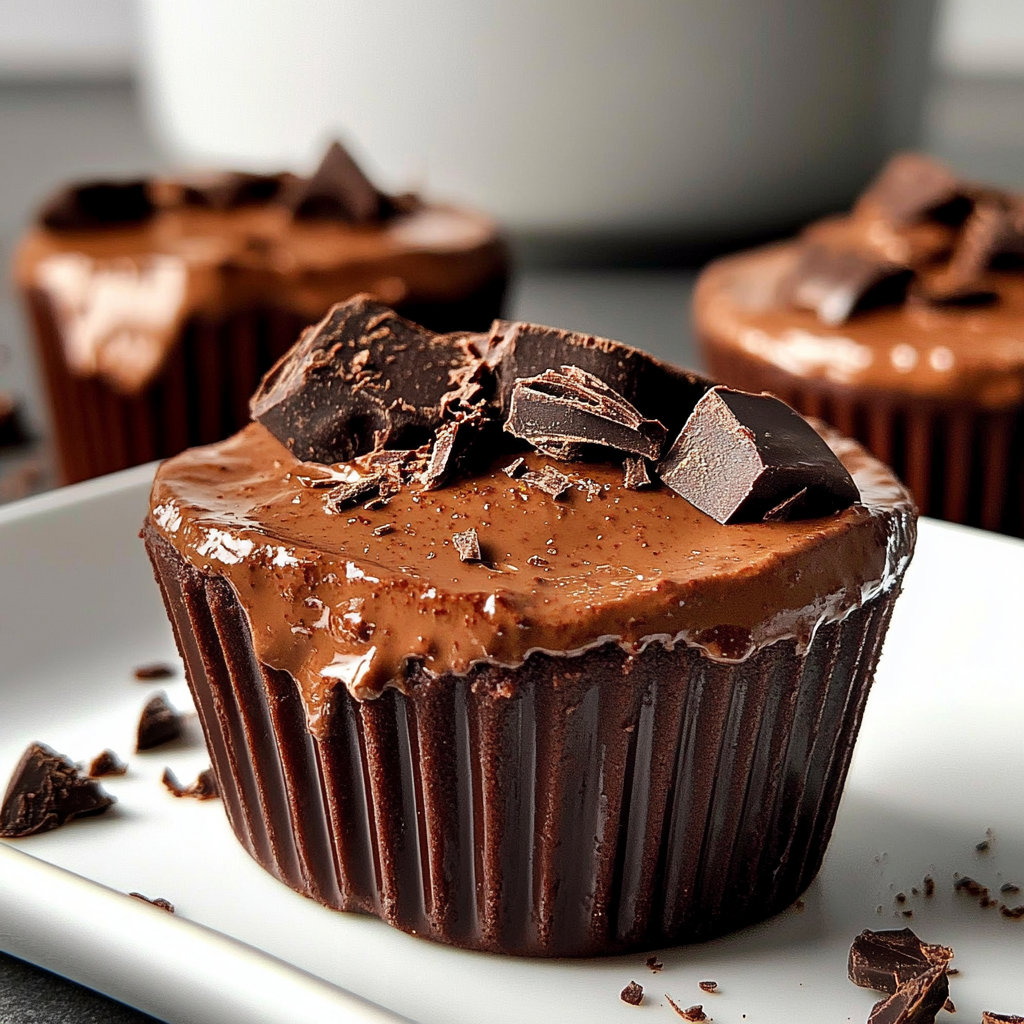
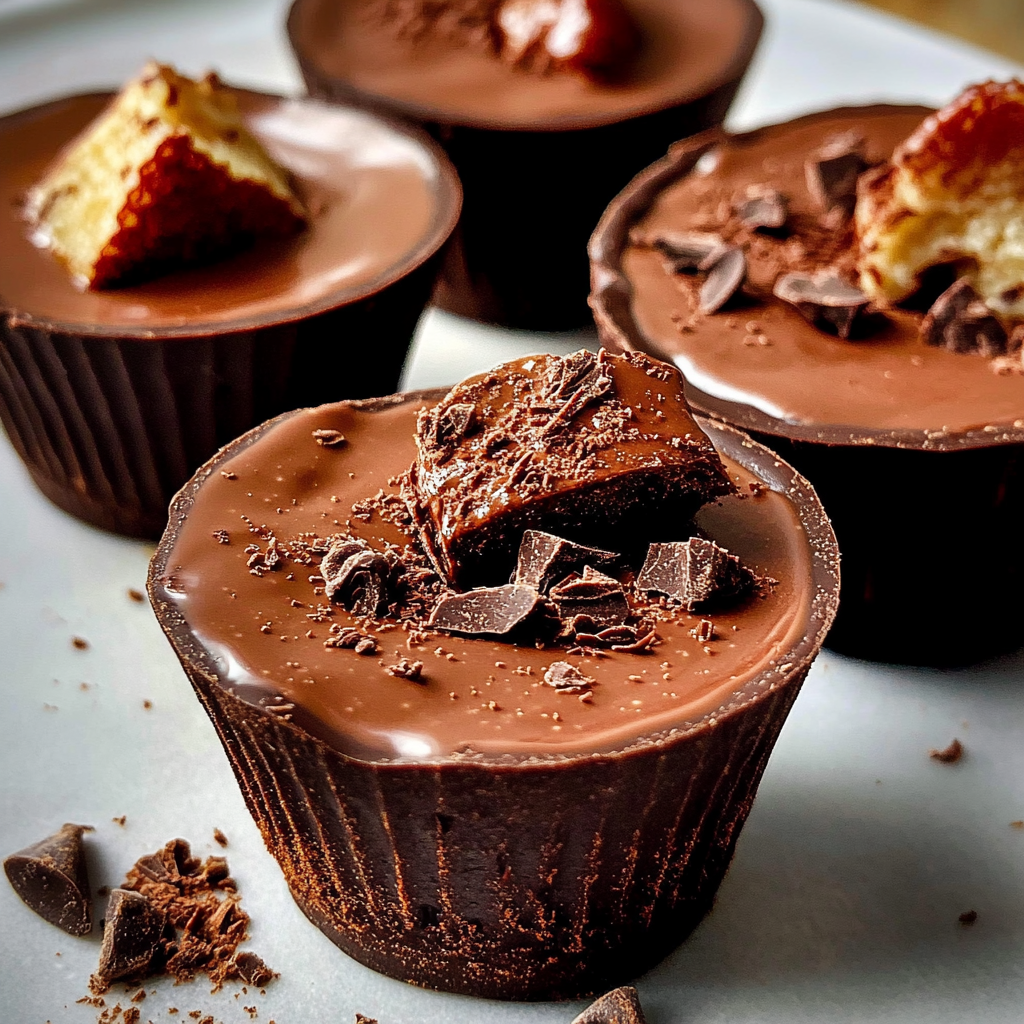
Once set, remove from the fridge and serve chilled. You can garnish with fresh berries or shaved chocolate if desired for an extra touch.
Serving and Storing Tips
H4 Serving Suggestions
These 3 ingredient chocolate pots are perfect served alone or dressed up with toppings such as whipped cream or fresh fruit like raspberries or strawberries. You can also sprinkle some cocoa powder on top for added visual appeal. For special occasions, consider pairing them with cookies or biscotti on the side for a delightful contrast in textures.
H4 Storage Guidelines
Store any leftovers in airtight containers in the refrigerator for up to three days. If you make them ahead of time for an event, they can be prepared a day in advance without losing their quality. Just ensure they remain covered to prevent absorbing other odors from your fridge.
By following these steps and tips, you’ll enjoy deliciously rich and satisfying 3 ingredient chocolate pots that everyone will adore!
Mistakes to avoid
One common mistake when making 3 Ingredient Chocolate Pots is not using high-quality chocolate. The choice of chocolate significantly affects the flavor and texture. Always opt for good quality, preferably dark chocolate, to ensure a rich, satisfying dessert.
Another mistake is not measuring ingredients accurately. Even though this recipe is simple, precise measurements can make a big difference in the final result. Using kitchen scales and measuring cups will help achieve the perfect consistency.
Failing to allow enough time for chilling is another pitfall. These pots need sufficient time in the fridge to set properly. Rushing this step can lead to a soupy or overly soft dessert that won’t hold its shape.
Lastly, neglecting to blend the ingredients thoroughly can result in an uneven texture. Ensure you mix the chocolate, cream, and any other components until smooth for the best outcome.
Tips and tricks
For perfect 3 Ingredient Chocolate Pots, consider using a double boiler for melting chocolate. This method prevents the chocolate from burning while achieving a silky-smooth texture. Make sure to stir frequently as it melts for even consistency.
Incorporating flavors can elevate your chocolate pots effortlessly. A splash of vanilla extract or a pinch of sea salt can enhance the already delicious taste without complicating the recipe.
When serving, consider garnishing with whipped cream or fresh berries. Not only does this add visual appeal, but it also complements the rich chocolate flavor beautifully.
If you want to experiment with different textures, try adding crushed cookies or nuts into the mix before chilling. This adds a delightful crunch and offers more variety with each spoonful.
Suggestions for 3 Ingredient Chocolate Pots
For those looking to create variations of 3 Ingredient Chocolate Pots, consider substituting milk chocolate for dark chocolate if you prefer a sweeter taste. This swap will yield a different flavor profile while still maintaining simplicity.
You might also explore using alternative dairy options like coconut cream for a dairy-free version. This change introduces a tropical flair and caters to those with dietary restrictions.
Infusing your pots with espresso or coffee can provide an exciting twist that balances sweetness with depth. Just be cautious with how much you add; a little goes a long way in enhancing flavor without overpowering it.
For added richness, consider incorporating peanut butter or almond butter into your mixture. This addition brings creaminess and nuttiness to your dessert while keeping it simple and delicious.
FAQs
What are the main ingredients for 3 Ingredient Chocolate Pots?
The main ingredients required for 3 Ingredient Chocolate Pots include high-quality chocolate, heavy cream, and sugar (if desired). These three components combine seamlessly to create a luscious dessert that’s both simple and indulgent.
How long should I chill my 3 Ingredient Chocolate Pots?
Chilling time varies based on your refrigerator’s temperature but generally takes about two hours. Allowing sufficient time ensures that your chocolate pots set properly and have the right texture when served.
Can I use different types of chocolate?
Yes, you can use various types of chocolate for your 3 Ingredient Chocolate Pots! Dark chocolate offers richness while milk chocolate provides sweetness. Experimenting with white chocolate is also fun if you prefer something lighter.
Is there a way to make these pots dairy-free?
Absolutely! To create dairy-free 3 Ingredient Chocolate Pots, simply replace heavy cream with coconut cream or another non-dairy alternative. Ensure that your chosen chocolate is also dairy-free for best results.
How do I store leftover 3 Ingredient Chocolate Pots?
Store leftover 3 Ingredient Chocolate Pots in airtight containers in the refrigerator. They typically last up to three days but are best enjoyed fresh after chilling for optimal texture and flavor.
Can I add flavors or toppings?
Definitely! Adding flavors such as vanilla extract or espresso enhances your pots’ taste without adding complexity. Topping them with whipped cream or fresh fruit elevates presentation and adds freshness!
Summary
In summary, creating tasty 3 Ingredient Chocolate Pots requires attention to detail in ingredient quality and preparation methods. Avoid common mistakes like inaccurate measurements and insufficient chilling times while exploring creative variations through flavors and toppings. With these guidelines in mind, enjoy crafting this delightful dessert!