
 Save
Save
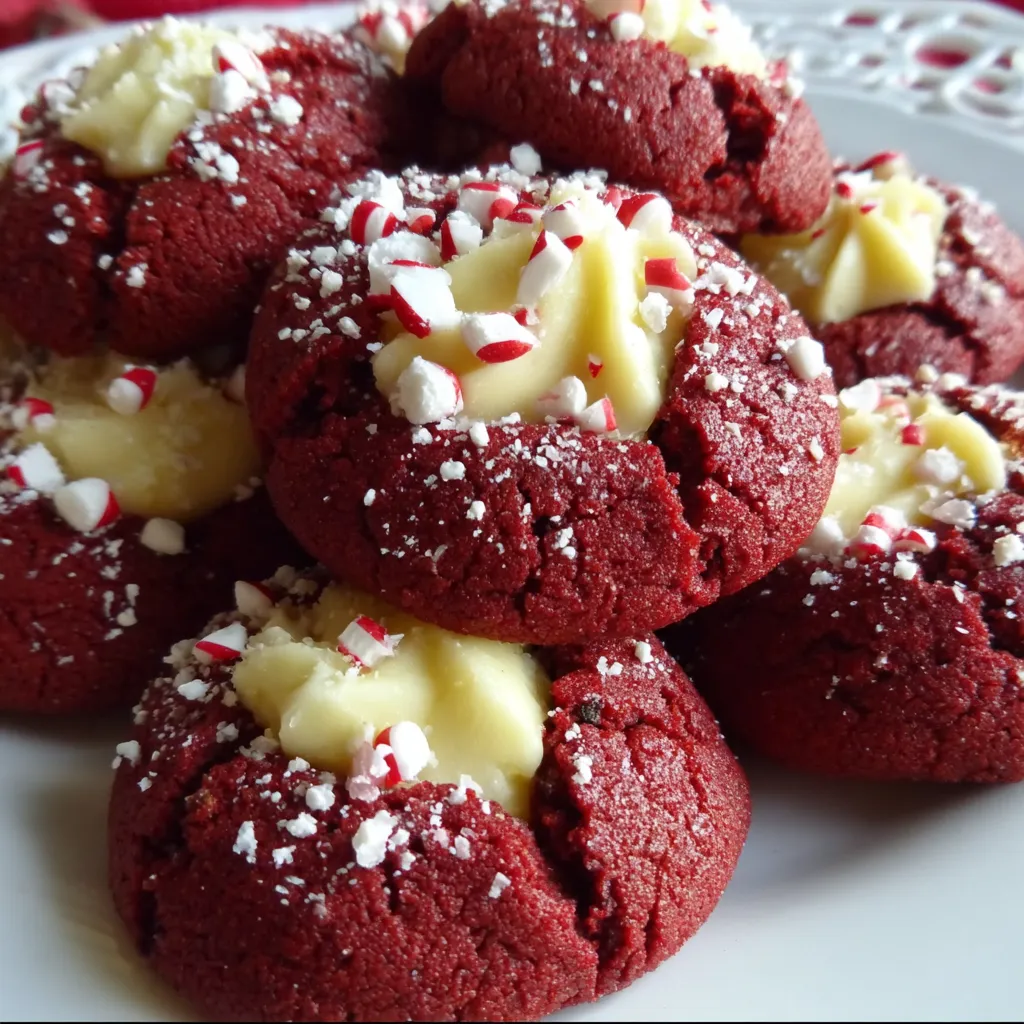
These red velvet cookies with cream cheese filling bring together a fluffy, vibrant cookie and a sweet, gooey center for a truly indulgent treat. They bake up soft and tender with a lovely cocoa undertone and are brightened by the signature red color. Perfect for sharing or enjoying as a delightful dessert any time of year.
I first baked these for a holiday party and they vanished so fast that now they are my go-to cookie when I want to impress without spending all day in the kitchen
Ingredients
- Melted butter: provides rich moisture and tenderness in the cookies
- Brown sugar: adds depth of flavor with a hint of caramel and helps keep cookies soft
- Egg: binds everything together and adds structure
- Red food coloring: creates that classic red velvet look
- Vanilla extract: enhances overall flavor
- All-purpose flour: forms the base of the cookie dough
- Unsweetened cocoa powder: gives the gentle chocolate flavor essential to red velvet
- Salt: balances sweetness and enhances flavors
- Baking soda and baking powder: help the cookies rise and create a light texture
- Semi-sweet chocolate chips (optional): add bursts of melty chocolate for extra indulgence
- Red sugar: used for coating cookies giving them a sparkling exterior and subtle crunch
- Cream cheese: makes a luscious filling with a slight tang
- Butter in filling: softens the cream cheese and adds richness
- Powdered sugar for filling: sweetens and smooths the filling to piping consistency
Step-by-Step Instructions
- Preheat the Oven:
- Set your oven to 350 degrees Fahrenheit. Line a baking sheet with parchment paper to prevent sticking and ensure even baking.
- Mix Dry Ingredients:
- In a large bowl, sift together the flour, cocoa powder, baking soda, and baking powder. This ensures even distribution of raising agents and cocoa flavor.
- Combine Wet Ingredients:
- In a separate bowl, whisk melted butter, brown sugar, vanilla extract, salt, and red food coloring until smooth and well blended.
- Add Egg:
- Beat in the egg thoroughly to the wet mixture which helps emulsify and bring components together.
- Combine Wet and Dry:
- Pour the wet ingredients over the dry, mixing until just combined. Avoid overmixing to keep cookies tender. If using chocolate chips, gently fold them in now so they are evenly distributed.
- Form and Coat Cookies:
- Pour red sugar into a shallow bowl. Roll cookie dough into one-inch balls and coat each fully with the red sugar for a festive, sparkling finish. Place them spaced apart on the prepared baking sheet.
- Indent and Bake:
- Press your thumb gently into the center of each cookie ball to create an indentation that will hold the filling. Bake for 12 to 15 minutes until the edges are set but centers remain soft. While still warm, if the indentation fills in, press gently again to maintain space for filling.
- Prepare Filling:
- Use a mixer to blend softened cream cheese, softened butter, vanilla extract, and powdered sugar into a creamy, smooth filling. Transfer this filling into a piping bag or sandwich bag with a small tip cut for easy application.
- Assemble on Cooling:
- Once cookies are completely cooled, pipe the cream cheese filling into each indentation to create a luscious sandwich of flavor and texture. Serve right away or keep chilled.
 Save
Save
My favorite part is the cream cheese filling because it cuts through the sweetness and makes the whole cookie feel special. One winter, I made a batch for my daughter’s classroom party and the kids lined up asking for seconds. It’s a real crowd-pleaser.
Storage Tips
Store these cookies in an airtight container in the refrigerator to keep the cream cheese filling fresh. They will last about a week this way. To freeze, assemble the filling separately and pipe it on after thawing the cookies for best texture.
Ingredient Substitutions
If you prefer to avoid artificial food coloring, consider using natural beet powder for color. You can swap chocolate chips with white chocolate for a different flavor. For a dairy-free version, use vegan cream cheese and butter alternatives.
Serving Suggestions
These cookies shine on their own but also pair beautifully with a cold glass of milk or a cup of coffee. They make festive additions to holiday cookie trays or special occasions where you want something both colorful and classic.
Cultural and Historical Context
Red velvet desserts originated in the early 20th century with their signature red color traditionally coming from reaction between acidic ingredients and cocoa. They remain a beloved Southern staple in American dessert culture and have evolved from cakes to cupcakes to these delightful cookies.
Recipe FAQs
- → What gives the cookies their red color?
The vibrant red hue comes from red food coloring mixed into the dough along with a touch of cocoa powder for a slight chocolate undertone.
- → Can I omit the cream cheese filling?
Yes, the cookies are delicious on their own with the sweet sugar coating and cocoa flavor but the filling adds extra creaminess and richness.
- → How do I keep the indentation for the filling from rising during baking?
Press a thumb or the back of a spoon gently into the dough ball just before baking, and if it fills in while baking, press it down again when still warm.
- → What type of sugar is used for coating the cookies?
Red-colored sugar is used to roll the dough balls in before baking, giving a sweet and decorative outer layer.
- → Can chocolate chips be added to the dough?
Yes, semi-sweet chocolate chips can be folded into the dough before shaping for an extra chocolate boost.
- → How should these cookies be stored?
Store the finished cookies in an airtight container in the refrigerator to keep the filling fresh, ideally consuming within one week.